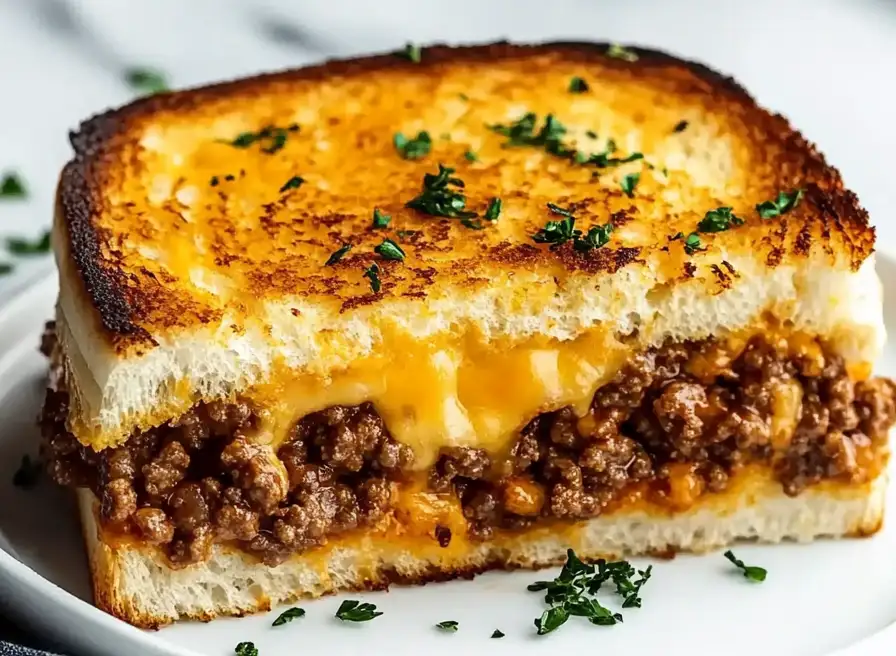
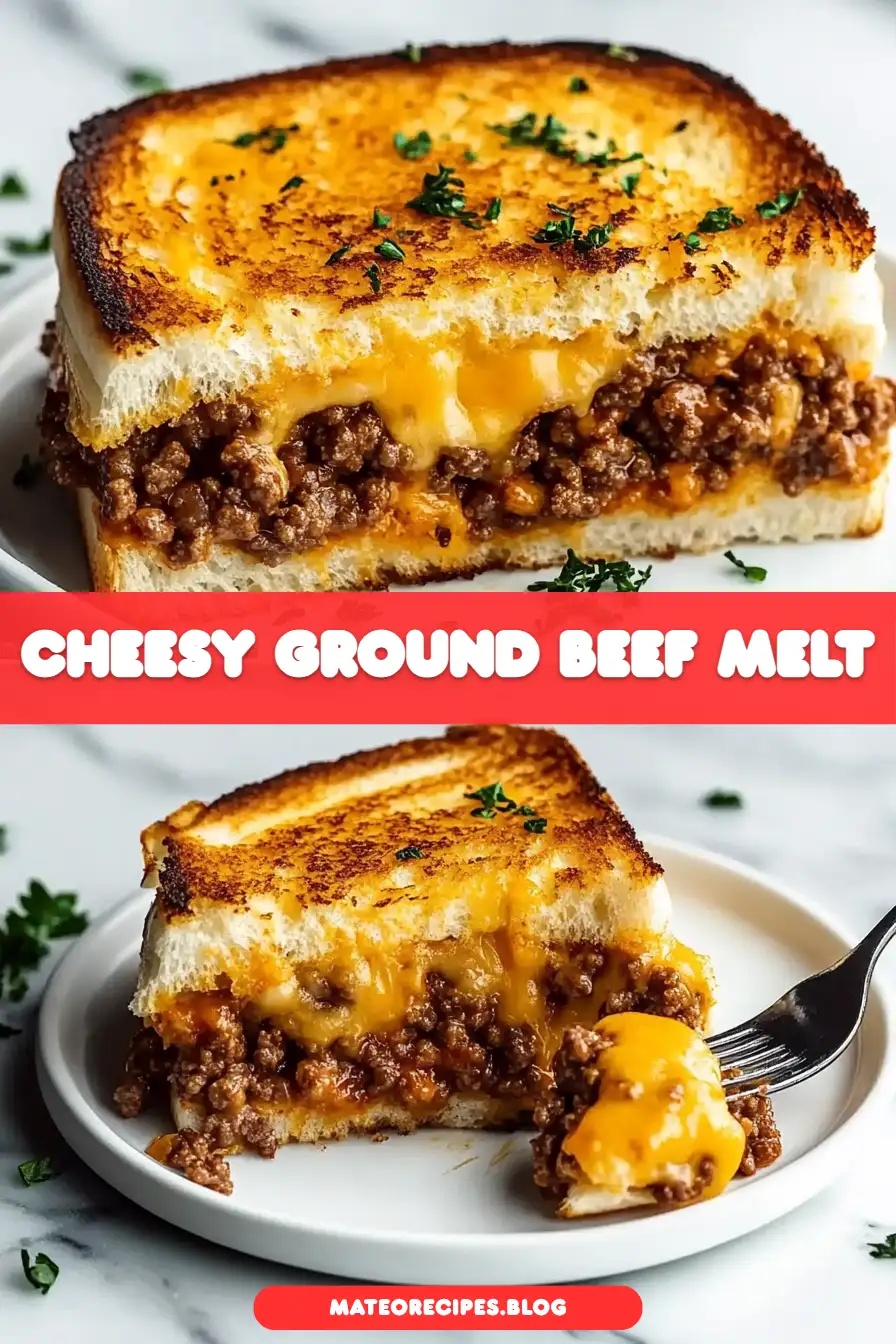
Ultimate Cheesy Ground Beef Melt is the kind of comforting, family-friendly meal that brings everyone to the table. Whether you’re preparing a quick lunch or a satisfying dinner, this cheesy delight has it all. Imagine savory ground beef nestled between layers of gooey cheese and crispy, golden-brown bread. It’s incredibly easy to make and packed with flavor. Let’s dive into this delicious recipe and see why it’s bound to become a household favorite!
If you’re looking to perfect your sandwich-making skills, consider exploring some expert tips on achieving the ideal cheese melt. Serious Eats offers a comprehensive guide on the science of melting cheese, which can help you achieve that perfect gooeyness every time. Additionally, understanding the best practices for handling ground beef can elevate your dish to new heights—check out the USDA’s guidelines for safe and flavorful meat preparation.
Table of Contents
Why You’ll Love This Ultimate Cheesy Ground Beef Melt
If you’re anything like me, you appreciate meals that are both quick to prepare and universally adored by the family. Here’s why this Ultimate Cheesy Ground Beef Melt ticks all the boxes:
- Quick and Easy: With just 20 minutes from start to finish, it’s perfect for busy weeknights. In today’s fast-paced world, finding time to cook can be challenging. This recipe minimizes prep time and maximizes enjoyment, making it an ideal solution for those hectic evenings when everyone is hungry, and time is short.
- Comforting Flavors: The combination of cheddar and mozzarella melts beautifully, while the seasoned beef provides a savory kick. These flavors meld together to create an irresistible taste experience that is both familiar and exciting. The cheeses create a creamy, luscious texture that contrasts beautifully with the hearty beef and crispy bread.
- Customizable: Add jalapeños for a spicy twist, or swap in your favorite bread or cheese. This recipe serves as a versatile foundation that you can modify according to your personal preferences or dietary needs. Try adding sliced tomatoes or a splash of hot sauce for extra flair.
- Kid-Friendly: This melt is a guaranteed hit with the little ones. Its cheesy goodness and simple flavors are appealing to even the pickiest of eaters. Plus, getting kids involved in the preparation can be a fun family activity, teaching them valuable cooking skills along the way.
The Recipe
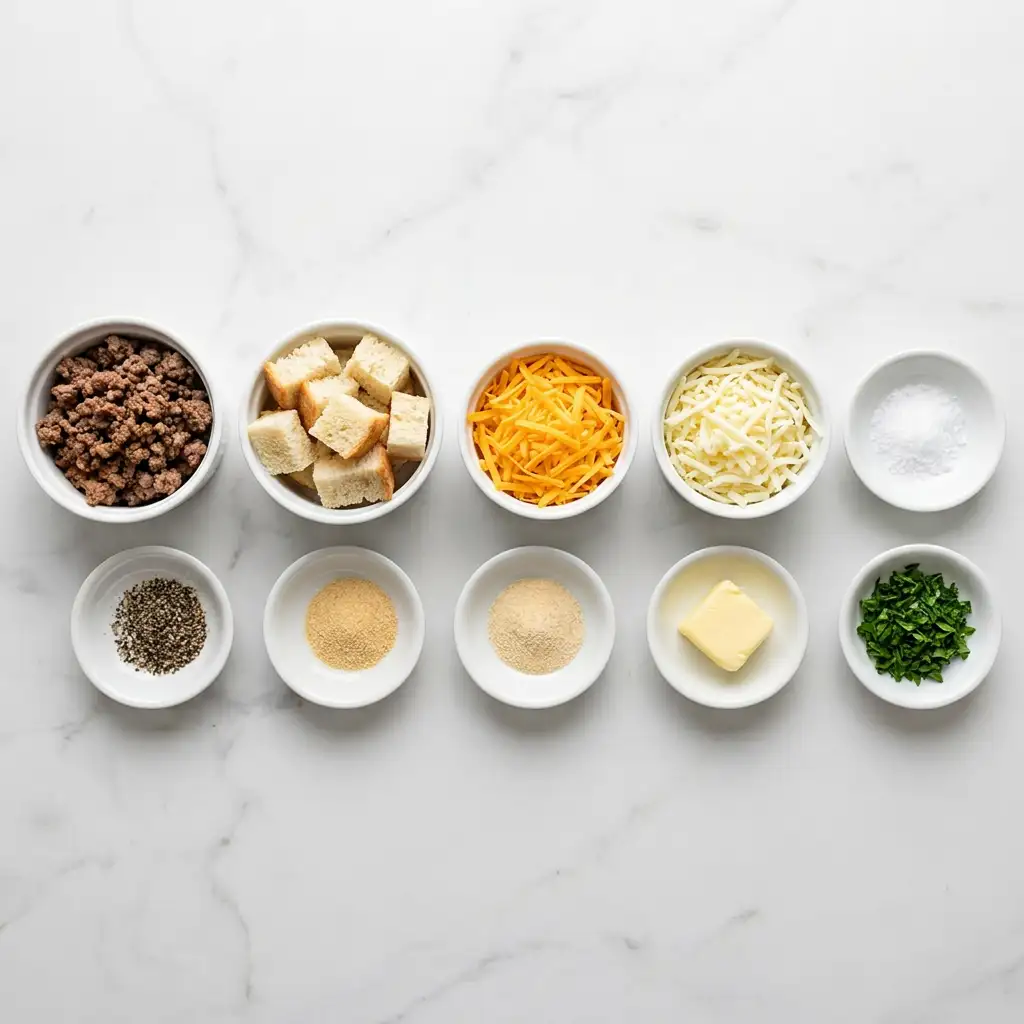
Main Ingredients:
| Amount | Ingredient | Notes |
|---|---|---|
| 454 g | ground beef | Use lean beef for less fat |
| 4 | slices thick-cut bread | Choose your favorite type of bread |
| 240 g | shredded cheddar cheese | Sharp cheddar gives a stronger flavor |
| 240 g | shredded mozzarella cheese | Provides a gooey, stretchy texture |
| 0.5 tsp | salt | Season to taste |
| 0.25 tsp | black pepper | Freshly ground for best flavor |
| 0.5 tsp | garlic powder | Enhances savory flavor |
| 0.5 tsp | onion powder | Adds depth to the flavor |
| 28 g | butter | Softened for easy spreading |
| 15 g | chopped fresh parsley | Optional, for garnish |
Instructions:
- Heat a skillet over medium-high heat and cook the ground beef until fully browned, about 7–9 minutes. Drain any excess fat. Browning the beef properly is crucial as it develops a rich, caramelized flavor that enhances the overall taste of the sandwich.
- Lower the heat to medium and season the beef with salt, pepper, garlic powder, and onion powder. Stir to combine and cook for an additional minute. This step ensures that the spices are well distributed, infusing the beef with a balanced and robust flavor profile.
- While the beef is cooking, butter one side of each bread slice. Buttering the bread helps achieve a beautiful golden crust that is both visually appealing and deliciously crispy.
- On a clean surface, place one slice of bread buttered-side down. Layer with cheddar cheese, the cooked beef, and then mozzarella cheese. Top with the second slice, buttered-side up. The layering of ingredients ensures even distribution of flavors and textures, making every bite satisfying.
- Heat a clean skillet over medium heat. Toast the sandwich for 3–4 minutes per side, pressing lightly, until the bread is golden brown and the cheese has melted. This step transforms the sandwich into a melt, where the heat gently fuses the ingredients into a cohesive, delectable whole.
- Remove from heat, let it rest for a minute, then slice and serve warm. Allowing the sandwich to rest briefly before cutting helps the cheese set slightly, preventing it from oozing out excessively when sliced.
For an extra kick, consider adding a few slices of jalapeño before toasting. This sandwich pairs beautifully with a side of fries or a fresh salad. The slight heat from the jalapeños can elevate the overall taste without overpowering the other ingredients, adding an exciting twist to the classic melt.
Kitchen Tools You’ll Need
| Tool | Why you need it |
|---|---|
| Skillet | To cook the ground beef and toast the sandwich |
| Spatula | Essential for flipping the sandwich |
| Knife | For slicing the bread and garnishing with parsley |
| Cutting board | To prepare your ingredients safely |
Having the right tools on hand makes the cooking process smoother and more efficient. A well-seasoned skillet ensures even cooking, while a good spatula makes flipping the sandwich a breeze. A sharp knife guarantees clean, precise cuts, which are essential for presentation and ease of eating.
The Benefits of Each Ingredient
| Ingredient | What it does here |
|---|---|
| Ground beef | Provides hearty texture and savory flavor |
| Cheddar cheese | Adds sharp, tangy notes and richness |
| Mozzarella cheese | Offers a creamy, stretchy texture when melted |
| Thick-cut bread | Holds the sandwich together, adds crunch |
| Butter | Ensures golden, crispy texture when toasted |
Understanding the role of each ingredient can enhance your appreciation of the dish. The ground beef is the backbone, offering a satisfying, meaty base. Cheddar cheese brings a depth of flavor, while mozzarella contributes that quintessential meltability every good sandwich needs. Thick-cut bread provides structure and crunch, making each bite delightful. Butter, though used sparingly, is key to achieving that perfect, golden crust that is the hallmark of an excellent melt.

What to Serve With This Ultimate Cheesy Ground Beef Melt
| Idea | Why it pairs well |
|---|---|
| French fries | Classic pairing, adds a crispy side |
| Tomato soup | Complements the savory cheese with a tangy contrast |
| Green salad | Provides a fresh, light balance to the rich sandwich |
Pairing your melt with the right side can elevate the meal from great to unforgettable. French fries are a classic choice, offering additional crunch and a touch of saltiness. Tomato soup is another fantastic option, its acidity cutting through the richness of the cheese, creating a harmonious balance. A green salad with a light vinaigrette can refresh your palate, ensuring the meal remains satisfying but not overly heavy.
Storage & Leftover Tips
| Method | How long | Tip |
|---|---|---|
| Refrigerator | Up to 3 days | Wrap in foil to maintain moisture and flavor |
| Freezer | Up to 1 month | Wrap tightly in plastic wrap and foil |
To reheat, simply toast in a skillet or oven to maintain that delightful crispiness. Proper storage ensures that your leftovers retain their quality and are as enjoyable as when freshly made. Reheating in a skillet or oven is preferable to microwaving, as it helps restore the sandwich’s original texture, preventing sogginess and ensuring the bread remains crisp.
As you savor each bite of this Ultimate Cheesy Ground Beef Melt, remember that comfort food is best shared. This recipe is not only a treat for you but a warm invitation to gather your loved ones around the table. Happy cooking, and enjoy every gooey, cheesy moment!
The beauty of this recipe lies in its simplicity and adaptability. Whether you stick to the classic version or customize it with your favorite ingredients, the Ultimate Cheesy Ground Beef Melt is sure to become a staple in your culinary repertoire. Its ability to bring people together over a shared love of good food is something truly special. So go ahead, gather your ingredients, and embark on this delicious journey. Your taste buds—and your loved ones—will thank you!
FAQs About Ultimate Cheesy Ground Beef Melt
Can I use a different type of cheese?
Absolutely! Feel free to experiment with different cheeses like Swiss or provolone for a unique flavor profile.
How should I store leftovers?
Store any leftovers in an airtight container in the refrigerator for up to 3 days. Reheat in a skillet to keep the bread crispy.
Is this recipe suitable for freezing?
Yes, you can freeze these sandwiches. Wrap them tightly in plastic wrap and then foil, and store for up to a month. Reheat directly from frozen for best results. For more comforting meal ideas, check out my recipes for Classic Baked Mac and Cheese and Hearty Beef Stew. If you’re curious about more ground beef recipes, you might find inspiration from AllRecipes' Ground Beef Dishes.
Ultimate Cheesy Ground Beef Melt
Ingredients
Equipment
Method
- Heat a skillet over medium-high heat and cook the ground beef until fully browned, about 7–9 minutes. Drain excess fat.
- Lower the heat to medium and season the beef with salt, pepper, garlic powder, and onion powder. Stir to combine and cook for 1 more minute.
- While beef is cooking, butter one side of each bread slice.
- On a clean surface, place one slice of bread buttered-side down. Layer with cheddar, beef, then mozzarella. Top with the second slice, buttered-side up.
- Heat a clean skillet over medium heat. Toast the sandwich for 3–4 minutes per side, pressing lightly, until golden brown and cheese is melted.
- Remove from heat, let it rest for a minute, then slice and serve warm.