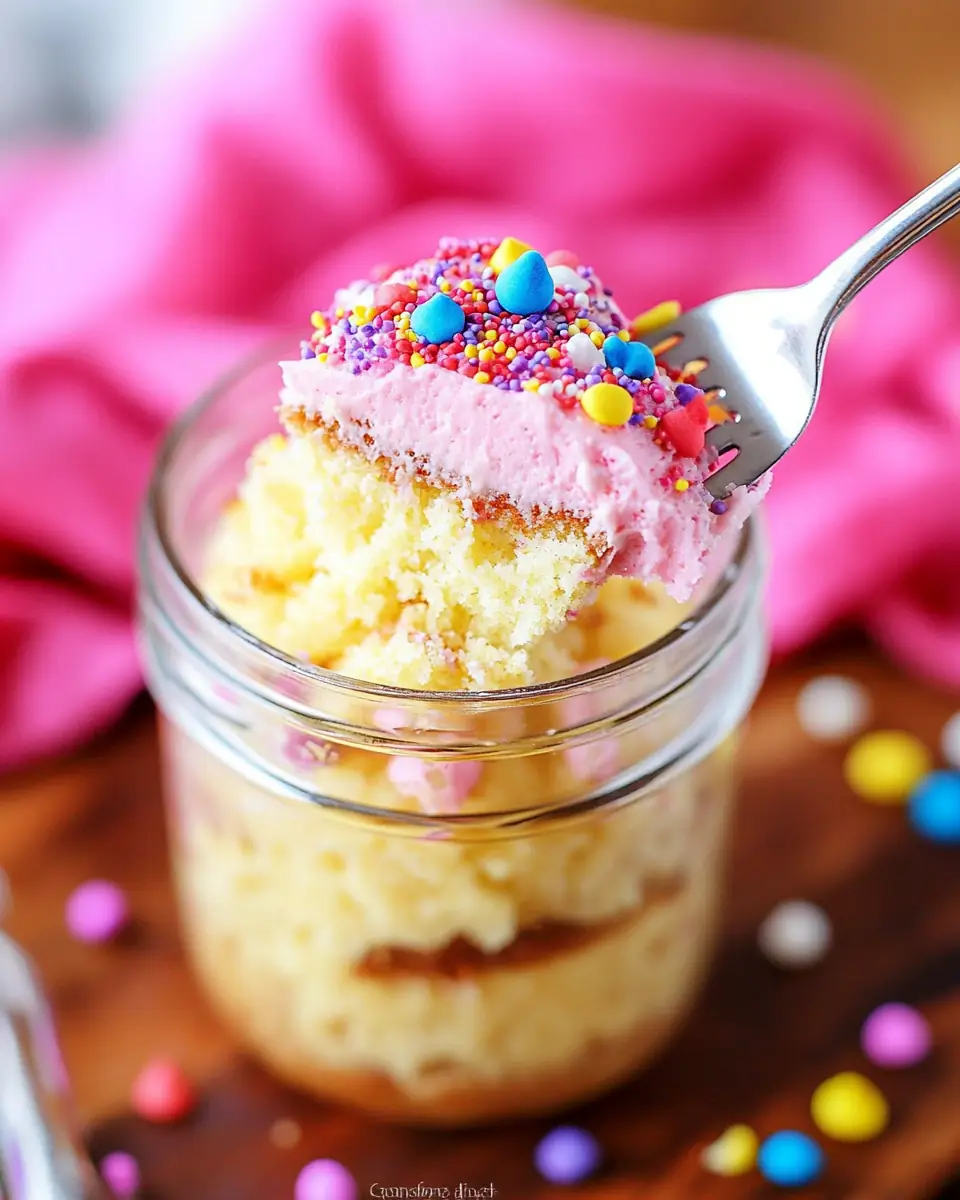
Cake in a Jar: A Sweet Family Treat
There’s something undeniably magical about desserts that have the power to bring the whole family together, creating moments of joy and connection. One such delightful creation is the Cake in a Jar, a concept that I stumbled upon during a cozy afternoon with my kids. We were flipping through an old family cookbook when this charming recipe caught our eye. Serving cake in a jar seemed like a whimsical way to enjoy dessert, almost like capturing the essence of a family picnic or a festive party in a single, sweet serving. From that day forward, it became a beloved staple in our home, especially for birthdays and family gatherings. It’s fun, it’s personal, and the best part? Everyone gets their own little cake!
Why You’ll Love This Recipe
- Fun and Portable: Cake in a Jar is perfect for picnics, parties, or any occasion where you want a convenient, delectable dessert on the go.
- Customizable Toppings: With a variety of toppings, each person can personalize their dessert, making it a fun, interactive experience for kids and adults alike.
- No Cutting Required: Individual portions mean no slicing or serving hassle—just grab a jar and a spoon!
- Perfect for Gifting: These jars make delightful gifts. Decorate them with a ribbon and a personalized note for a sweet, thoughtful present.
- Simple Ingredients: Most of the ingredients are pantry staples, so you can whip up this dessert without a special trip to the store.
The Recipe
Prep Time: 20 minutes
Cook Time: 25-30 minutes
Servings: 6 jars
Calories: 828 kcal per serving
Ingredients
- 1 ½ cups all-purpose flour
- 1 ½ teaspoons baking powder
- ¼ teaspoon salt
- ½ cup unsalted butter, softened
- 1 cup granulated sugar
- 2 large eggs
- 2 teaspoons vanilla extract
- ½ cup whole milk
- 1 cup frosting of your choice
- Assorted toppings (sprinkles, chocolate chips, crushed nuts, etc.)
Instructions
- Preheat the Oven: Set your oven to 350°F (175°C).
- Prepare the Jars: Grease the inside of each mason jar with cooking spray or butter. Set aside.
- Mix Dry Ingredients: In a medium mixing bowl, sift together the flour, baking powder, and salt.
- Cream Butter and Sugar: In a large mixing bowl, cream the softened butter and granulated sugar until light and fluffy using a hand mixer or stand mixer.
- Add Eggs and Vanilla: Add the eggs one at a time, beating well after each addition. Mix in the vanilla extract.
- Combine Ingredients: Gradually add the dry ingredients to the wet ingredients, alternating with the milk, starting and ending with the dry ingredients. Mix until just combined, being careful not to overmix.
- Fill the Jars: Divide the batter evenly among the prepared mason jars, filling each jar about halfway full.
- Bake: Place the filled mason jars on a baking sheet and transfer them to the preheated oven. Bake for 25-30 minutes, or until a toothpick inserted into the center of a cake comes out clean.
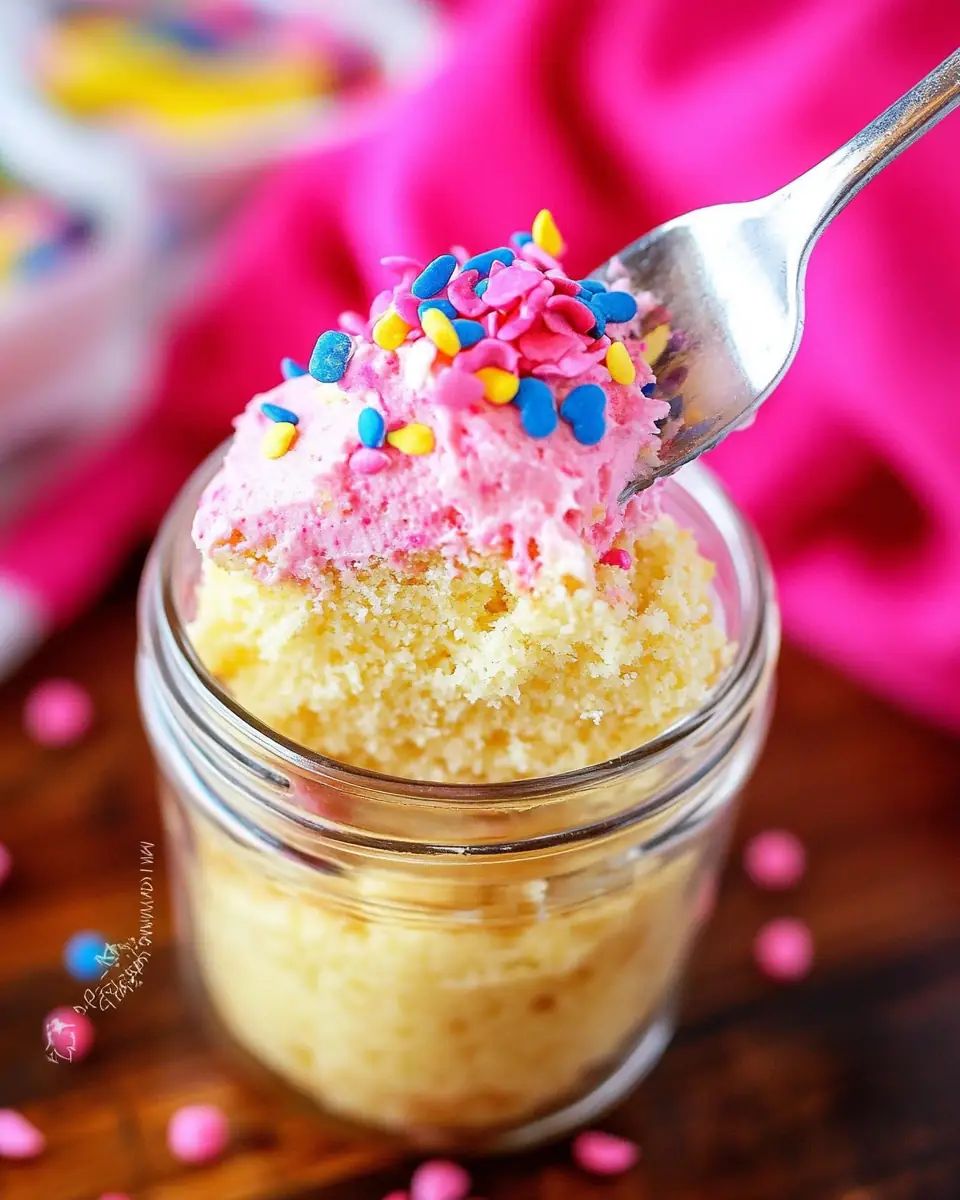
- Cool and Decorate: Remove the jars from the oven and allow them to cool completely on a wire rack. Once cooled, spread a layer of frosting on top of each cake in the jar. Add your favorite toppings to decorate.
- Store: Screw the lids onto the jars and store them in the refrigerator until ready to serve.
Kitchen Tools You’ll Need
- Mason jars (with lids)
- Hand mixer or stand mixer
- Medium and large mixing bowls
- Baking sheet
- Sifter
- Wire rack
The Benefits of Each Ingredient
Understanding the role of each ingredient can enhance your baking skills and appreciation for the final product:
- All-Purpose Flour: Provides the structure and texture to the cake, making it soft and tender. Its versatility makes it a staple in baking.
- Baking Powder: Acts as a leavening agent, helping the cake rise and creating a light and fluffy texture.
- Salt: Enhances the flavors of all the other ingredients, balancing the sweetness and adding depth to the overall taste.
- Butter: Adds richness and moisture, essential for a tender crumb. It also contributes to the cake’s flavor profile.
- Granulated Sugar: Sweetens the cake and helps achieve a perfect golden-brown color during baking.
- Eggs: Bind the ingredients together, adding structure and moisture. They also contribute to the cake’s richness.
- Vanilla Extract: Adds a warm, sweet aroma and depth of flavor, enhancing the overall taste experience.
- Whole Milk: Provides moisture and contributes to the cake’s soft texture, ensuring it isn’t dry.
- Frosting and Toppings: Allow for creativity and personalization, adding both flavor and visual appeal, making each jar a mini masterpiece.
What to Serve With This Dish
Cake in a Jar is delightful on its own, but if you’re looking to elevate your experience, consider these complementary pairings:
- A Scoop of Ice Cream: Vanilla or chocolate ice cream complements the cake beautifully, adding an extra layer of indulgence.
- Fresh Berries: Strawberries or raspberries add a refreshing contrast to the rich cake, enhancing its flavors with a burst of freshness.
- A Cup of Coffee or Tea: Perfect for an afternoon treat or dessert after dinner, the warm beverage rounds out the sweetness of the cake.
For more dessert ideas, check out my Easy Chocolate Chip Cookies and Creamy Banana Pudding recipes on MateoRecipes.blog!
Storage & Leftover Tips
To ensure your Cake in a Jar remains fresh and delicious, follow these storage tips:
- Refrigeration: Store the jars with their lids on in the refrigerator for up to 5 days. This keeps the cake moist and fresh.
- Freezing: For longer storage, you can freeze the jars. Make sure the frosting is well-sealed, and leave some space at the top of the jar to allow for expansion. Freeze for up to 3 months. Thaw overnight in the refrigerator before serving.
- Reheating: If you prefer your cake warm, remove the lid and microwave the jar for 20-30 seconds. Just be cautious as the jar may be hot.
A Family Tradition in the Making
The beauty of Cake in a Jar lies not just in its taste but in the memories it helps create. Imagine a summer picnic with jars neatly packed in a basket, or a cozy winter evening with the family gathered around the fireplace, each enjoying their personalized jar of cake. These moments are what turn a simple dessert into a cherished family tradition.
To make your Cake in a Jar experience even more special, involve the whole family in the process. Let the kids help with mixing the batter or choosing their favorite toppings. These small acts of participation can spark a lifelong love for cooking and baking in your children.
Expanding Your Culinary Horizons
Once you’ve mastered the basic Cake in a Jar, don’t hesitate to experiment with flavors and ingredients. Consider these ideas:
- Flavor Variations: Try adding cocoa powder for a chocolate cake, or incorporate lemon zest for a citrusy twist.
- Layered Jars: Create layers with different cake flavors or mix in fruit preserves for a surprise in every bite.
- Special Diet Options: Substitute ingredients to accommodate dietary needs, such as using almond milk or gluten-free flour.
Creative Presentation Ideas
Presentation is often as crucial as taste when it comes to desserts. Here are some creative ways to present your Cake in a Jar:
- Decorative Lids: Use colorful lids or cover plain lids with fabric and tie with a ribbon for an extra special touch.
- Personalized Tags: Attach small tags with each person’s name or a sweet message for a personal touch, especially useful when gifting.
- Layered Colors: Use food coloring to create layers of different colors for a rainbow effect that kids will especially enjoy.
- Themed Decorations: Tailor the decorations to match the theme of your event, such as pastel colors for a baby shower or red and green for Christmas.
Conclusion
In conclusion, Cake in a Jar is more than just a dessert; it’s a heartwarming experience that brings smiles to faces and joy to gatherings. Whether you’re enjoying it with family or gifting it to a friend, it’s a sweet reminder that the best moments are often the simplest. The versatility and charm of this dessert make it a perfect addition to any occasion, capturing the essence of togetherness, creativity, and joy.
Happy baking, my friends! For more creative dessert ideas, you might want to visit Epicurious for inspiration. Whether you’re a seasoned baker or just starting, Cake in a Jar is sure to become a beloved favorite in your culinary repertoire.
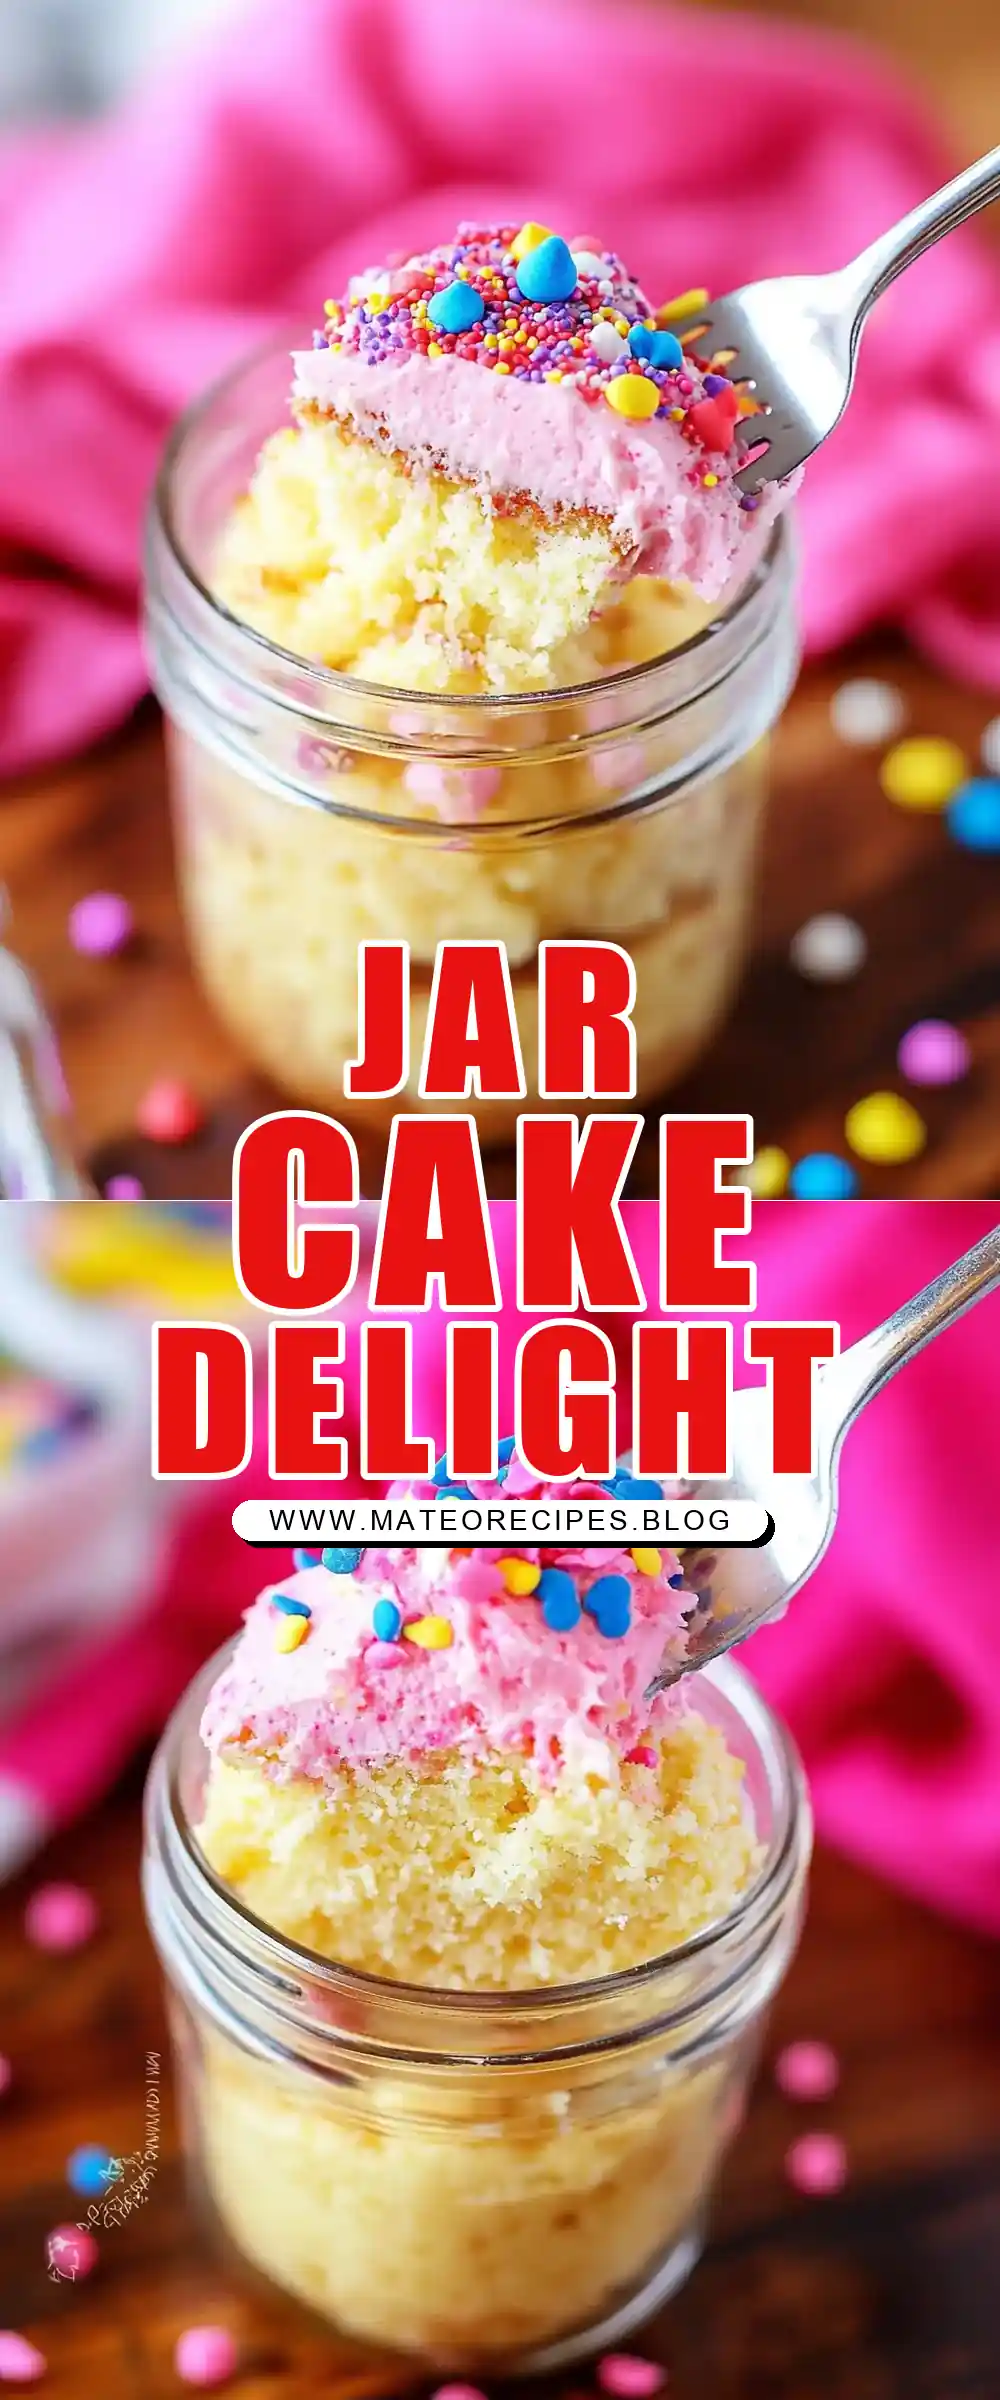
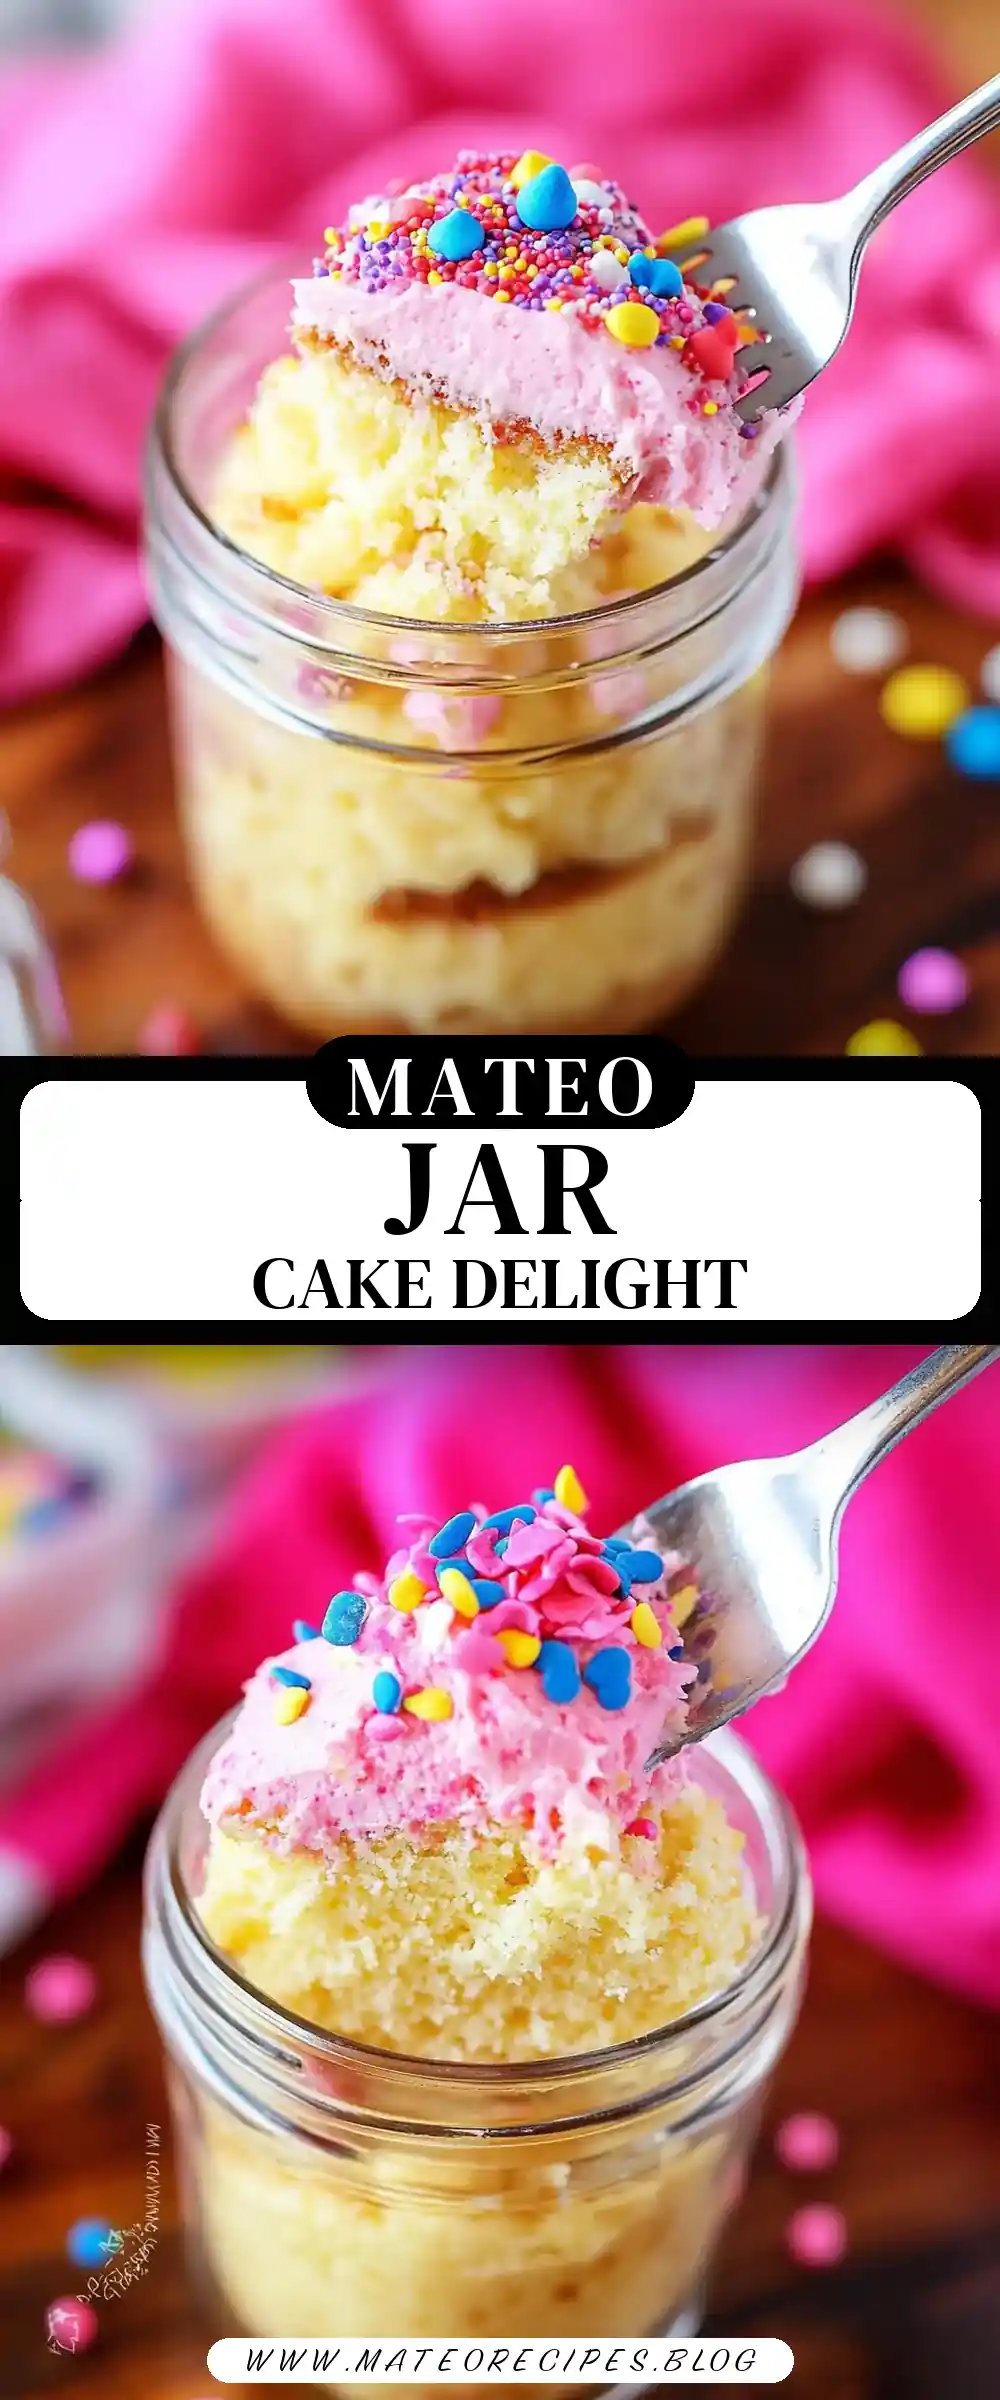
Cake in a Jar
Ingredients
Equipment
Method
- Preheat the oven to 350°F (175°C).
- Grease the inside of each mason jar with cooking spray or butter and set aside.
- Sift together the flour, baking powder, and salt in a medium mixing bowl. Set aside.
- Cream together the softened butter and granulated sugar in a large mixing bowl, until light and fluffy using a hand mixer or stand mixer.
- Add the eggs one at a time, beating well after each addition. Then, mix in the vanilla extract.
- Gradually add the dry ingredients to the wet ingredients, alternating with the milk, starting and ending with the dry ingredients. Mix until just combined, being careful not to overmix.
- Divide the batter evenly among the prepared mason jars, filling each jar about halfway full.
- Place the filled mason jars on a baking sheet and transfer them to the preheated oven.
- Bake for 25-30 minutes, or until a toothpick inserted into the center of a cake comes out clean.
- Remove the jars from the oven and allow them to cool completely on a wire rack.
- Once cooled, spread a layer of frosting on top of each cake in the jar. Add your favorite toppings to decorate.
- Screw the lids onto the jars and store them in the refrigerator until ready to serve.