
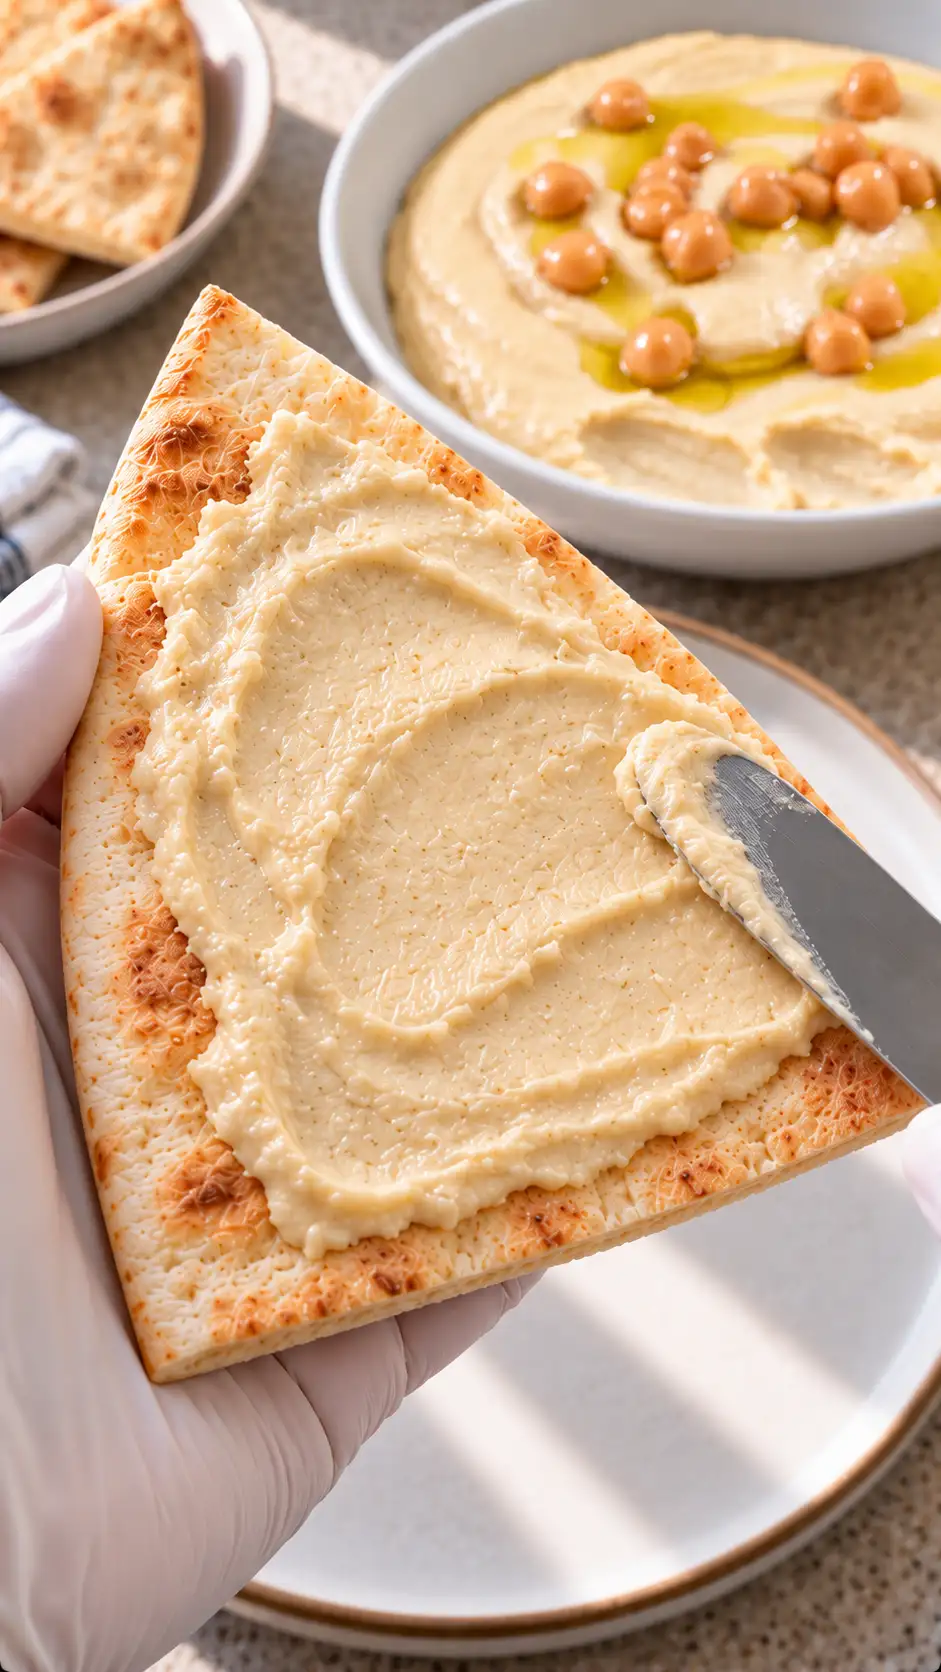
REAL HUMMUS is the recipe I turn to when I crave something creamy, tangy, and comforting. This classic dish, made from chickpeas and tahini, is the perfect accompaniment to a family meal or a simple snack platter. With just a few ingredients and 15 minutes of prep time, you can whip up a batch of this delicious dip that pairs wonderfully with pita bread or fresh vegetables. Let’s dive into making this authentic and flavorful hummus that will become a staple in your home cooking repertoire.
If you’re curious about the origins of hummus, it’s believed to have ancient roots in Middle Eastern cuisine, and its popularity has since spread worldwide. According to Serious Eats, hummus embodies a balance of flavors that is both simple and sophisticated, making it a culinary gem. For those interested in nutrition, the USDA notes that chickpeas are high in protein and fiber, contributing to the health benefits of this dish. You can learn more about the nutritional value of chickpeas from the USDA’s FoodData Central.
Table of Contents
Why You’ll Love This Real Hummus
There are countless reasons to fall in love with this real hummus recipe. First, it’s incredibly easy to make, requiring no cooking at all. Just blend the ingredients, and you have a wholesome dip ready in minutes. This hummus is also highly versatile, serving as a great base for experimentation—try adding roasted red peppers or a dash of smoked paprika for a twist. Additionally, it’s a nutritious option, packed with protein and fiber from the chickpeas, heart-healthy fats from olive oil and tahini, and a burst of vitamin C from fresh lemon juice. Whether you’re hosting a party or preparing a simple family dinner, this hummus is sure to please everyone’s palate.
The simplicity of the recipe means that even those who are new to cooking can successfully make and enjoy it. There are no complicated steps, and the ingredients are readily available in most grocery stores. Not only is this hummus quick to prepare, but it also allows for personalization. If you prefer a spicier version, you can add a pinch of cayenne pepper or a drizzle of chili oil. For those who enjoy a more robust garlic flavor, simply increase the number of garlic cloves.
This hummus recipe is also a great way to introduce healthy eating habits to your family. By making hummus at home, you can control the amount of salt and fat, creating a dip that is not only delicious but also tailored to your dietary preferences. It’s an excellent way to sneak in some extra protein and fiber into your meals, especially for kids who might be picky about eating legumes in their whole form.
The Recipe
For the Hummus:
| Amount | Ingredient | Notes |
|---|---|---|
| 2 | cloves garlic | Fresh cloves, adjust to taste |
| 1 can | cooked chickpeas | 19 oz can, reserve half the liquid |
| 4 tbsp | lemon juice | Freshly squeezed for best flavor |
| 2 tbsp | tahini | Stir well before using |
| 1 tsp | salt | Adjust to taste |
| 2 tbsp | olive oil | For finishing |
| 1 pinch | black pepper | To taste |
| 1 | serving pita bread | Optional, for serving |
- Drain the chickpeas, saving half the can liquid. Reserve about 1 tablespoon of chickpeas for garnish.
- Chop the garlic in a blender.
- Add the remaining chickpeas, lemon juice, tahini, salt, and reserved liquid. Blend until creamy, scraping down as needed. Add the liquid gradually if you want closer control over thickness.
- Transfer to a serving bowl. Drizzle with olive oil, season with pepper, and add the reserved chickpeas.
- Serve with pita. Refrigerate leftovers in a covered container.
This recipe yields a hummus that is perfectly balanced in flavor and texture. The use of reserved chickpea liquid helps achieve a creamy consistency without diluting the taste, a trick that is often overlooked but makes a significant difference. The olive oil not only adds richness but also enhances the overall silkiness of the hummus.
Kitchen Tools You’ll Need
| Tool | Why you need it |
|---|---|
| Blender | To achieve a smooth, creamy texture |
| Measuring spoons | For precise ingredient amounts |
| Can opener | To easily open the chickpea can |
| Serving bowl | To present the hummus beautifully |
Having the right kitchen tools can make the preparation process smoother and more enjoyable. A high-quality blender or food processor is essential for achieving the desired creamy texture. If you don’t have a blender, a food processor can work just as well, although it might require a bit more time to reach the smoothness you want.
Measuring spoons are important for ensuring that the balance of flavors is just right, especially when it comes to ingredients like salt and lemon juice, which can easily overpower the dish if added in excess. A can opener is a simple yet crucial tool for accessing the chickpeas, and a nice serving bowl adds a touch of presentation that makes the hummus more inviting.
The Benefits of Each Ingredient
| Ingredient | What it does here |
|---|---|
| Garlic | Adds a pungent, savory depth |
| Chickpeas | Provide protein and a creamy base |
| Lemon juice | Brightens and balances the flavors |
| Tahini | Adds a rich, nutty undertone |
| Olive oil | Contributes to smoothness and richness |
Each ingredient in this hummus recipe plays a crucial role in the final flavor profile and nutritional value. Garlic, with its bold aroma, adds a savory depth that complements the nuttiness of tahini. Chickpeas are the star of the show, providing a creamy base that is high in protein and fiber. This legume is also a great source of vitamins and minerals, making hummus a healthy addition to any diet.
Lemon juice is the secret ingredient that brightens the entire dish, cutting through the richness of the tahini and olive oil. It adds a refreshing tang that elevates the hummus from ordinary to extraordinary. Tahini, made from ground sesame seeds, is not only a source of healthy fats but also imparts a subtle nuttiness that is quintessential to real hummus.
Olive oil is the finishing touch that brings everything together. Its smoothness and richness enhance the overall texture, making the hummus silky and luxurious. Plus, olive oil is a source of monounsaturated fats, which are known for their heart-health benefits.
What to Serve With This Real Hummus
| Idea | Why it pairs well |
|---|---|
| Fresh veggies | Adds crunch and complements the creaminess |
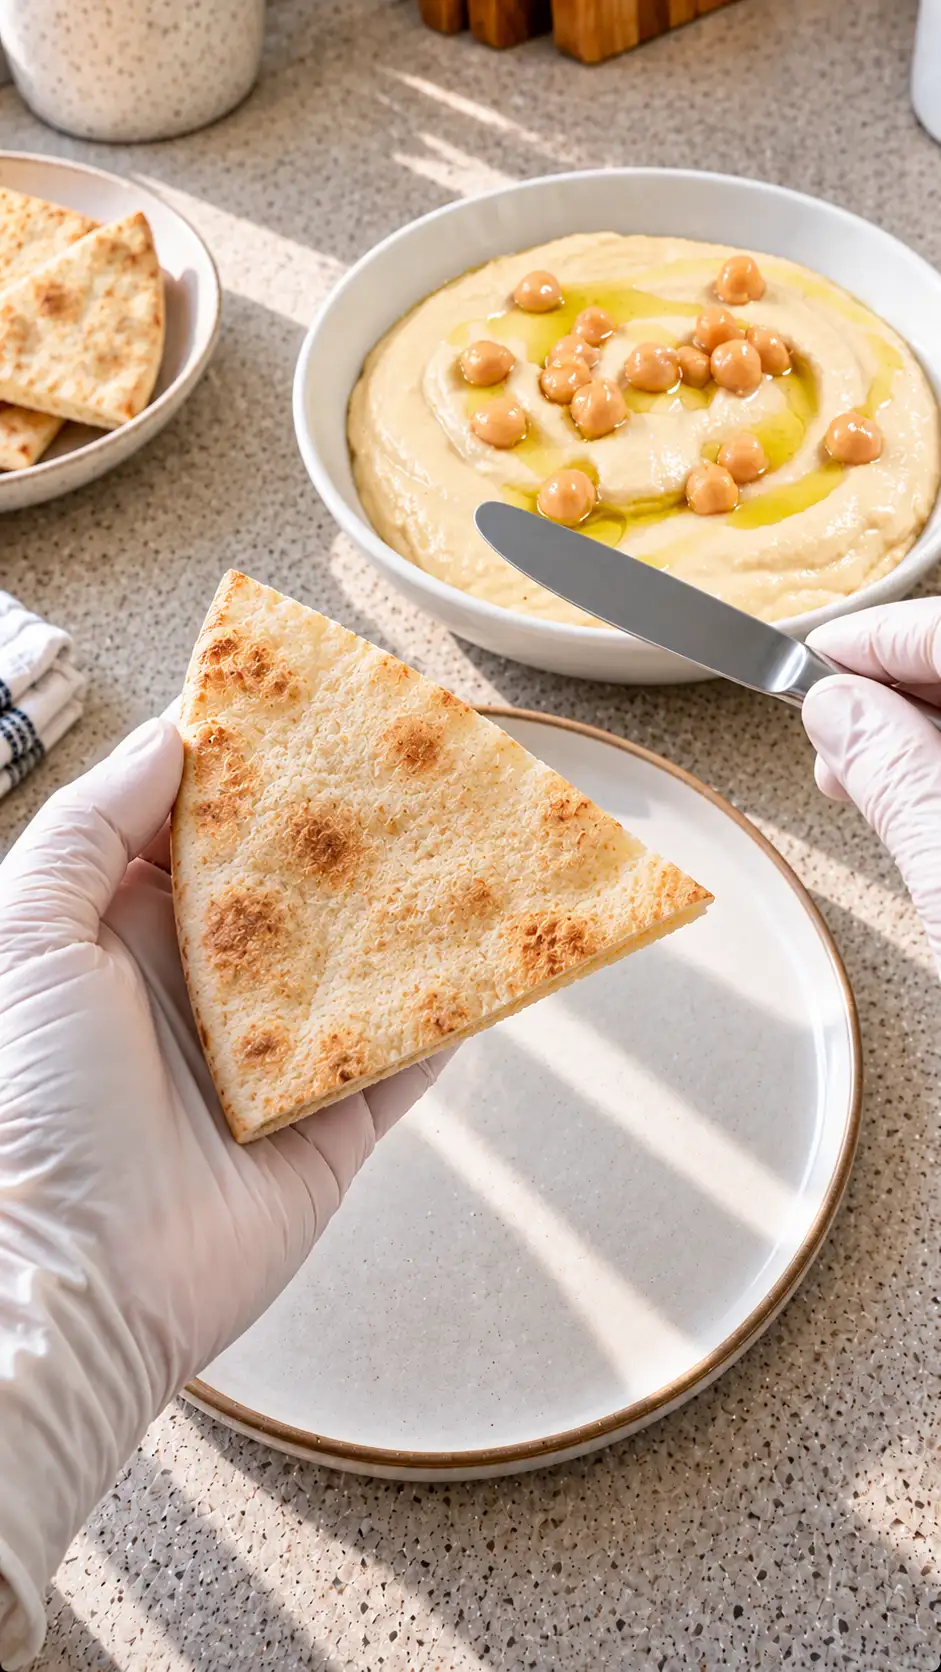
| Pita bread | Classic pairing that enhances the texture |
| Grilled meats | Offers a protein boost and flavor contrast |
The beauty of hummus lies in its versatility. It pairs well with a variety of foods, making it a perfect addition to any meal or snack platter. Fresh vegetables like carrots, celery, cucumber, and bell peppers add a satisfying crunch that complements the creamy texture of hummus. These veggie sticks not only provide a burst of color to your presentation but also increase the nutritional value of your meal.
Pita bread is a classic pairing for hummus. Its soft, chewy texture contrasts beautifully with the smoothness of the dip, creating a satisfying eating experience. You can serve pita bread as is, or lightly toast it for extra warmth and crispness.
For a more substantial meal, consider serving hummus alongside grilled meats such as chicken, lamb, or beef. The savory, smoky flavors of the grilled meats are enhanced by the creamy, tangy hummus, creating a balanced and flavorful dish. This combination is particularly popular in Middle Eastern cuisine, where hummus often accompanies a variety of grilled dishes.
Storage & Leftover Tips
| Method | How long | Tip |
|---|---|---|
| Refrigerator | 5 days | Store in an airtight container |
| Freezer | 3 months | Freeze in small portions for easy thawing |
Proper storage is key to maintaining the freshness and flavor of your homemade hummus. In the refrigerator, hummus will keep for up to five days when stored in an airtight container. This prevents the dip from drying out and protects it from absorbing any odors from other foods.
For longer storage, consider freezing your hummus. It’s best to divide it into small portions before freezing, as this allows for easy thawing and reduces waste. When you’re ready to enjoy it, simply move a portion from the freezer to the refrigerator to thaw overnight. Once thawed, give the hummus a good stir to restore its creamy consistency.
Enjoying real hummus at home is not only rewarding but also a fantastic way to introduce healthy snacking habits to your family. The simplicity of the ingredients allows the natural flavors to shine, making it a dish you’ll come back to time and time again. Whether you’re dipping fresh veggies or spreading it on sandwiches, this hummus is sure to become a family favorite.
In conclusion, this real hummus recipe is a testament to the power of simple, wholesome ingredients. Its ease of preparation, versatility, and nutritional benefits make it a must-have in your recipe repertoire. Whether you’re a seasoned cook or a kitchen novice, you’ll find that making hummus from scratch is both satisfying and delicious. So, gather your ingredients, fire up your blender, and enjoy the delightful experience of creating real hummus at home.
FAQs About REAL HUMMUS
Can I substitute tahini in this recipe?
Yes, if you don’t have tahini, you can substitute it with a smooth peanut butter or almond butter, though the flavor will be slightly different.
How long can I store homemade hummus?
Homemade hummus can be stored in the refrigerator for up to 5 days in a well-sealed container. For longer storage, freeze it for up to 3 months.
Is this hummus recipe vegan?
Yes, this real hummus recipe is entirely vegan, as it contains no animal products. It’s a great option for those following a plant-based diet. For more delightful recipes, check out my Easy Falafel and Classic Baba Ganoush articles. If you’re curious about the health benefits of chickpeas, you might find this USDA article quite informative. Enjoy making and sharing this wonderful dish!
Real Hummus
Ingredients
Equipment
Method
- Drain the chickpeas, saving half the can liquid. Reserve about 1 tablespoon of chickpeas for garnish.
- Chop the garlic in a blender.
- Add the remaining chickpeas, lemon juice, tahini, salt and reserved liquid. Blend until creamy, scraping down as needed. Add the liquid gradually if you want closer control over thickness.
- Transfer to a serving bowl. Drizzle with the olive oil, season with pepper and add the reserved chickpeas.
- Serve with pita. Refrigerate leftovers in a covered container.