
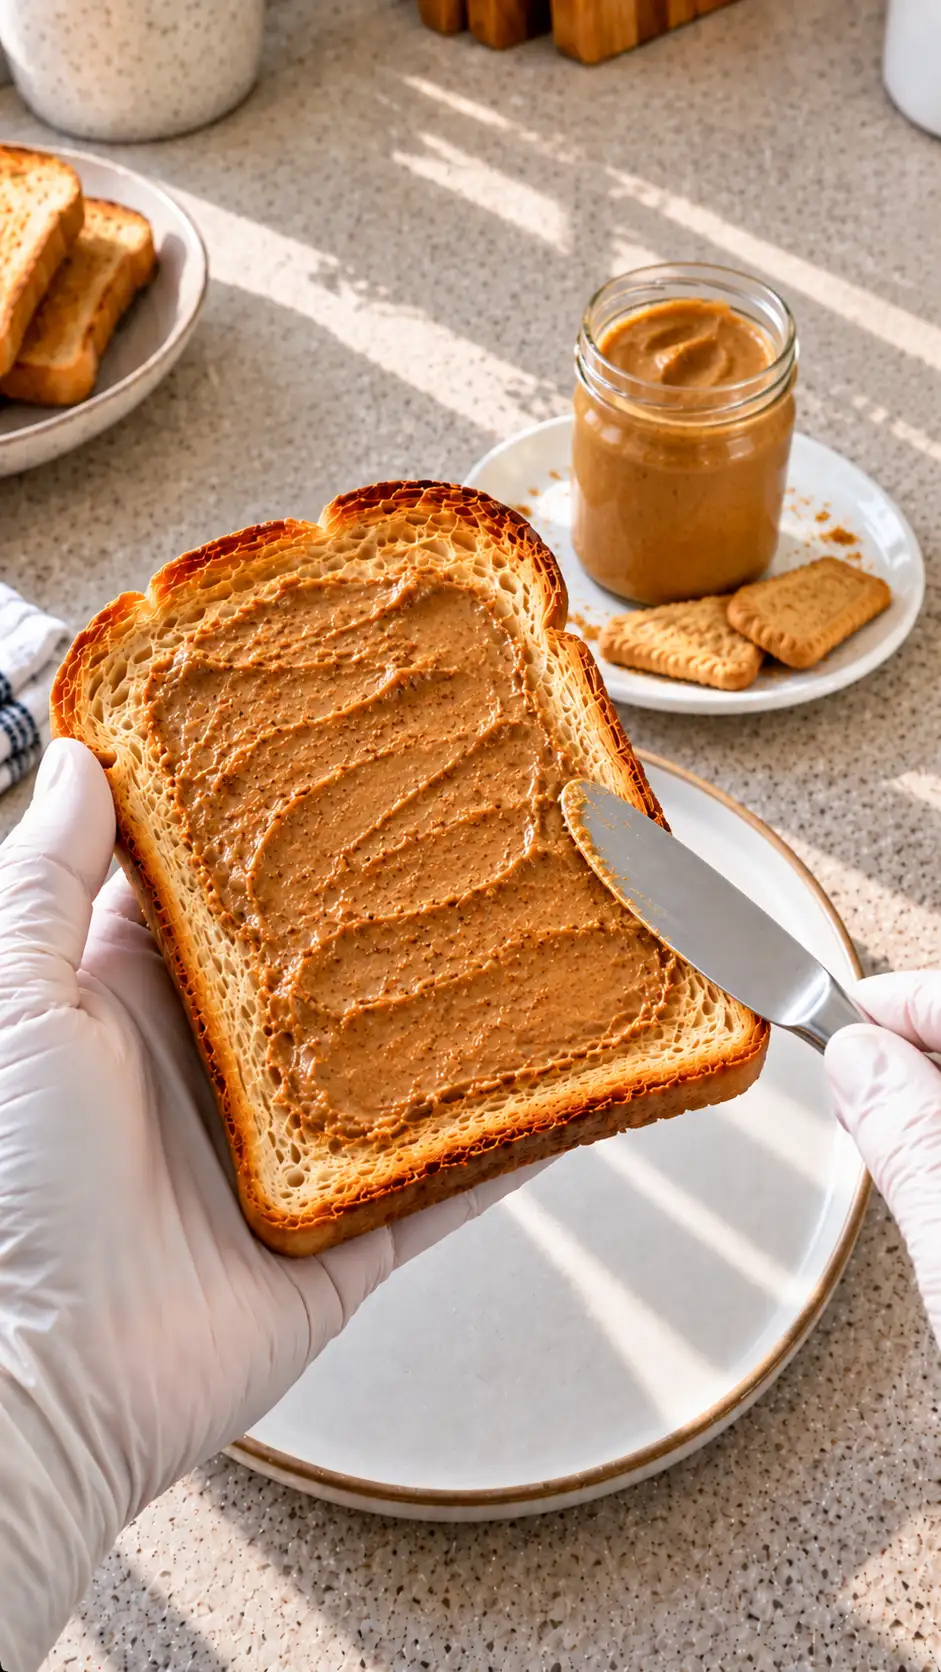
Homemade cookie butter is a delightful treat that brings a warm, sweet, and slightly spiced flavor to your breakfast or snack time. If you’ve ever enjoyed the creamy, rich taste of store-bought cookie butter, you’re in for a treat with this homemade version. Made with speculoos cookies, this spread is perfect for slathering on toast, pancakes, or waffles. Plus, it’s incredibly easy to make, requiring just a few simple ingredients and a food processor. Whether you’re looking to impress your family with a homemade treat or simply indulge in a little comfort food, this homemade cookie butter recipe is sure to become a new favorite in your household.
Table of Contents
Why You’ll Love This Homemade Cookie Butter
There are so many reasons to fall in love with this homemade cookie butter. First and foremost, it’s incredibly easy to make. With just 15 minutes of prep time, you can have a delicious, creamy spread ready to enjoy. The ingredients are simple and likely already in your pantry, which means no need for complicated shopping trips. Plus, this recipe is versatile. You can adjust the consistency to your liking, making it as thick or as smooth as you prefer. And let’s not forget the flavor—it’s rich, sweet, and perfectly spiced, just like the speculoos cookies it’s made from. If you’re a fan of comfort foods, this homemade cookie butter is a must-try!
The simplicity of the recipe ensures that even those who are not seasoned bakers can master it. Unlike many other spreads, cookie butter doesn’t demand precision or a long list of ingredients. The core component, speculoos cookies, is the star, providing a robust, spiced flavor that’s both nostalgic and indulgent. Whether you’re preparing a quick breakfast or looking for a unique topping for desserts, cookie butter is versatile enough to meet your needs.
Moreover, personalizing the recipe is easy. If you prefer a nuttier taste, you can incorporate almond or cashew butter. For a chocolatey twist, consider adding a spoonful of cocoa powder. The possibilities are endless, making this recipe not only a treat for the taste buds but also a creative outlet for kitchen experimentation. Beyond its taste and adaptability, making cookie butter at home is a more economical option than buying pre-made versions, and the satisfaction of creating it yourself is unparalleled.
The Recipe
For the Cookie Butter:
| Amount | Ingredient | Notes |
|---|---|---|
| 250 g | speculoos cookies | such as Lotus Biscoff |
| 60 ml | butter | melted |
| 60 ml | neutral oil | canola or vegetable oil is recommended |
| 55 g | brown sugar | adds a rich sweetness |
| 55 g | granulated sugar | for balanced sweetness |
| 2 tsp | honey | adds a floral sweetness |
| 1 tsp | vanilla extract | for additional flavor |
| 0.25 tsp | salt | enhances flavor |
| 60 ml | water | added gradually as needed |
- Begin by processing the speculoos cookies in a food processor until they are very fine crumbs.
- With the processor on low, gradually add the melted butter, neutral oil, brown sugar, granulated sugar, honey, vanilla extract, and salt.
- Add the water one tablespoon at a time, blending between each addition, until the mixture reaches your desired spreadable consistency. Use less water for a thicker butter, or a bit more if you prefer it thinner.
- Scrape down the sides of the processor as needed to ensure everything is well blended. Transfer the cookie butter to a clean jar.
- Enjoy your homemade cookie butter on toast, pancakes, or waffles. Store it in the refrigerator, and if it becomes firm, simply warm a small amount before spreading.
This recipe’s beauty lies in its balance of flavors and ease of preparation. The speculoos cookies provide a spiced backbone, while the mix of brown and granulated sugars delivers a nuanced sweetness. The inclusion of honey introduces a subtle floral undertone, and the vanilla extract adds warmth and depth. The choice of a neutral oil ensures the spread remains silky, without overpowering the inherent cookie flavors. Adding salt is an essential step, as it accentuates all the sweet notes, preventing the butter from becoming overly sugary.
When blending, it’s important to add the water gradually. This step allows you to control the final texture, ensuring you achieve the perfect spreadability according to your preference. If you’re aiming for a thicker consistency, less water will do. Conversely, for a more fluid spread, a bit more water will help. Remember, the consistency can also slightly change depending on storage conditions, but a gentle warm-up can bring it back to your preferred texture.
Kitchen Tools You’ll Need
| Tool | Why you need it |
|---|---|
| Food Processor | Essential for grinding the cookies into fine crumbs and blending the ingredients together. |
| Measuring Cups | To accurately measure liquid ingredients like butter and oil. |
| Measuring Spoons | For precise measurement of vanilla extract and salt. |
| Jar or Container | To store your cookie butter and keep it fresh. |
The food processor is the heart of this operation, transforming the crunchy cookies into a smooth, spreadable delight. Without it, achieving the desired consistency would be challenging. Measuring cups and spoons are crucial for maintaining the recipe’s balance; even slight deviations can alter the final product’s taste and texture. Storing your creation in an airtight jar helps preserve its freshness and flavor, making it ready for your next craving.
The Benefits of Each Ingredient
| Ingredient | What it does here |
|---|---|
| Speculoos Cookies | Provide the base flavor and texture for the spread. |
| Butter | Adds richness and helps achieve a creamy texture. |
| Neutral Oil | Ensures smoothness and prevents the butter from hardening. |
| Brown Sugar | Enhances the sweetness with a deep, molasses-like flavor. |
| Granulated Sugar | Balances the sweetness without overpowering. |
| Honey | Adds a subtle floral note and richness. |
| Vanilla Extract | Infuses the spread with warm, aromatic flavor. |
| Salt | Enhances the overall flavor by balancing sweetness. |
| Water | Adjusts the consistency to your preference. |
Understanding the role of each ingredient helps in appreciating the complexity of the spread. Speculoos cookies are the foundation, bringing their unique spice blend to the forefront, while butter and oil work in tandem to deliver a creamy, smooth consistency. The sugars, both brown and granulated, complement each other by providing depth and balance in sweetness, ensuring the cookie butter isn’t overwhelmingly sugary. Honey, with its floral notes, pairs beautifully with the vanilla extract, enhancing the aromatic profile. Salt, though minimal, is indispensable, as it highlights the sweetness and spices, making the overall flavor more pronounced. Finally, water is the unsung hero, fine-tuning the texture to your liking.
What to Serve With This Homemade Cookie Butter
| Idea | Why it pairs well |
|---|---|
| Toast | Simple and classic, allowing the flavors to shine. |
| Pancakes | Adds a sweet, spiced twist to your breakfast. |
| Waffles | Perfect for a luxurious weekend brunch. |
| Apple Slices | A healthy, crunchy contrast to the creamy butter. |
| Ice Cream | Turn your dessert into a gourmet treat. |
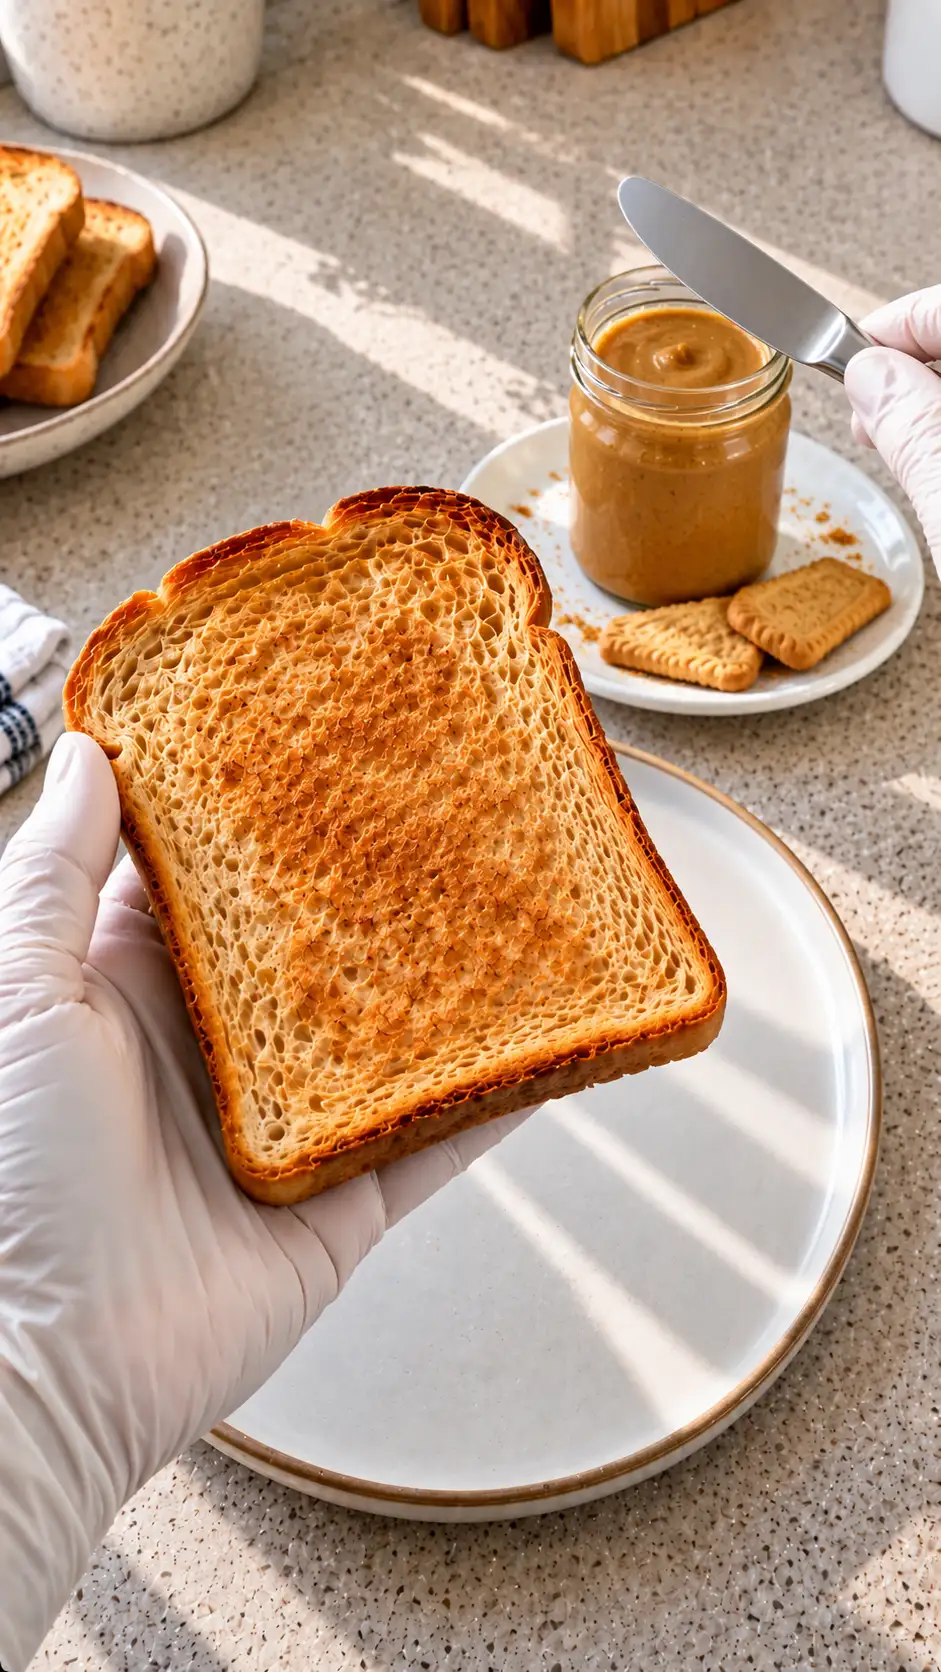
The beauty of homemade cookie butter is its versatility. A dollop on morning toast transforms a basic breakfast into something extraordinary. For a weekend treat, spread it over pancakes or waffles, and watch as it melts into the warm surfaces, infusing every bite with its spiced sweetness. If you’re looking for a healthier pairing, apple slices provide a refreshing contrast that highlights the butter’s creamy texture. As for dessert, a scoop of ice cream topped with cookie butter becomes an indulgent delight, offering a gourmet twist to a simple treat. Each serving suggestion brings out different aspects of the butter’s flavor, making it a favorite for any occasion.
Storage & Leftover Tips
| Method | How long | Tip |
|---|---|---|
| Refrigerator | Up to 2 weeks | Store in a sealed container to maintain freshness. |
| Freezer | Not recommended | Freezing can change the texture and consistency. |
| Room Temperature | Not recommended | Keep refrigerated to prevent spoilage. |
Proper storage ensures that your homemade cookie butter remains a fresh and delightful treat. Keeping it in the refrigerator prolongs its shelf life, allowing you to enjoy its flavors over a couple of weeks. While freezing might seem like a convenient option, it can alter the spread’s consistency, making it less desirable. Similarly, it’s best to avoid storing it at room temperature to prevent spoilage. If you find the butter hardening over time, a brief warming can restore its creamy texture, making it ready for your next culinary adventure.
With its delightful flavor and simple preparation, homemade cookie butter is a wonderful way to enjoy a little comfort food at home. Whether you’re spreading it on your morning toast or using it as a dip for apple slices, it’s sure to bring a smile to your face. Its easy customization and pairing options make it a staple in any kitchen, inviting creativity and indulgence with every jar.
FAQs About HOMEMADE COOKIE BUTTER
Can I use a different type of cookie?
Yes, you can experiment with different cookies, but speculoos provides the classic flavor. Try ginger snaps or graham crackers for a variation.
How should I store homemade cookie butter?
Store your cookie butter in an airtight container in the refrigerator. If it becomes too firm, simply warm a small amount before using.
Can I make this recipe vegan?
To make it vegan, substitute the butter with a vegan margarine and use maple syrup instead of honey.
Homemade Cookie Butter
Ingredients
Equipment
Method
- Process the cookies into very fine crumbs.
- With the processor on low, gradually incorporate the butter, oil, both sugars, honey, vanilla and salt.
- Add water one tablespoon at a time, blending between additions, until the paste spreads easily. Use less for a thicker result; a little more can thin it further.
- Scrape the sides as needed and blend evenly. Transfer to a clean jar.
- Serve a little on toast, pancakes or waffles. Refrigerate covered; if it firms up, soften a small serving before spreading.