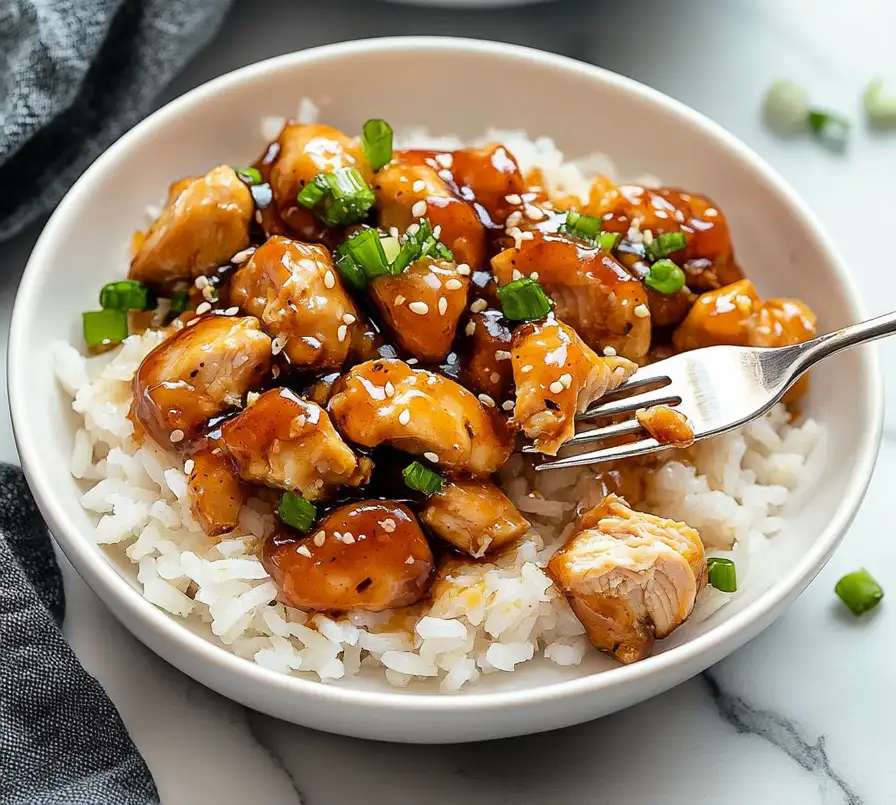
Honey Garlic Chicken Rice Bowls are one of my favorite go-to recipes when I need a quick and satisfying meal for the family. Packed with flavor from a delightful honey garlic sauce, these bowls are a guaranteed hit at the dinner table. With just 35 minutes from start to finish, you’ll have a delicious, nutritious meal ready that everyone will love. Let’s dive into what makes these Honey Garlic Chicken Rice Bowls so special.
For those who love experimenting with flavors, the combination of honey and garlic in cooking is a classic that never disappoints. The sweetness of honey not only complements the savory notes of garlic but also helps in creating a sticky glaze that clings beautifully to the chicken. If you’re interested in exploring how honey can be used in different recipes, check out BBC Good Food for inspiration. Additionally, understanding the nutritional benefits of garlic and its role in enhancing flavors can be quite insightful; you might find this article from the USDA helpful in learning more.
Table of Contents
Why You’ll Love This Dish
These Honey Garlic Chicken Rice Bowls are not only quick to prepare but also incredibly versatile. Whether you prefer chicken breast or thighs, you can easily tailor the recipe to your taste. The combination of savory soy sauce, sweet honey, and fresh garlic creates a mouthwatering sauce that elevates simple ingredients into a comforting meal. Plus, you can customize it with your favorite vegetables, making it a perfect dish for using up what you have on hand.
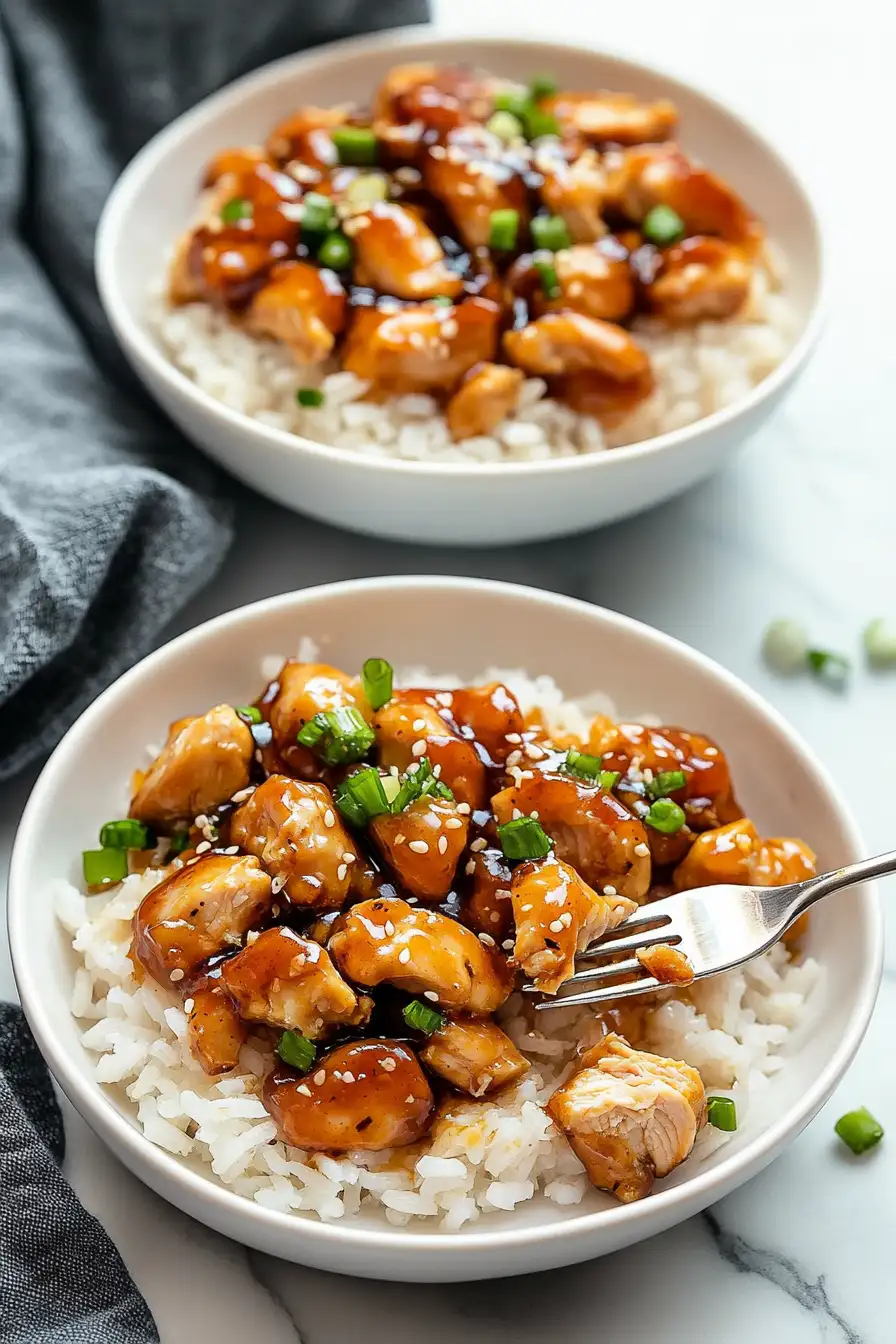
This dish brings the whole family together, providing a balanced meal with protein, carbohydrates, and vegetables. It’s also a great option if you’re looking to meal prep for the week, as it stores well and can be easily reheated. The honey garlic sauce, in particular, is a standout, blending the sweetness of honey with the depth of soy sauce and the sharpness of fresh garlic. This trifecta of flavors ensures that every bite is packed with taste, making it a dish that will appeal to both kids and adults alike.
Moreover, the adaptability of this dish makes it incredibly convenient. You can switch out the vegetables based on what’s in season or what you have ready in your fridge. Think of it as a canvas, where you can add your favorite colors—perhaps some snow peas in the spring, zucchini in the summer, or some butternut squash in the fall. This flexibility ensures that the meal never grows old, allowing you to enjoy it all year round with slight variations that keep it fresh and exciting.
The simplicity of the preparation is another reason this dish is a winner. In a world where time is often limited, having a recipe that can be whipped up in less than an hour is a blessing. The quick cooking time doesn’t compromise the flavor, as each ingredient plays a crucial role in building a complex and delightful taste profile. Let’s get started with the recipe!
The Recipe
For the chicken and sauce:
| Amount | Ingredient | Notes |
|---|---|---|
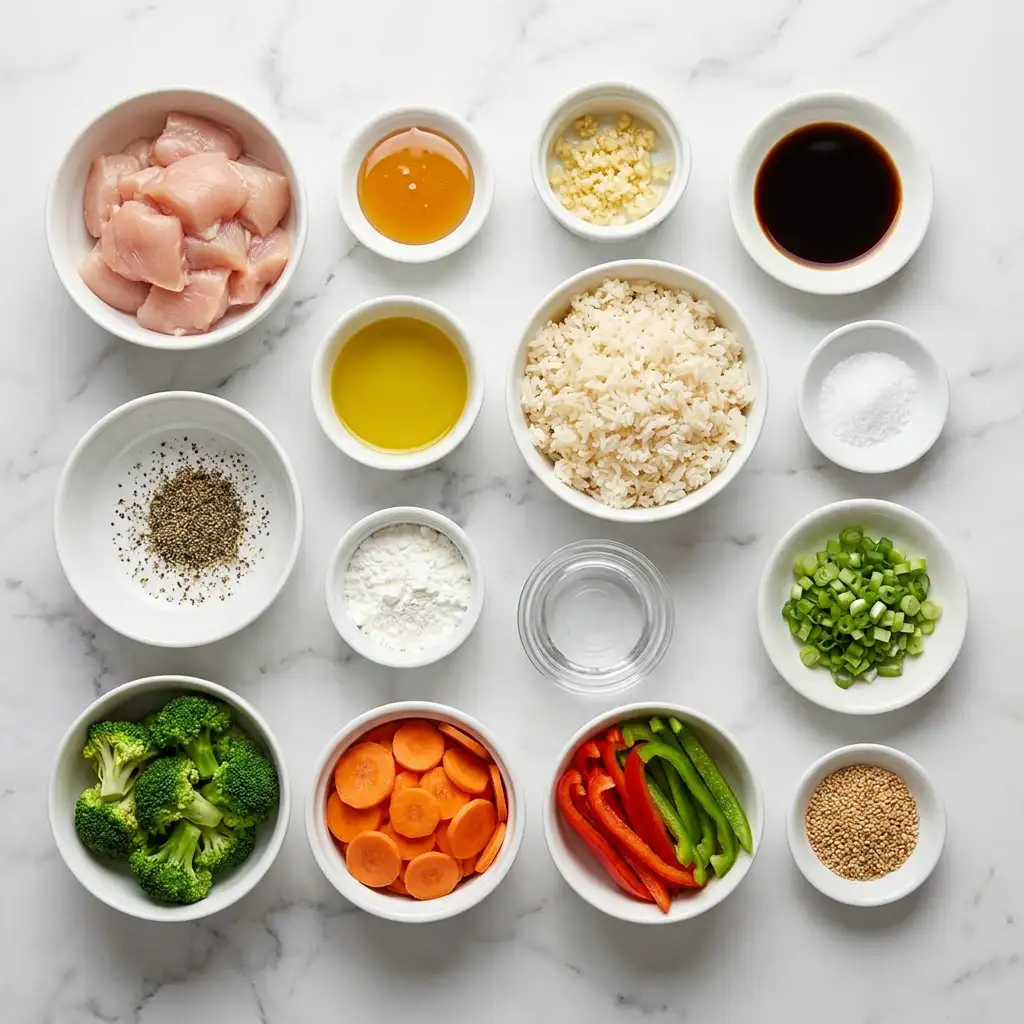
| 500 g | Chicken breast or chicken thighs | Boneless, skinless, bite-sized |
| 60 ml | Honey | Adjust sweetness to taste |
| 3 | Garlic cloves | Fresh is best, minced |
| 60 ml | Soy sauce | Use low sodium if preferred |
| 30 ml | Olive oil or vegetable oil | For cooking the chicken |
| 1 tsp | Salt | To taste |
| 1 tsp | Black pepper | To taste |
| 2 tsp | Cornstarch | Optional, for thickening |
| 60 ml | Water | For sauce and cornstarch mix |
For serving:
| Amount | Ingredient | Notes |
|---|---|---|
| 400 g | Cooked rice | White, brown, or jasmine rice |
| 150 g | Broccoli | Cut into small florets |
| 100 g | Carrots | Sliced thinly |
| 100 g | Bell peppers | Sliced into strips |
| 2 | Green onions | Chopped for garnish |
| 1 tbsp | Sesame seeds | For garnish |
- First, start by cooking your rice according to the package instructions. Rice usually takes about 15–20 minutes, so it’s a good idea to start it first. Once it’s cooked, fluff it with a fork and set it aside to stay warm. Cooking the rice perfectly sets the foundation for the dish, providing a soft, fluffy bed to absorb the flavors of the honey garlic chicken.
- Next, cut the chicken into small, bite-sized pieces. Season the chicken lightly with salt and black pepper. This step is crucial as it ensures that each piece of chicken is flavorful on its own, even before it gets coated in the sauce. The bite-sized pieces cook quickly and evenly, making it easier to achieve that perfect golden exterior.
- Heat a large pan or skillet over medium heat and add the oil. When the oil is warm, add the chicken pieces in a single layer. Let them cook for a few minutes without moving them too much so they get a nice golden color. Flip the chicken and cook until it’s fully done and no longer pink inside. The key here is patience; allowing the chicken to sit undisturbed helps develop a beautiful sear that adds both flavor and texture.
- While the chicken is cooking, mix the honey, soy sauce, minced garlic, and a little water in a small bowl. If you want a thicker sauce, stir in a small amount of cornstarch. This mixture will infuse the chicken with a delightful balance of sweetness and savory notes. The cornstarch acts as a thickening agent, creating a sauce that clings to each piece of chicken, ensuring every bite is as flavorful as the last.
- Once the chicken is cooked, pour the honey garlic sauce into the pan. Stir gently so all the chicken is coated. Let the sauce simmer for a few minutes until it thickens slightly and becomes shiny and sticky. This step is where the magic happens, as the sauce transforms into a glossy glaze that envelops the chicken, imbuing it with rich flavor.
- If you are adding vegetables, you can toss them into the pan during the last few minutes of cooking. This helps them stay bright and a little crunchy. Turn off the heat once everything is coated in sauce. The vegetables add a pop of color and texture, making the dish not only more nutritious but also visually appealing.
- To serve, scoop rice into bowls and top with the honey garlic chicken. Add extra sauce from the pan over the rice for more flavor. Finish with green onions or sesame seeds if you like. The garnishes provide a fresh, vibrant contrast to the rich, savory chicken and create a bowl that’s as beautiful as it is delicious.
Kitchen Tools You’ll Need
| Tool | Why you need it |
|---|---|
| Large pan | For cooking the chicken and vegetables |
| Cutting board | To chop chicken and vegetables safely |
| Knife | To cut chicken and vegetables into pieces |
| Measuring cup | To measure honey and soy sauce accurately |
| Mixing bowl | To combine sauce ingredients |
Having the right tools on hand makes the cooking process seamless and efficient. A good quality knife and cutting board ensure that you can prep your ingredients quickly and safely, while a reliable pan is essential for achieving that perfect sear on the chicken.
The Benefits of Each Ingredient
| Ingredient | What it does here |
|---|---|
| Chicken | Provides lean protein |
| Honey | Adds natural sweetness and a sticky texture |
| Garlic | Enhances flavor with its aromatic quality |
| Soy sauce | Provides savory, umami depth |
| Olive oil | Helps cook the chicken evenly |
| Rice | Serves as a hearty base for the meal |
| Broccoli | Adds fiber and nutrients |
| Carrots | Provides a touch of sweetness and color |
| Bell peppers | Adds freshness and crunch |
| Green onions | Offers a fresh, mild onion flavor as garnish |
| Sesame seeds | Provides a nutty flavor and texture |
Each ingredient in this recipe plays a vital role in creating a dish that’s not only delicious but also balanced and nutritious. The chicken offers a hearty source of protein, while the honey and soy sauce create a flavorful glaze. Fresh vegetables add color and nutrition, making the dish as healthy as it is tasty.
What to Serve With This Dish
| Idea | Why it pairs well |
|---|---|
| Steamed edamame | Adds protein and complements Asian flavors |
| Miso soup | Provides a warm, comforting start to the meal |
| Cucumber salad | Refreshing contrast to the warm chicken bowl |
Pairing this dish with the right sides can elevate the meal, turning a simple dinner into a complete dining experience. The lightness of a cucumber salad or the richness of miso soup can complement the hearty, flavorful bowls, offering a delightful balance of flavors and textures.
Storage & Leftover Tips
| Method | How long | Tip |
|---|---|---|
| Refrigerator | 3-4 days | Store in an airtight container |
| Freezer | Up to 2 months | Freeze individual portions for easy reheating |
| Reheating | Until warmed | Reheat on stove or microwave, adding a splash of water if dry |
Effective storage strategies ensure that your meal retains its quality and flavor, even when enjoyed as leftovers. By storing in airtight containers, you prevent moisture loss and maintain the dish’s vibrant flavors. Freezing individual portions makes it easy to enjoy a quick, satisfying meal on busy days.
As you can see, this Honey Garlic Chicken Rice Bowl is a versatile and family-friendly dish that can be adjusted to suit your tastes and preferences. Whether you’re using up leftover vegetables or making it fresh, it’s a comforting meal that’s sure to satisfy. The ease of preparation, combined with the delightful blend of flavors, makes it a go-to recipe that you’ll find yourself returning to time and again. Enjoy the process of making it, and savor every bite!
FAQs About Honey Garlic Chicken Rice Bowls
Can I substitute chicken thighs for chicken breast?
Yes, you can use either chicken thighs or breast, depending on your preference. Thighs are juicer, while breasts have a leaner texture.
How should I store leftovers?
Store any leftovers in an airtight container in the refrigerator for up to 3-4 days. For longer storage, freeze individual portions for up to 2 months.
Is there a way to make this dish gluten-free?
Absolutely! Use gluten-free soy sauce to make this dish suitable for a gluten-free diet. Check that all other ingredients, like cornstarch, are also gluten-free. I hope you enjoy making and eating these Honey Garlic Chicken Rice Bowls as much as my family does. They’re a delightful blend of flavors and textures that bring warmth and comfort to the table. For more delicious recipes, check out my Teriyaki Chicken Stir-Fry and Easy Sesame Noodles. If you’re interested in learning more about the nutritional benefits of these ingredients, you can visit the USDA's FoodData Central for detailed information.
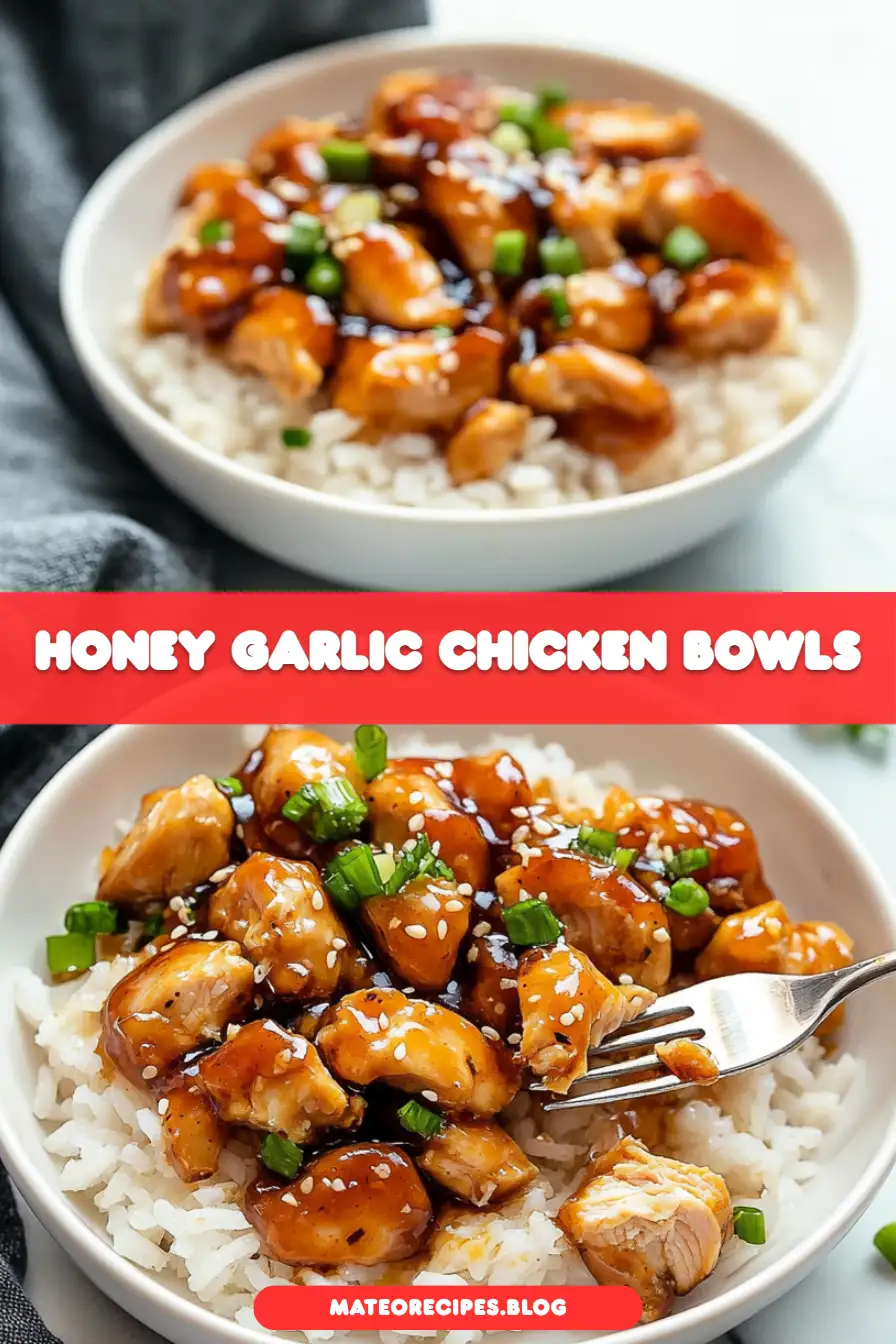
Honey Garlic Chicken Rice Bowls
Ingredients
Equipment
Method
- First, start by cooking your rice according to the package instructions. Rice usually takes about 15–20 minutes, so it’s a good idea to start it first. Once it’s cooked, fluff it with a fork and set it aside to stay warm.
- Next, cut the chicken into small, bite-sized pieces. Season the chicken lightly with salt and black pepper.
- Heat a large pan or skillet over medium heat and add the oil. When the oil is warm, add the chicken pieces in a single layer. Let them cook for a few minutes without moving them too much so they get a nice golden color. Flip the chicken and cook until it’s fully done and no longer pink inside.
- While the chicken is cooking, mix the honey, soy sauce, minced garlic, and a little water in a small bowl. If you want a thicker sauce, stir in a small amount of cornstarch.
- Once the chicken is cooked, pour the honey garlic sauce into the pan. Stir gently so all the chicken is coated. Let the sauce simmer for a few minutes until it thickens slightly and becomes shiny and sticky.
- If you are adding vegetables, you can toss them into the pan during the last few minutes of cooking. This helps them stay bright and a little crunchy. Turn off the heat once everything is coated in sauce.
- To serve, scoop rice into bowls and top with the honey garlic chicken. Add extra sauce from the pan over the rice for more flavor. Finish with green onions or sesame seeds if you like.