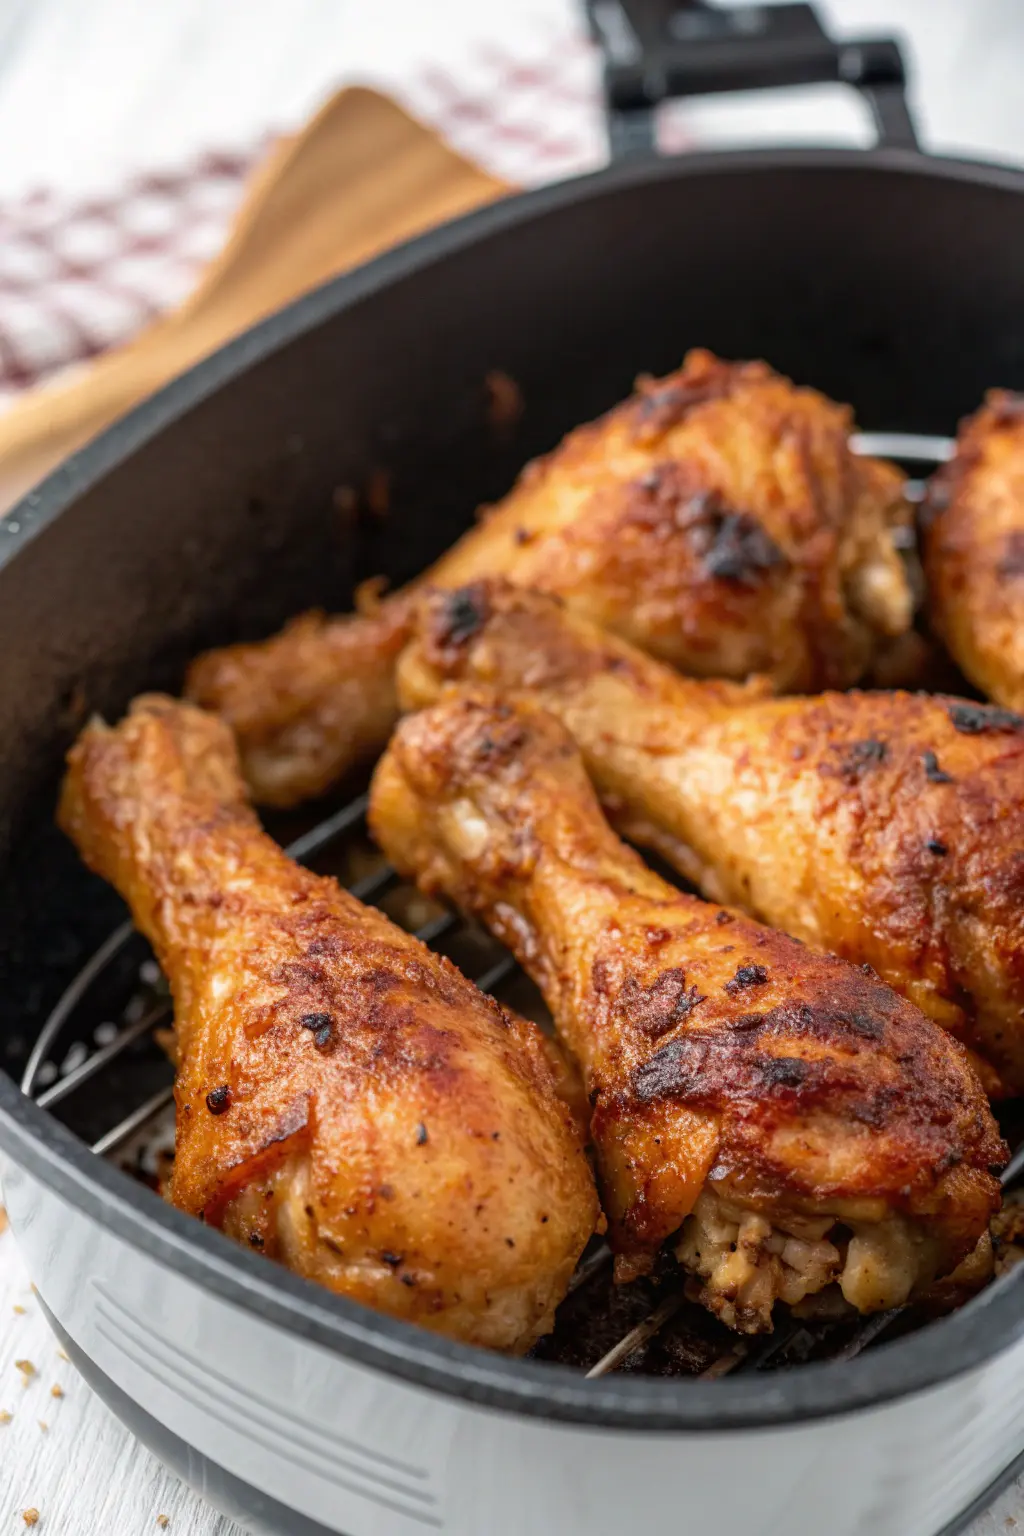
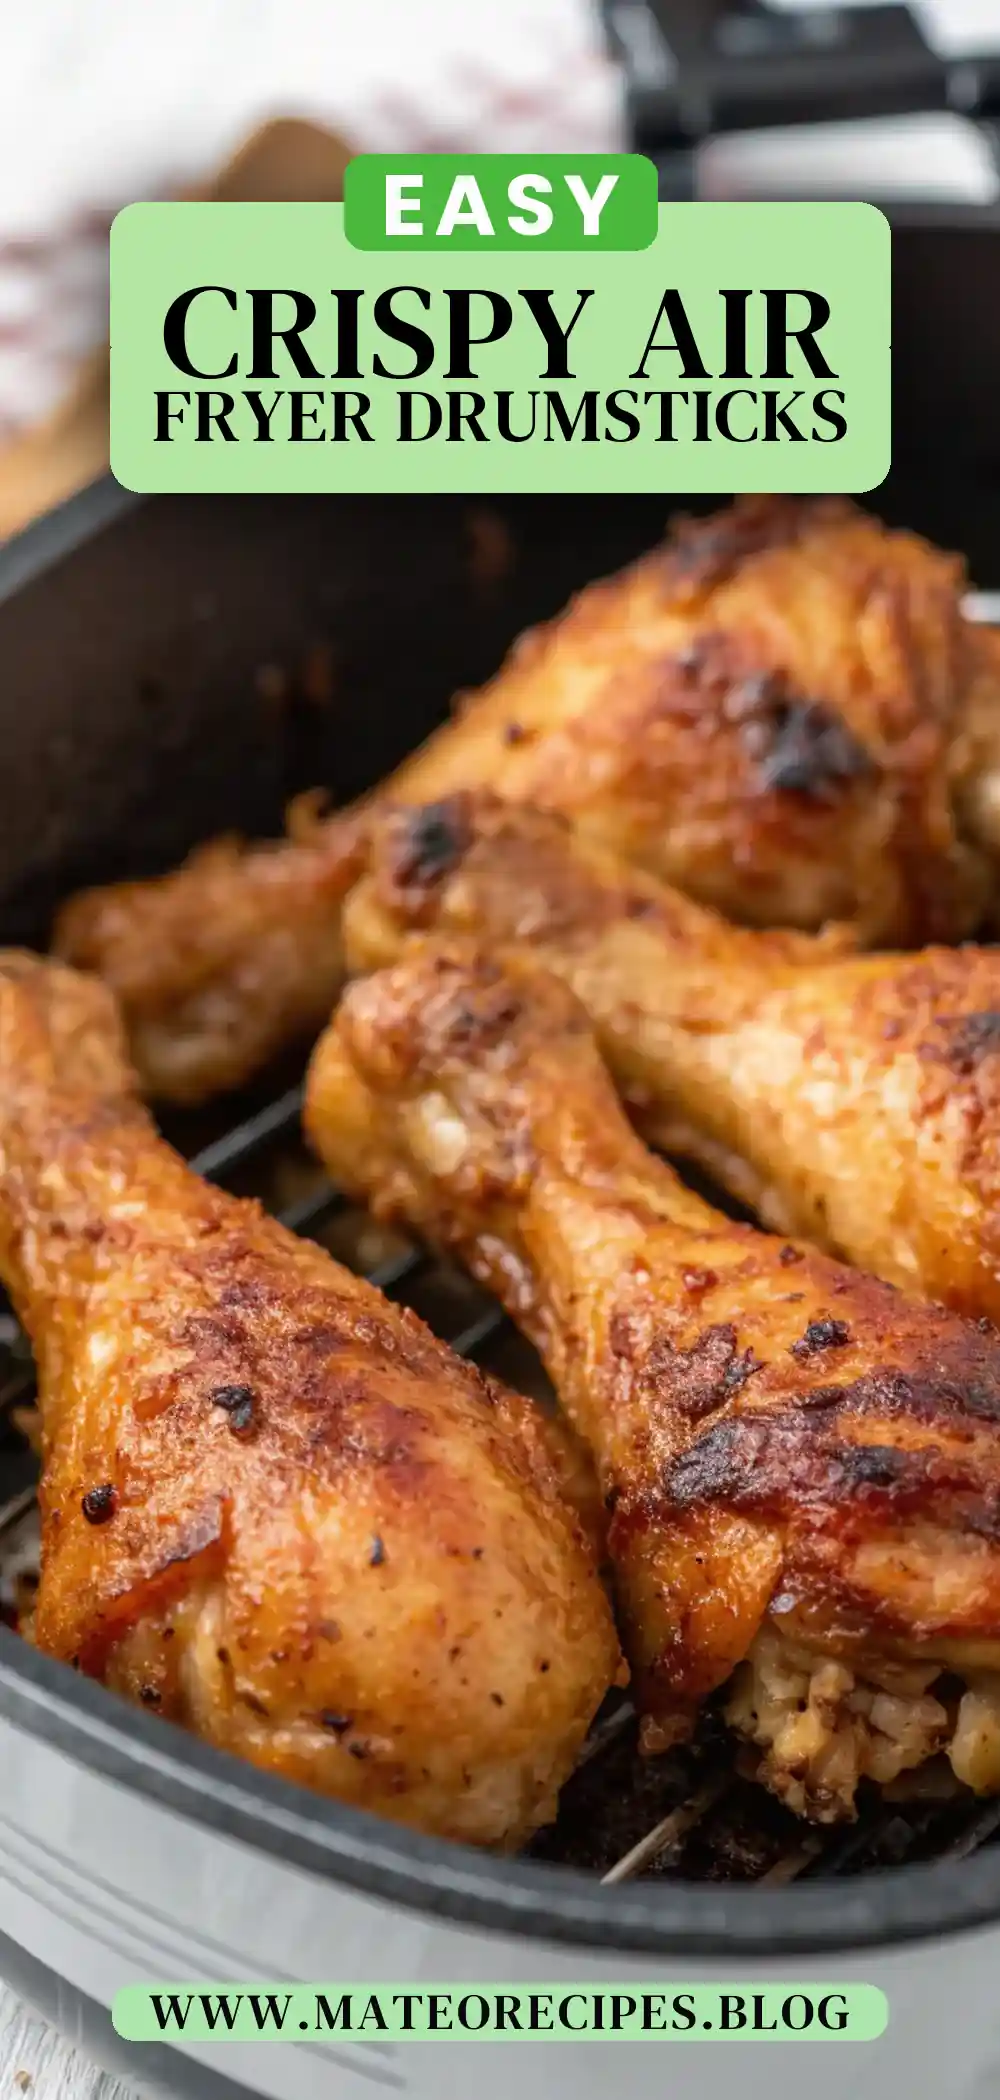
Hey there, friends! Today, I’m thrilled to share with you one of my all-time favorite recipes that’s become a staple in my home: Air Fryer Chicken Drumsticks. If you’re like me, always on the lookout for meals that bring the family together around the table, you’re in for a treat. These drumsticks pack a punch of flavor and deliver that satisfying crunch we all love, without the guilt of deep frying. Gather ’round, and let’s dive into this family-friendly dish that’s sure to become a regular in your kitchen too!
Why You’ll Love This Recipe
-
Quick and Easy: With just 10 minutes of prep time, you can have these drumsticks ready for the air fryer. Perfect for those busy weeknights! You don’t need to spend hours in the kitchen to create a meal that everyone will love. This recipe is all about simplicity without sacrificing flavor. Even if you’re a novice cook, you’ll find this recipe straightforward and rewarding, thanks to its minimal steps and few ingredients.
-
Healthy Alternative: By using an air fryer, you cut down on excess oil, making these drumsticks a healthier option compared to traditional frying. The air fryer circulates hot air around the food, creating a crispy layer without the need for submerging the chicken in oil. This method not only reduces calories but also retains more nutrients in the chicken, making it a win-win for health-conscious eaters.
-
Flavor-Packed: The combination of garlic powder, onion powder, and smoked paprika gives a robust and smoky flavor that’s simply irresistible. These spices work harmoniously to create a rich taste that will leave you craving more. You can also experiment by adding other spices or herbs to tailor the flavor profile to your liking, such as thyme or rosemary.
-
Family-Friendly: These drumsticks are mild enough for the kids but can be spiced up with a bit of cayenne pepper for the adults. It’s an adaptable recipe that allows you to cater to varied palates within the same meal. Consider letting family members add their own spice level at the table with a selection of hot sauces or chili flakes.
-
Versatile Pairing: They pair wonderfully with a variety of sides, making them perfect for any family dinner setting. Whether you prefer classic sides or are looking to try something new, these drumsticks will complement them beautifully. You can even create themed dinners by pairing them with sides from different cuisines, like a Mediterranean salad or Asian stir-fried vegetables.
The Recipe
Prep time: 10 minutes
Cook time: 25 minutes
Temperature: 400°F
Servings: 4
Calories: Approximately 220 per serving
Ingredients:
- 8 chicken drumsticks
- 2 tablespoons olive oil
- 1 teaspoon garlic powder
- 1 teaspoon onion powder
- 1 teaspoon smoked paprika
- 1 teaspoon salt
- ½ teaspoon black pepper
- ½ teaspoon cayenne pepper (optional for spice)
Instructions:
-
Preheat the Air Fryer: Set your air fryer to 400°F (200°C) and let it preheat for about 5 minutes. This ensures that your drumsticks start cooking immediately, resulting in that desired crispiness. Preheating is an essential step that helps in achieving an even cook and a perfect texture. Skipping this step might lead to uneven cooking, which can affect both taste and presentation.
-
Mix the Seasonings: In a large bowl, combine the olive oil, garlic powder, onion powder, smoked paprika, salt, black pepper, and cayenne pepper. This mixture is the heart of our flavor, so make sure everything is well combined. You might even consider doubling the batch of seasoning to keep on hand for other dishes. A well-mixed seasoning ensures that every bite is consistent and flavorful.
-
Coat the Drumsticks: Add the chicken drumsticks to the bowl and toss them until they’re evenly coated with the seasoning mixture. You might want to get your hands in there to make sure every part of the drumstick gets some love. This ensures that each bite is packed with flavor. For an extra touch, you can marinate the drumsticks for a few hours before cooking to deepen the flavors.
-
Arrange in the Air Fryer: Place the drumsticks in a single layer in the air fryer basket. Make sure they’re not overcrowded to allow even cooking and crisping. Overcrowding can lead to uneven cooking, so if necessary, cook in batches. Cooking in batches can also ensure that each drumstick receives equal air circulation for optimal crispiness.
-
Cook and Flip: Cook the drumsticks at 400°F for 25 minutes, flipping them halfway through. This flipping is crucial for even cooking and ensures that beautiful golden brown all around. Use tongs to flip the drumsticks gently to prevent tearing the skin. A gentle touch preserves the skin, which is key for maintaining the drumstick’s appeal and texture.
-
Check for Doneness: Use a meat thermometer to ensure the internal temperature reaches 165°F. If needed, cook for an additional 3-5 minutes. Chicken must be cooked thoroughly to ensure safety and to bring out its full flavor. Ensuring proper doneness is crucial, as undercooked chicken can pose health risks.
-
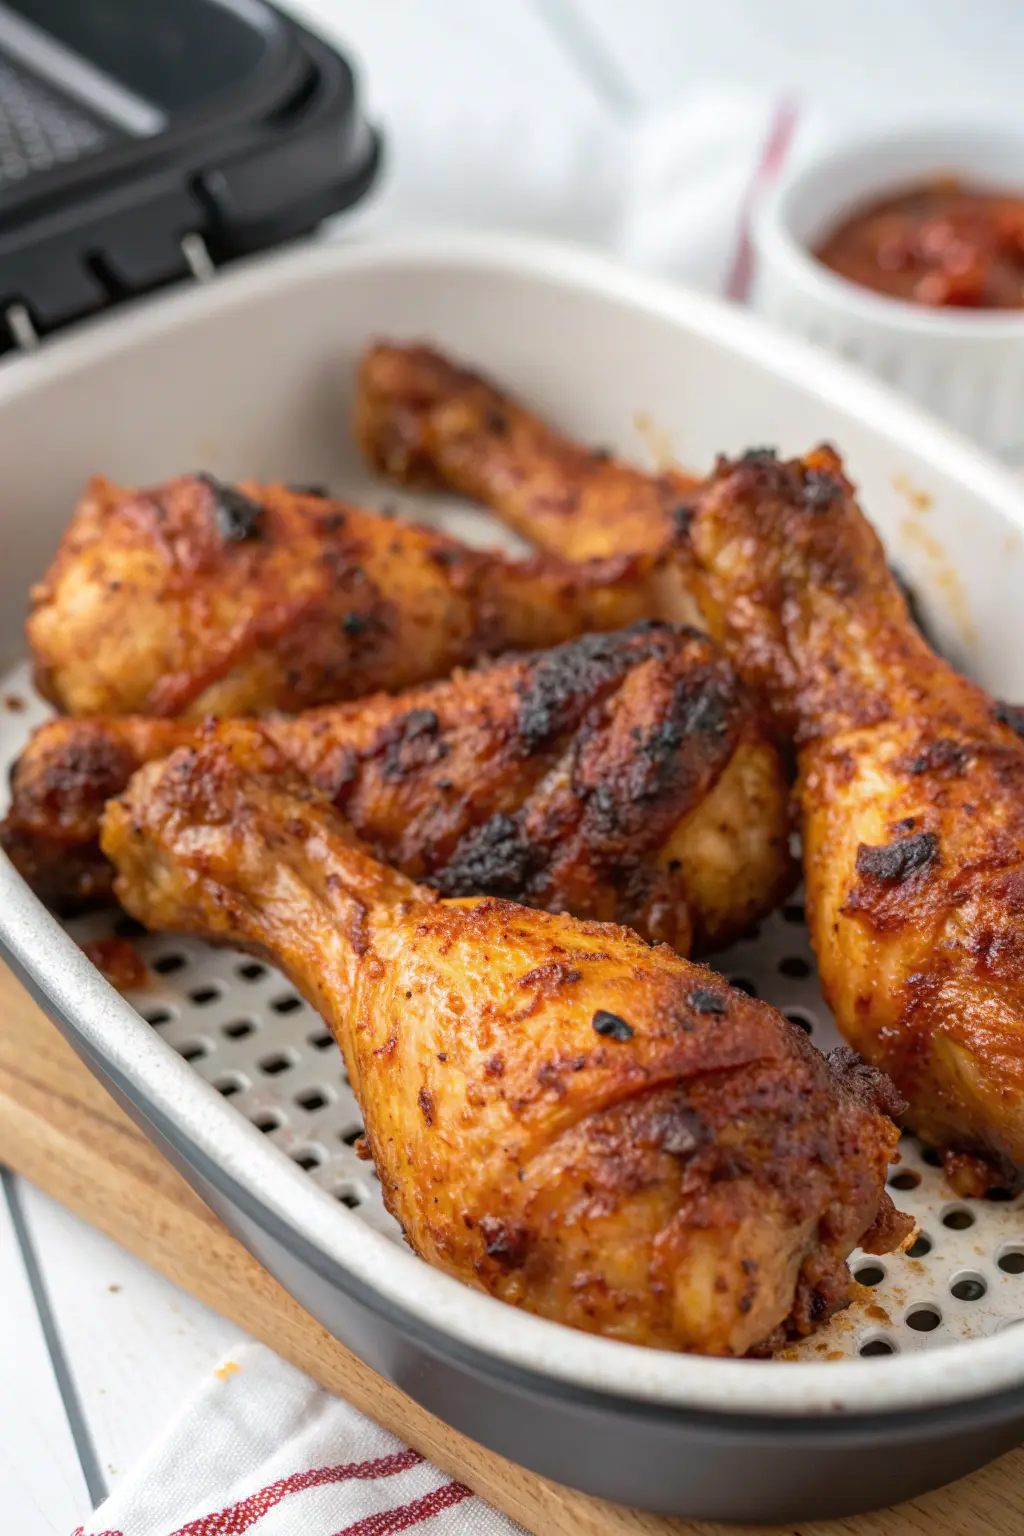
Rest and Serve: Remove the drumsticks from the air fryer and let them rest for 5 minutes before serving. This resting time helps retain juices. Resting is key to juicy chicken, as it allows the juices to redistribute throughout the meat. The resting period also gives you a moment to prepare your sides and set the table for a complete meal experience.
Helpful Tip: For extra crispiness, pat the drumsticks dry with paper towels before seasoning. Trust me, it makes a difference! Removing excess moisture helps the skin become even crisper as it cooks. This tip is particularly useful if your drumsticks have been thawed from frozen, as they can hold more moisture.
Kitchen Tools You’ll Need
- Air Fryer: Essential for achieving that crispy exterior without excessive oil. When selecting an air fryer, consider the capacity to ensure it meets your family’s needs. Larger families might benefit from a model with a bigger basket, allowing for more drumsticks to be cooked simultaneously.
- Mixing Bowl: For tossing the drumsticks in the seasoning. A large bowl is preferable to allow space for even coating. Opt for a bowl with a wide opening for easier mixing and less mess.
- Tongs: Handy for flipping the drumsticks halfway through cooking. Silicone or stainless-steel tongs work well for flipping without damaging the drumstick’s skin. Tongs are a versatile tool in the kitchen, useful for a variety of cooking tasks.
- Meat Thermometer: To ensure your chicken is perfectly cooked. A good meat thermometer is a kitchen essential for cooking all types of meat safely. Consider investing in a digital thermometer for quick and accurate readings.
The Benefits of Each Ingredient
- Chicken Drumsticks: A family favorite, they’re budget-friendly and full of flavor, especially when cooked to perfection. Drumsticks have dark meat, which is naturally juicier and more flavorful than white meat. They’re also versatile, lending themselves to a variety of cuisines and cooking methods.
- Olive Oil: Helps the seasoning adhere and adds a hint of richness. It’s also a healthier fat option that contributes to heart health. Olive oil is prized for its monounsaturated fats and antioxidants, making it a pantry staple for health-conscious cooks.
- Garlic & Onion Powder: These add depth and an aromatic base that’s comforting and familiar. They provide a savory undertone that enhances the overall flavor profile. Both ingredients are dehydrated forms of their fresh counterparts, offering convenience without sacrificing flavor.
- Smoked Paprika: Provides a smoky flavor that mimics outdoor grilling. It adds a beautiful color and a subtle heat to the dish. This spice is made from smoked, dried peppers and is a great way to add complexity to your dishes.
- Salt & Pepper: Essential for enhancing the natural flavors of the chicken. These basics are crucial for bringing out the best in any savory dish. Salt draws out moisture and enhances flavor, while pepper adds a mild heat and depth.
- Cayenne Pepper: Optional, but it adds a delightful kick if you’re in the mood for a bit of heat. It’s an easy way to customize the spice level to your preference. Cayenne is a versatile spice that can be adjusted to suit your tolerance for heat, making it a useful tool for dynamic seasoning.
What to Serve With This Dish
These drumsticks are incredibly versatile. Here are some of my favorite pairings: – Mashed Potatoes: Creamy and comforting, they’re a classic side that complements the savory drumsticks. Try my homemade mashed potatoes recipe here. The creamy texture of mashed potatoes balances the crispiness of the drumsticks. For a healthier twist, try cauliflower mash or a blend of root vegetables. – Coleslaw: Adds a refreshing, crunchy contrast. The tangy and creamy slaw pairs beautifully with the savory, spicy notes of the chicken. You can play with the slaw’s flavor by adding different dressings, such as vinaigrette or yogurt-based options. – Steamed Vegetables: A lighter option, perfect for balancing the meal. Steamed broccoli, carrots, or green beans are nutritious and keep the meal on the healthier side. Adding a sprinkle of lemon juice or a drizzle of olive oil can elevate simple steamed veggies. – Mac and Cheese: For the ultimate comfort meal, check out my mac and cheese recipe. The creamy, cheesy pasta is always a hit and makes the meal feel indulgent. Consider adding breadcrumbs or bacon bits for an extra layer of flavor and texture.
Storage & Leftover Tips
If you find yourself with leftovers (though I doubt you will!), here’s how to store them: – Refrigerate: Place leftover drumsticks in an airtight container and refrigerate for up to 3 days. Storing them properly ensures they stay fresh and safe to eat. Label the container with the date to keep track of freshness. – Reheat: To keep them crispy, reheat in the air fryer at 350°F for about 5 minutes. This method helps maintain the original texture and flavor. Avoid microwaving, as it can make the skin soggy. – Freeze: You can freeze cooked drumsticks for up to 2 months. Just thaw them overnight in the fridge before reheating. Freezing is a great option if you want to prep them ahead of time for an easy meal later on. To prevent freezer burn, wrap drumsticks individually in foil or plastic wrap before placing them in a freezer bag.
Cooking for the family is all about creating moments of connection, and these air fryer chicken drumsticks do just that. They’re easy, delicious, and bring everyone together around the dinner table. I hope you enjoy making and sharing this recipe as much as I do. Until next time, happy cooking, and remember, every meal is a chance to bring a little joy into your home.

Air Fryer Chicken Drumsticks
Ingredients
Equipment
Method
- Preheat the air fryer to 400°F (200°C) for about 5 minutes.
- In a large bowl, combine the olive oil, garlic powder, onion powder, smoked paprika, salt, black pepper, and cayenne pepper.
- Add the chicken drumsticks to the bowl and toss until they are evenly coated with the seasoning mixture.
- Arrange the drumsticks in a single layer in the air fryer basket, making sure they are not overcrowded.
- Cook the drumsticks at 400°F for 25 minutes, flipping them halfway through the cooking time for even crispiness.
- Check for doneness; the internal temperature should reach 165°F. If needed, cook for an additional 3-5 minutes.
- Remove the drumsticks from the air fryer and let them rest for 5 minutes before serving.