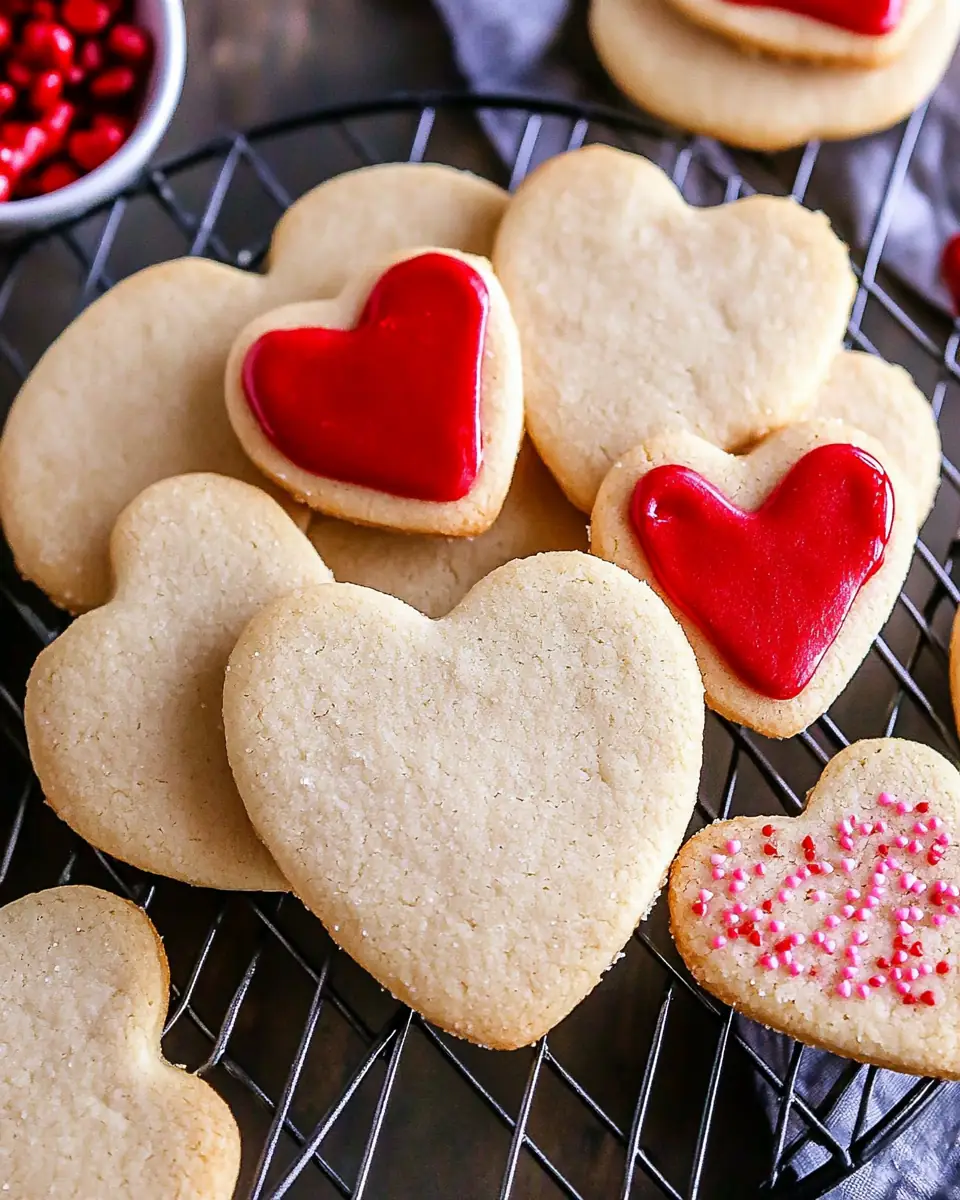
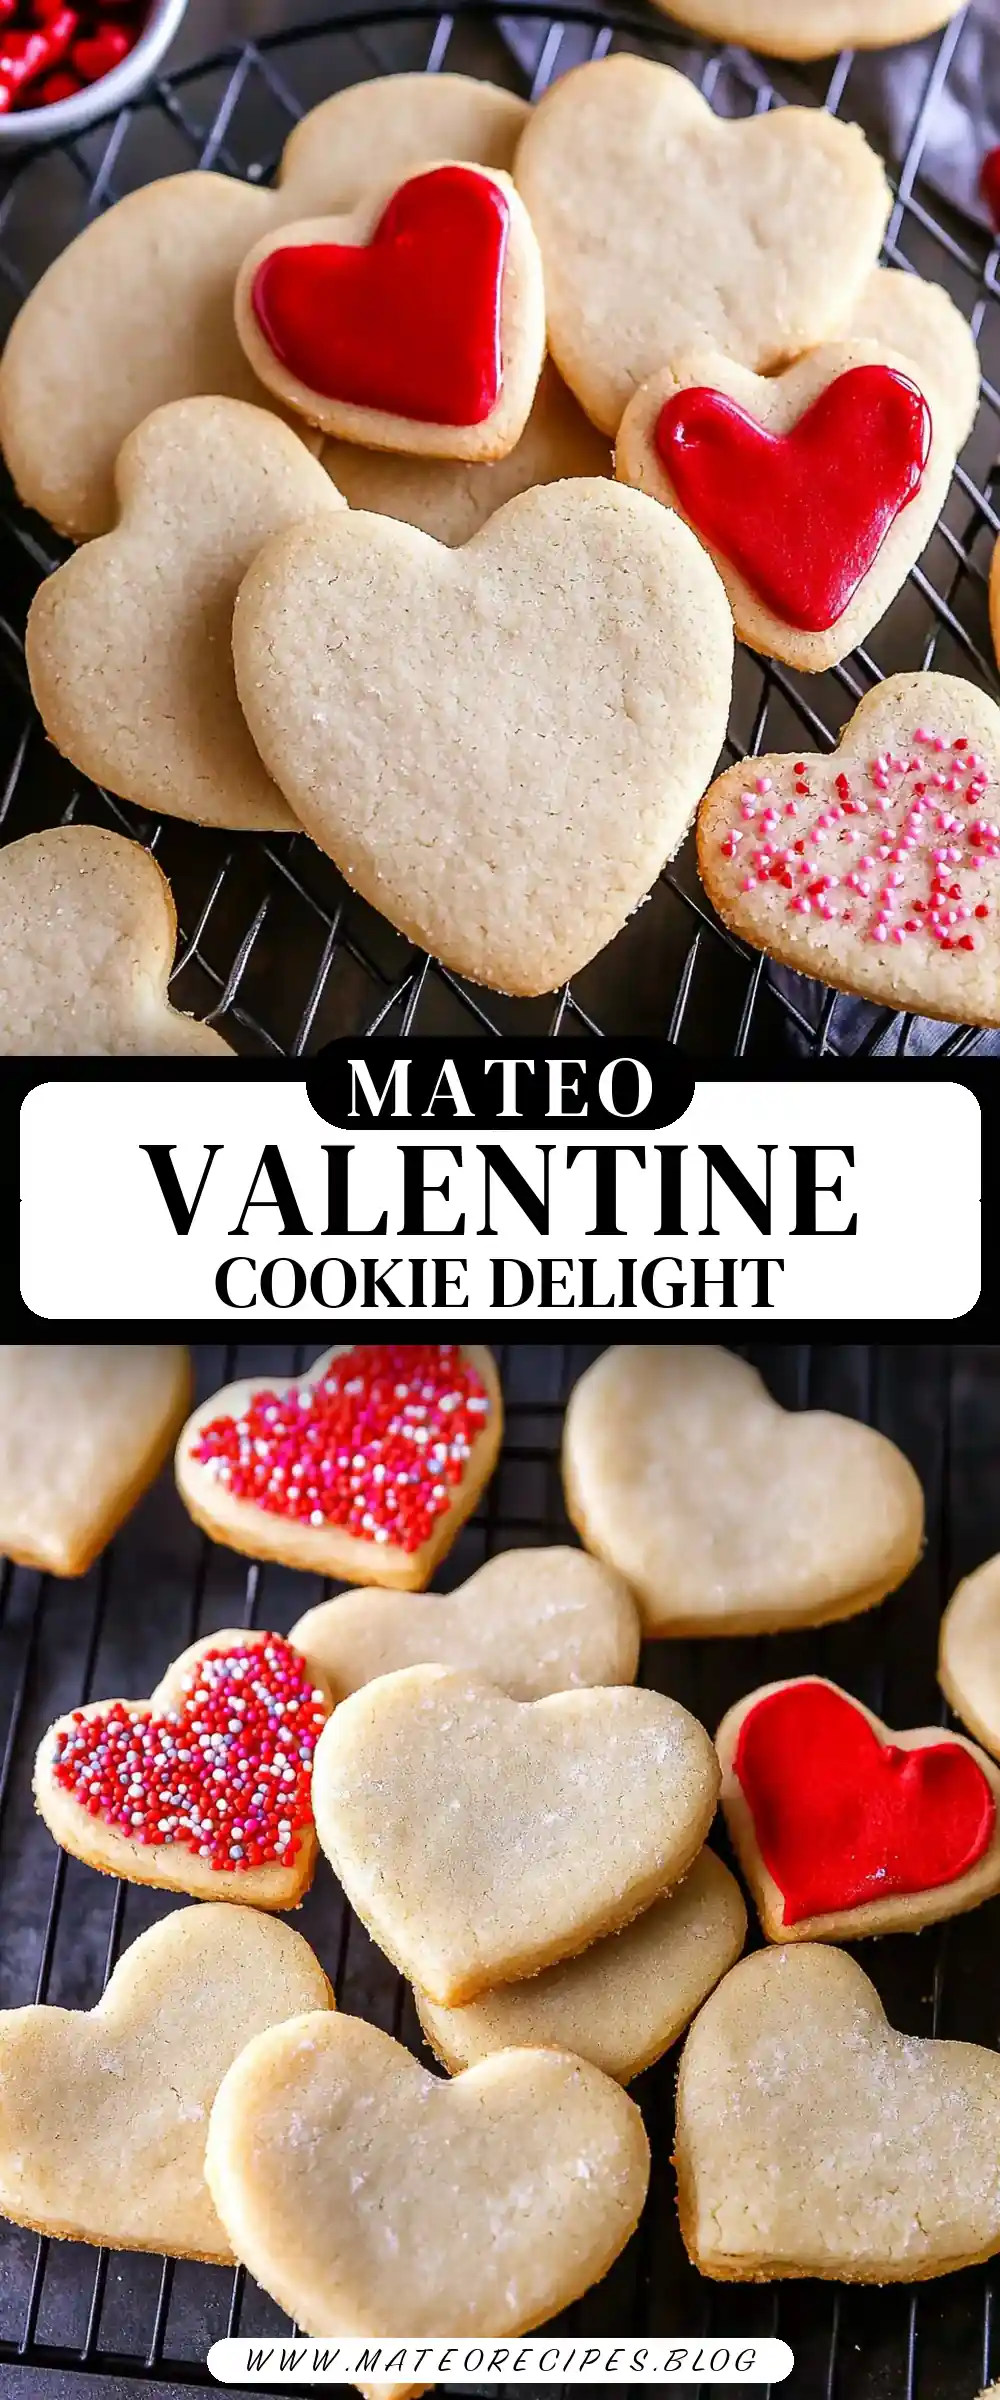
Heart Shaped Cookies: A Sweet Tradition
There’s something undeniably magical about cookies, don’t you think? Especially when they’re heart-shaped and made with love. I remember the first time I baked these Heart Shaped Cookies with my kids. It was a chilly Sunday afternoon, and we were all gathered in the kitchen, flour on our noses, and laughter echoing through the house. These cookies have since become a family tradition. The joy of cutting out little hearts, the anticipation as they bake, and the satisfaction of that first bite—it’s pure comfort. Sharing this recipe with you feels like inviting you into my home, letting you in on a little secret that has brought my family so much happiness.
Why You’ll Love This Recipe
- Family Time: This recipe is a wonderful way to bring the family together. Kids love cutting out the heart shapes, and it’s a perfect opportunity to make memories.
- Simple Ingredients: You probably have everything you need right in your kitchen. No special trips to the store required!
- Customizable: Whether you prefer almond or vanilla extract, these cookies can be tailored to your taste.
- No Spread: Thanks to the cornstarch, these cookies hold their shape beautifully, making them ideal for decorating.
- Deliciously Versatile: Enjoy them plain, or dress them up with your favorite frosting. They’re delicious either way.
The Recipe
Ingredients
- 1 cup unsalted butter – COLD – preferably European-style butter
- 1 cup granulated sugar
- 2 large eggs
- 1 tbsp almond extract OR vanilla extract
- 3 cups all-purpose flour – up to 4 cups depending on the humidity level
- ½ cup cornstarch
- ½ tsp table salt
Instructions
- Prep the Baking Sheets: Line several baking sheets with parchment. Set aside.
- Cream the Butter: Beat the cold butter in the mixing bowl until creamy. If you have the butter paddle beater, that will work best.
- Mix in Sugar and Eggs: Add the sugar and beat until smooth. Then, mix in the eggs and vanilla until well combined.
- Add Dry Ingredients: Slowly stir in the flour, cornstarch, and salt. Once mostly incorporated, increase the speed and beat until smooth. The dough should pull away from the sides of the bowl.
- Roll the Dough: Transfer the dough onto a smooth, lightly floured work surface. Use a rolling pin to work the dough to a flat, ¼” thick.
- Cut Out Cookies: Use heart-shaped cookie cutters to cut out the cookies. Transfer them to the prepared baking sheets.
- Chill: Chill the cut dough in the refrigerator for 15 minutes.
- Bake: Preheat the oven to 375°F. Once the dough has chilled, bake the cookies for 9-11 minutes or until the edges appear set. They will maintain their pale color.
- Cool: Allow the cookies to cool on the baking sheet for several minutes before transferring to a wire rack to cool completely before storing or decorating.
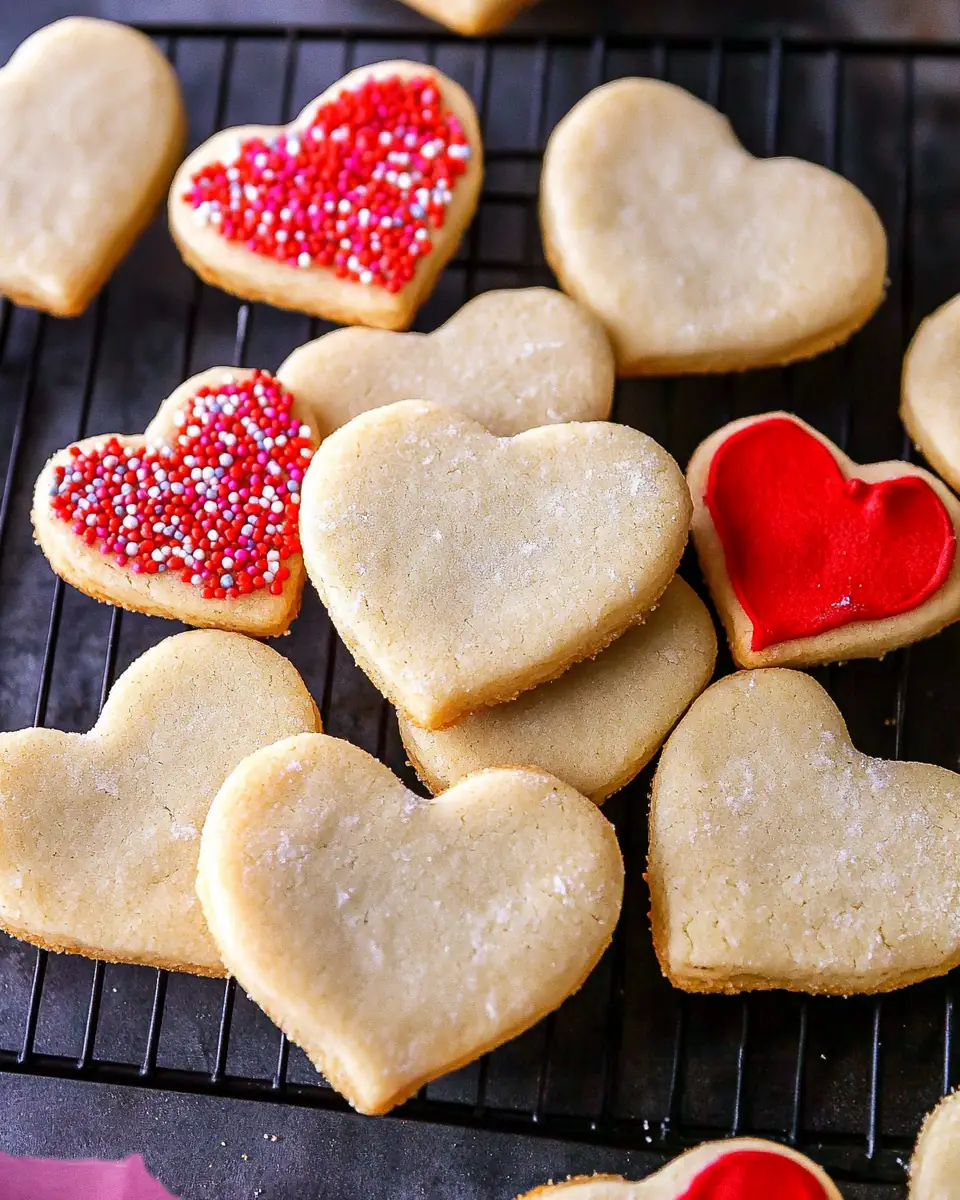
Once the cookies are cool, you can stack them in an airtight container and keep them at room temperature for several days, or decorate with frosting of your choosing.
Kitchen Tools You’ll Need
- Mixing Bowl: Essential for mixing dough.
- Butter Paddle Beater: Ideal for creaming butter.
- Rolling Pin: For flattening the dough.
- Heart-Shaped Cookie Cutters: To shape your cookies.
- Baking Sheets and Parchment Paper: For baking the cookies.
- Wire Rack: For cooling the cookies evenly.
The Benefits of Each Ingredient
- Butter: European-style butter is richer in flavor and gives the cookies a tender, melt-in-your-mouth texture. Its higher butterfat content provides a richer taste and a more delicate crumb.
- Granulated Sugar: Provides sweetness and helps the cookies hold their shape. Sugar is also crucial for the texture, creating a slightly crisp exterior while keeping the interior soft.
- Eggs: Bind the ingredients together and add richness. Eggs also contribute to the structure and moisture of the cookies, ensuring they are both light and chewy.
- Almond/Vanilla Extract: Adds depth of flavor. Almond extract offers a nutty aroma, while vanilla is classic and comforting, enhancing the overall taste profile without overpowering the other flavors.
- All-Purpose Flour: The backbone of the cookie, providing structure. Flour affects the texture and density of the cookies, with the protein content determining the chewiness level.
- Cornstarch: Keeps the cookies from spreading and gives them a soft, chewy bite. It acts as a tenderizing agent, ensuring the cookies remain soft and maintain their shape during baking.
- Salt: Enhances the flavor of all the other ingredients. It balances the sweetness and elevates the other flavors, making each bite more satisfying.
What to Serve With This Dish
These Heart Shaped Cookies are a treat on their own, but if you’re looking to pair them with something, why not try a cup of hot cocoa or a chai latte? Perfect for those cozy afternoons. You could also serve these alongside my Classic Hot Chocolate or Warm Apple Cider for a delightful family gathering. The warmth of these drinks perfectly complements the subtle sweetness of the cookies.
Pairing Suggestions
- Hot Beverages: The comforting warmth and rich flavors of hot drinks enhance the experience of enjoying these cookies. The creamy texture of hot chocolate or the spiced notes of chai latte beautifully complement the buttery sweetness of the cookies.
- Dessert Platter: Create a dessert platter with these cookies as the centerpiece. Add some chocolate truffles, fresh raspberries, and a small bowl of whipped cream for dipping. This setup not only looks inviting but also offers a variety of flavors and textures.
Storage & Leftover Tips
Once your Heart Shaped Cookies are baked and cooled, store them in an airtight container at room temperature. They’ll stay fresh for up to a week. If you’ve decorated them with frosting, you might want to layer parchment paper between them to prevent sticking. For longer storage, these cookies can be frozen, either baked or as dough. Just be sure to thaw them completely before enjoying.
Freezing and Thawing Tips
- Freezing Dough: Shape the dough into a disk, wrap it tightly in plastic wrap, and place it in a freezer bag. When ready to bake, let it thaw in the refrigerator before rolling and cutting.
- Freezing Baked Cookies: Once cooled, layer the cookies between sheets of parchment paper in a container. Seal tightly and freeze. Thaw at room temperature before serving.
For more tips on freezing cookies, you might find this guide from a reputable food site helpful.
Creative Decorating Ideas
Decorating Heart Shaped Cookies can be a delightful activity, especially when shared with friends or family. Here are some creative ideas to make your cookies stand out:
- Royal Icing Art: Use royal icing to create intricate designs on your cookies. You can pipe floral patterns, polka dots, or even personalized messages.
- Sprinkles and Edible Glitter: Before the icing sets, sprinkle your cookies with colorful sprinkles or edible glitter for a festive look.
- Chocolate Drizzle: Melt some dark or white chocolate and drizzle it over the cookies for a touch of elegance and added flavor.
- Fruit Accents: Top the cookies with thin slices of strawberries or raspberries for a fresh and fruity twist.
The Joy of Baking: A Deeper Dive
Baking Heart Shaped Cookies is more than just a culinary activity; it’s an experience filled with sensory delights and emotional connections. The process of baking, especially with loved ones, can be therapeutic and rewarding. The tactile nature of mixing ingredients, the aromatic waves of vanilla or almond extract, and the visual appeal of heart shapes evoke a sense of nostalgia and warmth.
The Therapeutic Benefits of Baking
Baking is often considered a form of mindfulness or meditation. The repetitive actions of mixing, rolling, and cutting can calm the mind and focus attention, much like a meditation practice. The act of creating something with your hands provides a sense of accomplishment and satisfaction, often enhancing mood and reducing stress.
Baking as a Family Bonding Activity
Baking these cookies with family, especially children, creates lasting memories. It’s an educational experience for kids, teaching them about measurements, following instructions, and even the science behind baking. More importantly, it’s an opportunity to communicate, laugh, and share stories, strengthening family bonds.
The Cultural Significance of Heart-Shaped Treats
Heart-shaped cookies have a universal appeal that transcends age, culture, and occasion. They symbolize love, affection, and care, making them a perfect gift for loved ones. Whether it’s Valentine’s Day, a wedding, or simply a gesture of friendship, these cookies convey emotions that words sometimes cannot.
A Sweet Conclusion
In conclusion, these Heart Shaped Cookies aren’t just a recipe; they’re an experience. They’re a way to bring family together, to share laughter and love, and to create memories that last a lifetime. I hope you enjoy baking them as much as we do. Remember, the best recipes are the ones shared with friends and family. Happy baking!
By embracing this tradition, you’re not just making cookies; you’re crafting moments that will be cherished forever. Whether for a celebration or a quiet afternoon, these cookies will always bring sweetness into your life. Enjoy every step of the process, and savor each delicious bite.

Heart Shaped Cookies
Ingredients
Equipment
Method
- Line several baking sheets with parchment. Set aside.
- Beat the cold butter in the mixing bowl until creamy. If you have the butter paddle beater – that will work best.
- Add the sugar and beat until smooth.
- Mix in the eggs and vanilla until well combined.
- Slowly stir in the flour, cornstarch, and salt. Once mostly incorporated, increase the speed and beat until smooth. It should pull away from the sides of the bowl.
- Transfer the dough onto a smooth (lightly floured) work surface.
- Use a rolling pin to work the dough to a flat, ¼” thick. Then use the cookie cutters to cut out the cookies.
- Transfer to the prepared baking sheets and then chill in the refrigerator for 15 min.
- Preheat the oven to 375.
- Once the cut dough has chilled, bake the cookies for 9-11 minutes or until the edges appear to have set. They will not be golden – they will maintain their pale color.
- Allow the cookies to cool on the baking sheet for several minutes before transferring to a wire rack to cool completely before storing or decorating.
- Once the cookies are cool – you can stack them in an airtight container and keep them at room temperature for several days. OR you can decorate with a frosting or icing of your choosing.