When I think about the perfect dessert that’s quick, easy, and utterly satisfying, my mind immediately drifts to the humble Chocolate Mug Cake. It’s the kind of treat that makes you feel like you’re wrapped in a cozy blanket, sitting by the fireplace, even if you’re just curled up on the couch after a long day. I still remember the first time I made a chocolate mug cake for my kids—it was one of those hectic school nights, the kind where you’ve barely managed dinner, and everyone’s craving something sweet. There’s something magical about taking a few simple ingredients and, in mere minutes, transforming them into a warm, gooey masterpiece. The joy on their faces as they dug in was priceless, and I knew right then that this recipe would become a family staple.
Why You’ll Love This Recipe
Quick and Easy: With a prep time of just 5 minutes and a cook time of only 1 minute, this chocolate mug cake is perfect for those spontaneous dessert cravings. It’s a lifesaver for those moments when you need a dessert, pronto, without the fuss of preheating an oven or cleaning multiple dishes.
Minimal Cleanup: You only need a mug and a spoon, making cleanup a breeze—no piles of dishes to worry about. This aspect is a huge relief on busy days when the last thing you want is a kitchen filled with dirty dishes.
Customizable: Whether you want to add a handful of chocolate chips, a sprinkle of nuts, or a dollop of whipped cream, this recipe is a blank canvas for your creativity. You can switch things up based on what’s in your pantry, making it a versatile option for any occasion.
Family-Friendly: Kids love making their own mug cakes, and it’s a fantastic way to get them involved in the kitchen. It’s a simple recipe that can introduce them to the basics of measuring ingredients and mixing, fostering a love for cooking from an early age.
Comfort Food at Its Best: There’s nothing more comforting than a warm, chocolatey cake, especially one that’s ready in a flash. The rich aroma of chocolate fills the room, creating an inviting atmosphere that beckons everyone to gather around and enjoy.
The Recipe
Prep Time: 5 minutes
Cook Time: 1 minute
Servings: 1
Calories: Approximately 350 calories
Ingredients
- 4 tablespoons all-purpose flour
- 4 tablespoons granulated sugar
- 2 tablespoons unsweetened cocoa powder
- 1/8 teaspoon baking powder
- A pinch of salt
- 3 tablespoons milk
- 2 tablespoons vegetable oil
- 1/4 teaspoon pure vanilla extract
- Optional: A small handful of chocolate chips or a sprinkle of nuts
Instructions
Mixing the Dry Ingredients: In your favorite microwave-safe mug, combine the flour, sugar, cocoa powder, baking powder, and salt. Stir with a spoon until the mixture is well combined. This step ensures that the dry ingredients are evenly distributed, preventing any pockets of flour or sugar.
Adding the Wet Ingredients: Pour in the milk, vegetable oil, and vanilla extract. Stir until you have a smooth batter. If you’re feeling adventurous, now’s the time to fold in those chocolate chips or nuts. Mixing until smooth is crucial for the even cooking of your cake.
Cooking: Place the mug in the microwave and cook on high for about 1 minute. Keep an eye on it—microwave strengths can vary, and you don’t want to overcook your cake. It’s ready when it has risen and looks set. The cake should spring back slightly to the touch and have a light, fluffy texture.
Enjoying: Carefully remove the mug from the microwave (it’ll be hot!) and let it cool for a moment. Grab a spoon and dig in, enjoying each delightful, chocolatey bite. The cooling period allows the flavors to meld and lets the cake set slightly, offering the perfect texture.
Kitchen Tools You’ll Need
Microwave-Safe Mug: Essential for mixing and cooking your cake. Choose a mug that is large enough to allow the cake to rise without overflowing.
Spoon: For stirring the ingredients together. A spoon is perfect for this task, as its curved shape helps incorporate ingredients efficiently.
Microwave: The magic maker in this recipe. It transforms your batter into a delightful cake in just a minute, making it the hero of this quick dessert.
The Benefits of Each Ingredient
Flour: Provides the structure of the cake, holding everything together as it cooks. It forms the backbone of your cake, giving it shape and texture.
Sugar: Adds the necessary sweetness, balancing the bitterness of the cocoa. Sugar also helps in browning and contributes to the tender crumb of the cake.
Cocoa Powder: The star of the show, it gives the cake its rich chocolate flavor. Using unsweetened cocoa allows you to control the sweetness and intensity of the chocolate taste.
Baking Powder: Acts as a leavening agent, helping the cake rise and achieve that fluffy texture. It ensures your cake is light and airy, rather than dense.
Milk: Adds moisture, ensuring the cake isn’t dry. The milk combines with the dry ingredients to create a smooth batter, contributing to the cake’s tender crumb.
Vegetable Oil: Keeps the cake tender and soft, making each bite melt in your mouth. It acts as a fat source that enhances the cake’s moistness and richness.
Vanilla Extract: Enhances the chocolate flavor, adding a hint of warmth and depth. It complements the cocoa, bringing out its full potential.
What to Serve With This Dish
This chocolate mug cake is delightful on its own, but if you’re looking to elevate your dessert experience, here are a few suggestions:
Ice Cream: Add a scoop of vanilla or mint chocolate chip ice cream on top for an indulgent treat. The cold, creamy texture contrasts beautifully with the warm cake, creating a dessert that’s hard to resist.
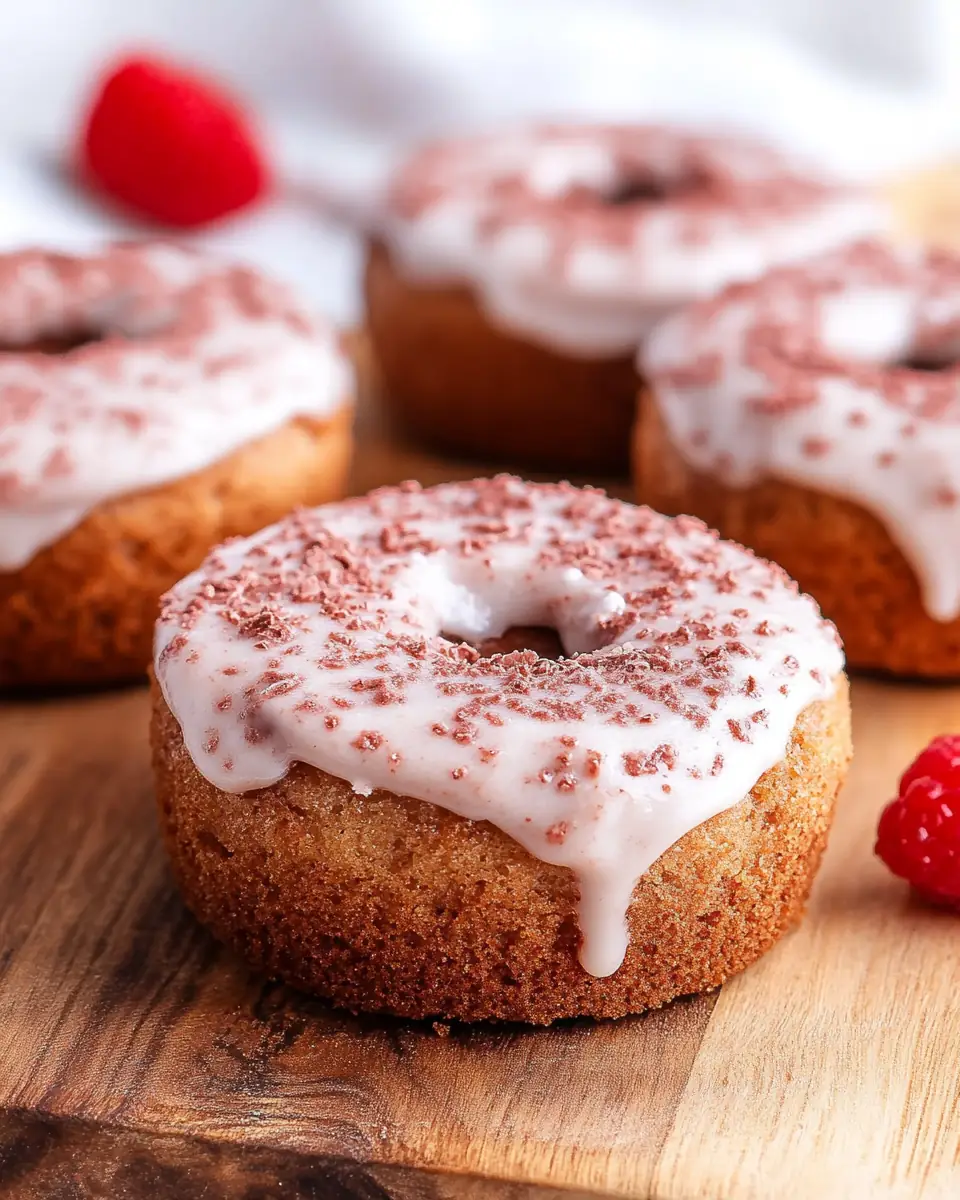
Fresh Berries: A handful of raspberries or strawberries can add a refreshing contrast to the rich chocolate. Their natural tartness pairs wonderfully with the sweetness of the cake.
Whipped Cream: A dollop of whipped cream can add a light, creamy element to balance the cake’s richness. It brings a cloud-like texture that makes each bite feel luxurious.
Storage & Leftover Tips
Though it’s unlikely you’ll have leftovers given how delicious this mug cake is, if you do find yourself with a half-eaten cake, here’s what you can do:
Storing: Cover the mug with plastic wrap and store it in the fridge for up to 2 days. This will keep your cake fresh and prevent it from drying out.
Reheating: To reheat, simply pop it back in the microwave for 15-20 seconds to restore its warmth. Be careful not to overheat, as it can make the cake rubbery.
Freezing: Not recommended, as the texture may change significantly upon thawing. Mug cakes are best enjoyed fresh to retain their soft and fluffy texture.
The History and Evolution of Mug Cakes
The concept of a mug cake is relatively modern, emerging as a popular trend in the late 2000s. As the pace of life grew more hectic, home bakers sought quick solutions to satisfy their dessert cravings without spending hours in the kitchen. The microwave, often relegated to reheating leftovers, became a tool for innovation in baking. The mug cake trend caught on quickly, thanks to its simplicity and the joy it brings as a single-serving dessert.
Tips for Perfecting Your Mug Cake
Choose the Right Mug: Make sure your mug is at least 12 ounces to prevent overflow. The cake rises significantly during cooking, so a larger mug will contain it better.
Mix Thoroughly: Ensure that all the ingredients are well combined to avoid any lumpy bits of flour or unevenly distributed sugar.
Watch the Cooking Time: Since microwaves vary in power, start checking your cake at the 50-second mark. The cake is done when it looks set on top and slightly springy to the touch.
Experiment with Flavors: Don’t be afraid to try different extracts or add-ins like peppermint extract for a festive twist or almond extract for a nutty undertone.
Consider Texture Enhancements: Adding a tablespoon of peanut butter or a square of dark chocolate in the center before microwaving can create a molten core for added richness.
Creating this chocolate mug cake is more than just about making a quick dessert; it’s about crafting a moment of joy and comfort in your day. Whether you’re treating yourself or sharing it with family, it’s a delight that brings everyone together, one spoonful at a time. If you’re eager to explore more easy and comforting recipes, why not try my Classic Banana Bread or the crowd-favorite Simple Apple Crisp? For more on the science and magic behind baking, check out this insightful article from Serious Eats.
Cooking and baking at home can be a wonderful way to bring families together, even if it’s just over a simple mug cake. Remember, the best recipes are the ones that come from the heart, shared from one home cook to another. Enjoy your chocolate mug cake, and happy cooking!

Chocolate Mug Cake
Ingredients
Equipment
Method
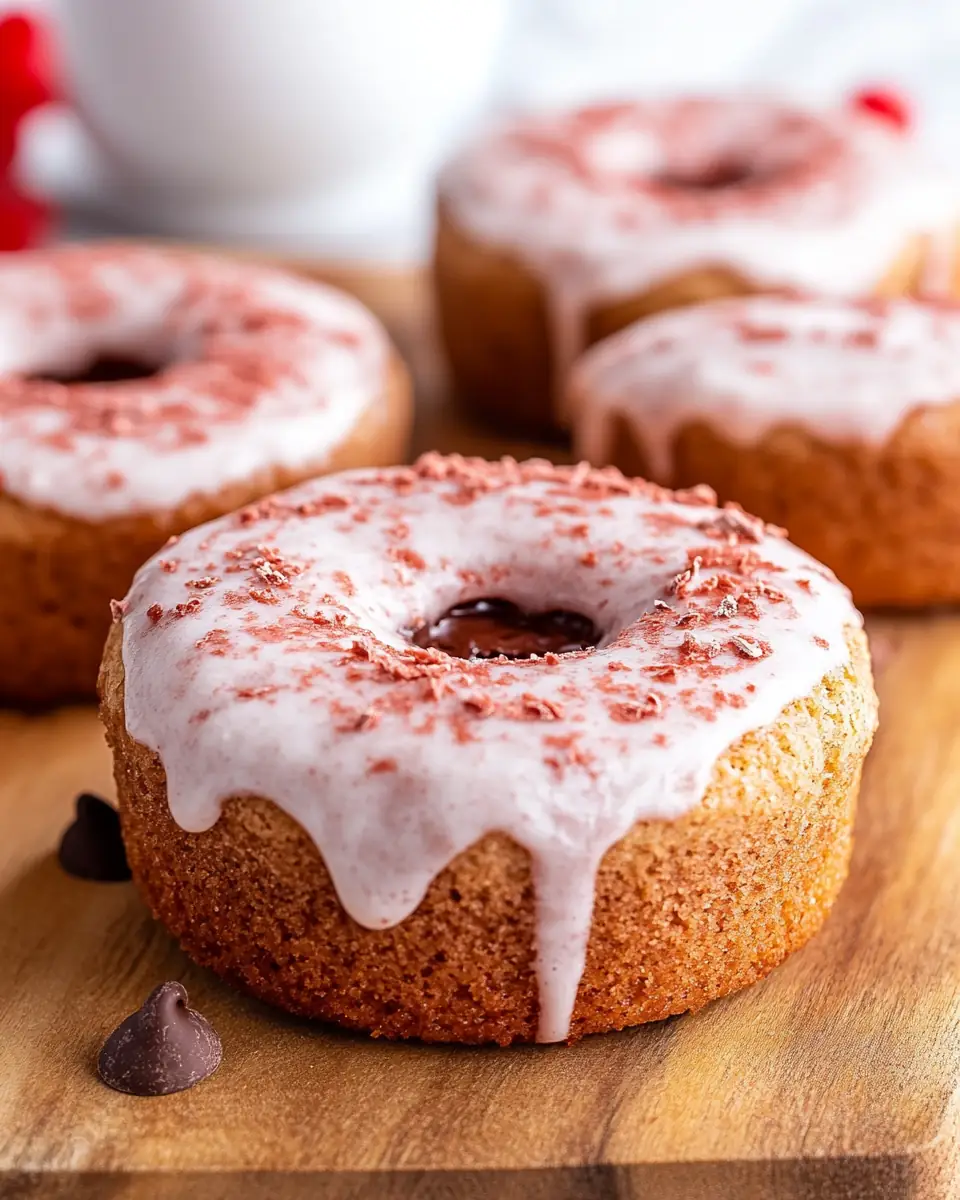
- Preheat the oven to 350F and grease your donut pans with nonstick baking spray or spritz with oil. Set aside.
- Add the freeze-dried strawberries to a high speed food processor or blender and pulse until they are a fine powder– about 45 seconds.
- Reserve 1 teaspoon of the strawberry powder for the glaze.
- Add the remaining strawberry powder to a large bowl and whisk in the flour, sugar, and baking powder.
- In a small bowl, whisk together the milk, vegetable oil, melted butter, egg, and vanilla.
- Add the wet ingredients to the dry and mix just until combined– you don’t want to overmix.
- Divide the batter between the wells of the donut pan, filling each one with about ⅓ cup of batter.
- Bake for 16-18 minutes, or until a toothpick comes out clean.
- Transfer the donuts to a wire rack and allow them to cool completely before frosting.
- (Optional) Whisk together the confectioner’s sugar, milk, and the reserved teaspoon of the strawberry powder until smooth.
- Dip the donuts in the frosting or spread the frosting over the top.
- Store in an airtight container in the fridge for up to three days. Bring to room temperature before serving.