Valentine’s Day has always been a special time in our household. It’s not about lavish gifts or fancy dinners but about the little moments that make us feel cherished. My favorite tradition? Baking something special with my kids. It’s a time when the kitchen becomes a hub of laughter, conversation, and a little bit of chaos. And if there’s one recipe that perfectly captures the love and warmth of the day, it’s my Valentine Red Velvet Brownies. These delightful treats are not just about the sweet, moist flavors but about the joy of creating something together. Imagine the rich aroma of chocolate wafting through your home, mingling with the giggles of kids sneaking a taste of the frosting. These brownies are more than just a dessert; they’re a memory in the making.
Why You’ll Love This Recipe
Family Bonding: This recipe is an excellent way to include your family in the kitchen. The steps are simple enough for little hands to help, creating a joyful cooking experience. The process of measuring ingredients, mixing, and decorating serves as a perfect opportunity to teach children about cooking while enjoying quality time together. It’s these moments that transform a simple recipe into a cherished family tradition.
Comfort Food at Its Best: Red velvet’s rich flavor combined with creamy white chocolate frosting makes for a truly comforting dessert that feels like a warm hug. The luxurious texture of the brownies, paired with the smoothness of the frosting, offers a delightful experience for your taste buds. Each bite is infused with love and warmth, making it perfect for a cozy celebration at home.
Perfect for Celebrations: Whether it’s Valentine’s Day or any other occasion that calls for a sweet treat, these brownies are sure to impress. Their vibrant red color and decadent flavor profile make them an elegant addition to any dessert table. They’re a hit at parties, potlucks, or even as a special surprise for a loved one.
Simple Ingredients: You probably already have most of these ingredients in your pantry, making it an easy go-to recipe. There’s no need for fancy or hard-to-find items; just basic baking staples come together to create something extraordinary. This simplicity allows for spontaneous baking sessions whenever the mood strikes.
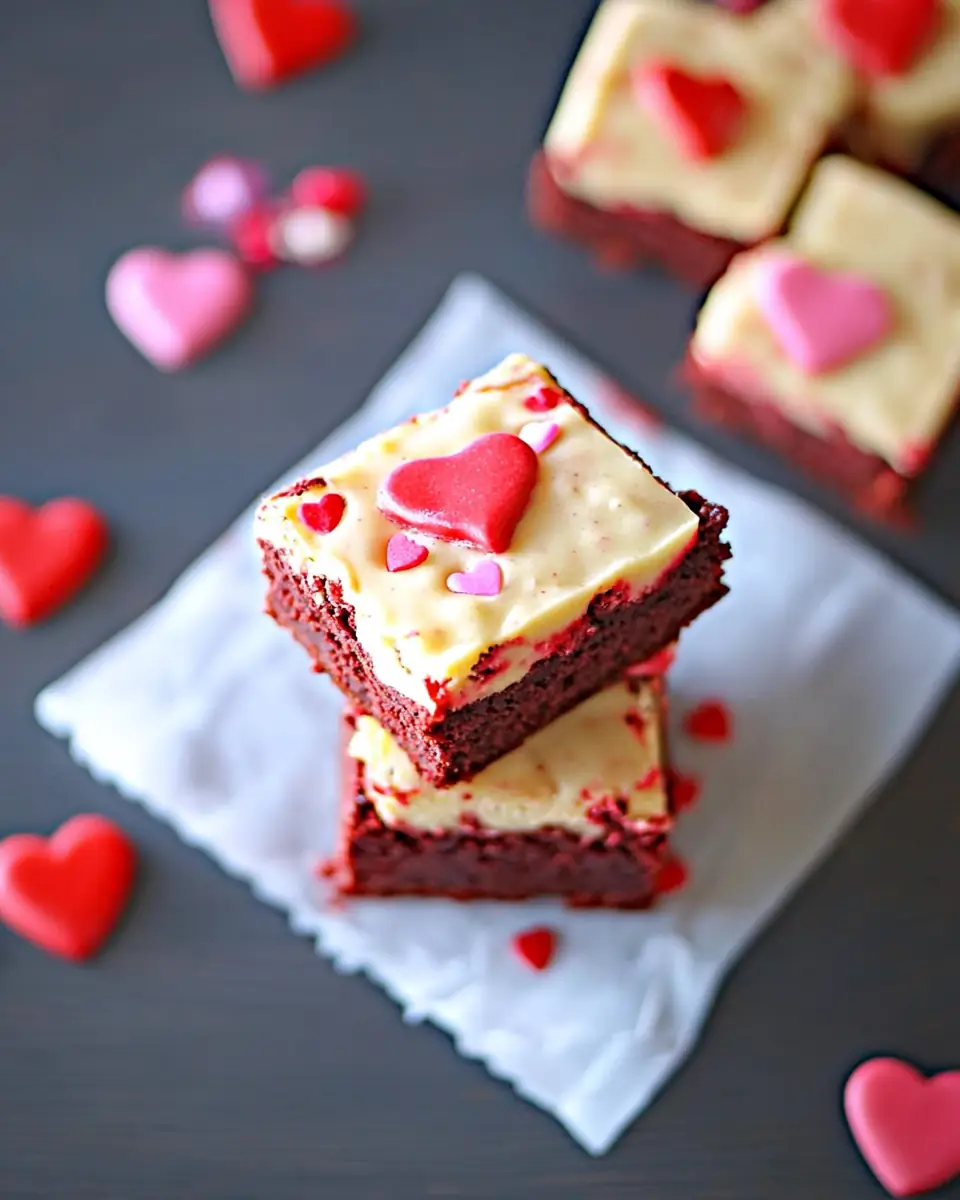
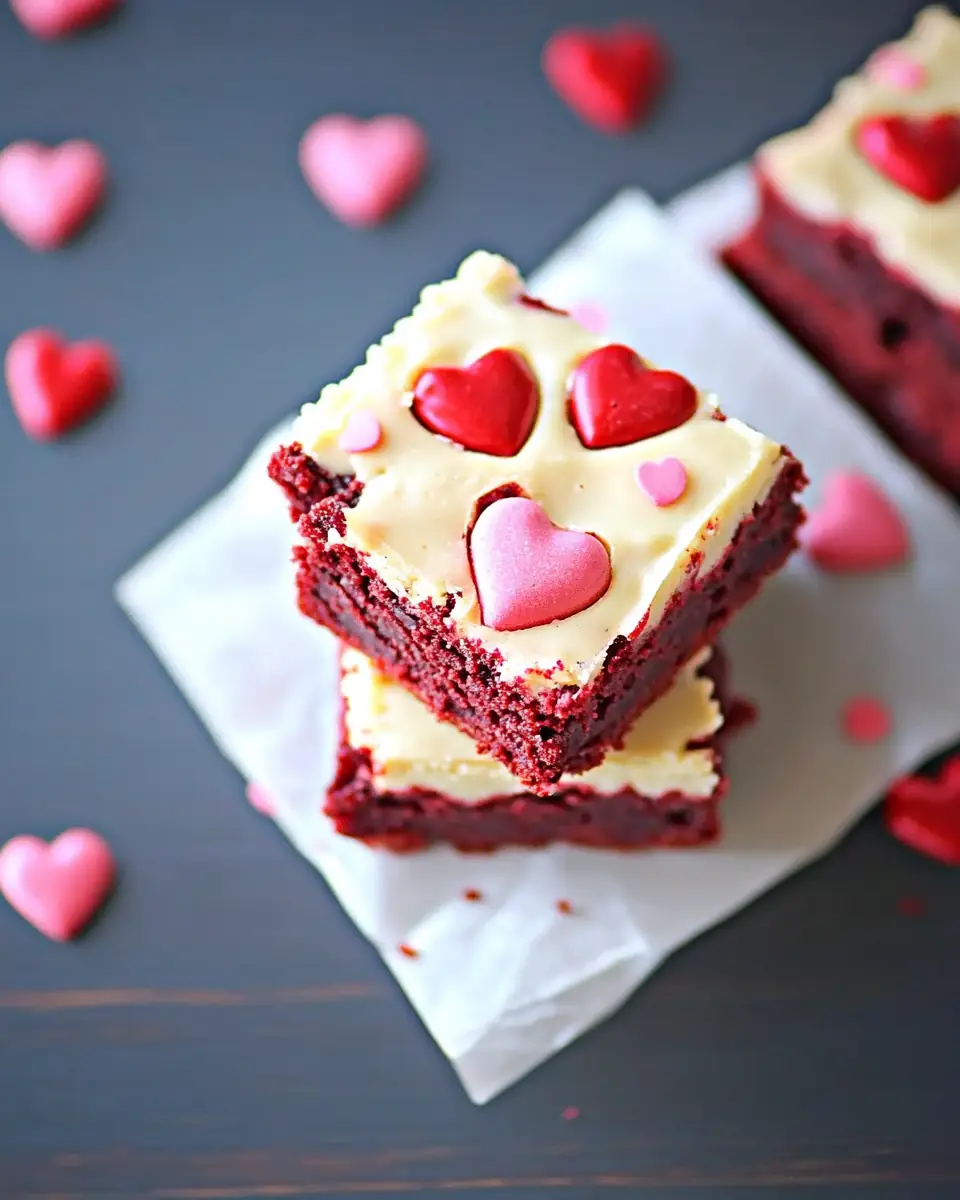
Visually Stunning: The vibrant red color, topped with M&M’s and heart-shaped sprinkles, makes these brownies as beautiful as they are delicious. The visual appeal of these brownies is undeniable, making them perfect for Instagram-worthy photos. The combination of red velvet, white frosting, and colorful toppings creates a treat that looks as good as it tastes.
The Recipe
Prep Time: 15 minutes
Cook Time: 35-45 minutes
Servings: 12
Calories: Approximately 320 per serving
Ingredients
Brownies
- ½ cup butter, cubed (1 stick)
- ⅓ cup semi-sweet chocolate chips
- 1½ cups granulated sugar
- 3 large eggs
- 1 tsp vanilla extract
- ¼ tsp salt
- 2 tbsp red liquid food color OR 1 tbsp red gel food color
- 1 cup all-purpose flour
- ½ tsp baking powder
Frosting
- 1 can sweetened condensed milk (14 ounces)
- 2 cups white chocolate chips
- ½ cup Valentine M&M’s
- ⅛ cup heart-shaped sprinkles
Instructions
Preheat your oven to 325°F. Line a 9″x9″ metal baking pan with non-stick foil or regular foil sprayed with non-stick spray. This will make it easier to remove the brownies later on. The foil acts as a barrier, ensuring the brownies don’t stick and allowing for easy cleanup.
Melt Butter & Chocolate: In a large saucepan, melt the butter and semi-sweet chocolate chips over low heat. Stir until fully melted and smooth, then remove from heat. The combination of butter and chocolate serves as the foundation for the brownies, creating a rich, velvety base.
Mix Wet Ingredients: Whisk in the granulated sugar. Add the eggs one at a time, mixing well after each addition. Stir in the vanilla extract, salt, and food coloring until well combined. The addition of vanilla enhances the chocolate flavor, while the food coloring gives the brownies their signature red hue.
Combine Dry Ingredients: Sift together the flour and baking powder. Gradually stir this into the wet mixture until well blended. Sifting ensures the flour is free of lumps, creating a smooth batter.
Bake: Pour the batter into your prepared pan. Bake for 35-45 minutes or until a toothpick inserted in the center comes out with just a few moist crumbs. This ensures the brownies are cooked through but remain fudgy.
Cool: Let the brownies cool completely in the pan on a wire rack. Cooling allows the brownies to set, making them easier to frost and cut later.
Prepare Frosting: In a small saucepan, melt the sweetened condensed milk and white chocolate chips over low heat until smooth. The combination of these ingredients creates a luscious, creamy frosting that perfectly complements the brownies.
Assemble: Pour the frosting over the cooled brownies. Sprinkle with Valentine M&M’s and heart-shaped sprinkles. Let the frosting set completely before cutting — refrigerating overnight is ideal. The decorations add a festive touch, making the brownies perfect for Valentine’s Day.
Kitchen Tools You’ll Need
- Heavy saucepan
- 9″x9″ metal baking pan
- Whisk
- Sifter
- Mixing bowls
- Wire rack
- Measuring cups and spoons
These tools are essential for ensuring the recipe comes together smoothly. A heavy saucepan helps melt ingredients without burning, while a whisk ensures even mixing. The sifter prevents lumps in the flour, and the wire rack allows for even cooling.
The Benefits of Each Ingredient
Butter & Chocolate Chips: These form the rich, decadent base of the brownies, providing flavor and moisture. Butter adds a creamy texture, while chocolate chips deepen the flavor and create a luxurious mouthfeel.
Granulated Sugar: Essential for sweetness and creating that classic brownie crust. Sugar also helps achieve the moist, chewy texture that makes brownies so irresistible.
Eggs: They act as a binder, giving the brownies their structure and a tender crumb. Eggs also contribute to the rich color and flavor of the batter.
Vanilla Extract: A little goes a long way in enhancing the chocolate flavors. It’s a subtle addition that makes a significant impact on the overall taste.
Red Food Coloring: This is what gives red velvet its iconic color, making the dish visually appealing. It turns an ordinary brownie into a festive treat.
Flour & Baking Powder: These dry ingredients provide the necessary lift and texture. Baking powder ensures the brownies rise evenly, while flour provides structure.
Sweetened Condensed Milk & White Chocolate: This duo creates a creamy, luscious frosting that complements the brownie’s richness. The sweetness of the condensed milk pairs beautifully with the smoothness of the white chocolate.
Valentine M&M’s & Sprinkles: Not only do they add festive color, but they also provide a delightful crunch. These toppings turn each brownie into a tiny celebration.
What to Serve With This Dish
These Valentine Red Velvet Brownies are delightful on their own, but if you’re looking to elevate your dessert experience, consider pairing them with:
A Scoop of Vanilla Ice Cream: The creamy texture and mild flavor balance the richness of the brownies. The contrast between warm brownies and cold ice cream is a classic combination that never fails to impress.
Fresh Berries: Strawberries or raspberries add a fresh, tangy contrast. The natural sweetness and acidity of the berries complement the decadent brownies perfectly.
Coffee or Hot Chocolate: Perfect for sipping alongside your sweet treat, enhancing the chocolatey flavors. The warmth of the beverage pairs beautifully with the indulgent dessert.
For more dessert inspirations, check out my Chocolate Chip Banana Bread and Classic Apple Pie recipes!
Storage & Leftover Tips
To store your Valentine Red Velvet Brownies:
Room Temperature: Keep them in an airtight container for up to 3 days. This is ideal if you plan to consume them within a short period and want to maintain their fresh, soft texture.
Refrigeration: If you prefer a firmer texture, refrigerate them for up to a week. The cool environment helps the frosting set, creating a slightly different but equally enjoyable texture.
Freezing: Wrap individual brownies in plastic wrap, then place in a freezer-safe bag. They’ll keep for up to a month. Thaw at room temperature before serving. This method is perfect for making a large batch and enjoying them over time.
These brownies are a testament to how a simple recipe can create lasting memories. Cooking should always be a joy, a moment to share with loved ones. So, whether you’re making these for a special occasion or just because, remember that the best ingredient is the love you pour into it. Happy baking!
For more baking tips and family-friendly recipes, explore Mateo’s Kitchen and discover how to make every meal a celebration of family and flavor! Each recipe is crafted with care, ensuring that every dish becomes a cherished memory.

Valentine Red Velvet Brownies
Ingredients
Equipment
Method
- Preheat the oven to 325 degrees.
- Use either non-stick foil or just use regular foil & then spray with non-stick spray & line a metal 9″x9″ baking pan. (please do this- as it helps remove the brownies from the pan later on.)
- Stir butter & chocolate in a heavy large saucepan over low heat until completely melted. Remove from heat.
- Whisk in sugar & then eggs- one at a time.
- Stir in vanilla, salt & food coloring.
- Sift the flour & baking powder & then stir it in & blend well.
- Transfer the batter to the prepared pan.
- Bake until puffed & dry looking- or until a toothpick inserted in the center comes out with just some moist batter attached. (about 35-45 minutes).
- Cool completely in the pan on a wire rack.
- Once Cool- prepare your frosting.
- In a small saucepan combine sweetened condensed milk & white chocolate chips.
- Heat until completely melted & smooth.
- Pour immediately onto the baked brownies while they are still in the pan.
- Top with M&M’s & sprinkles.
- Allow to set before cutting. I popped mine in the refrigerator overnight.