A Deep Dive into Red Velvet Cupcakes: The Perfect Blend of Flavor and Nostalgia
There’s something truly magical about the aroma of freshly baked Red Velvet Cupcakes wafting through the house. It instantly takes me back to those cherished Sunday afternoons when my family would gather around the kitchen table, eagerly awaiting that first bite. These cupcakes have an uncanny ability to bring everyone together, creating memories that last a lifetime. Whether it’s a family celebration or just a regular weekday treat, these Red Velvet Cupcakes are my go-to for a little slice of comfort and joy.
Why Red Velvet Cupcakes Stand Out
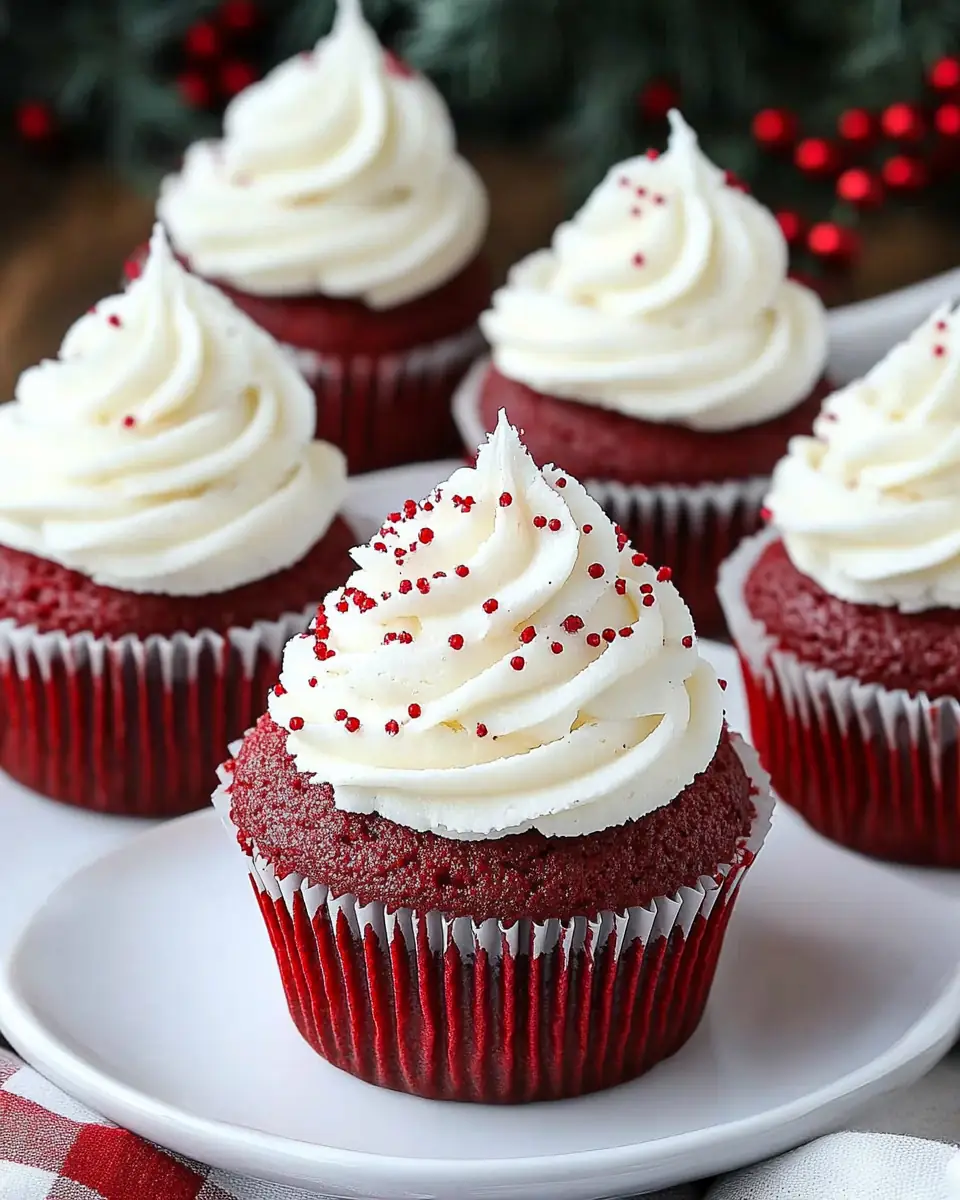
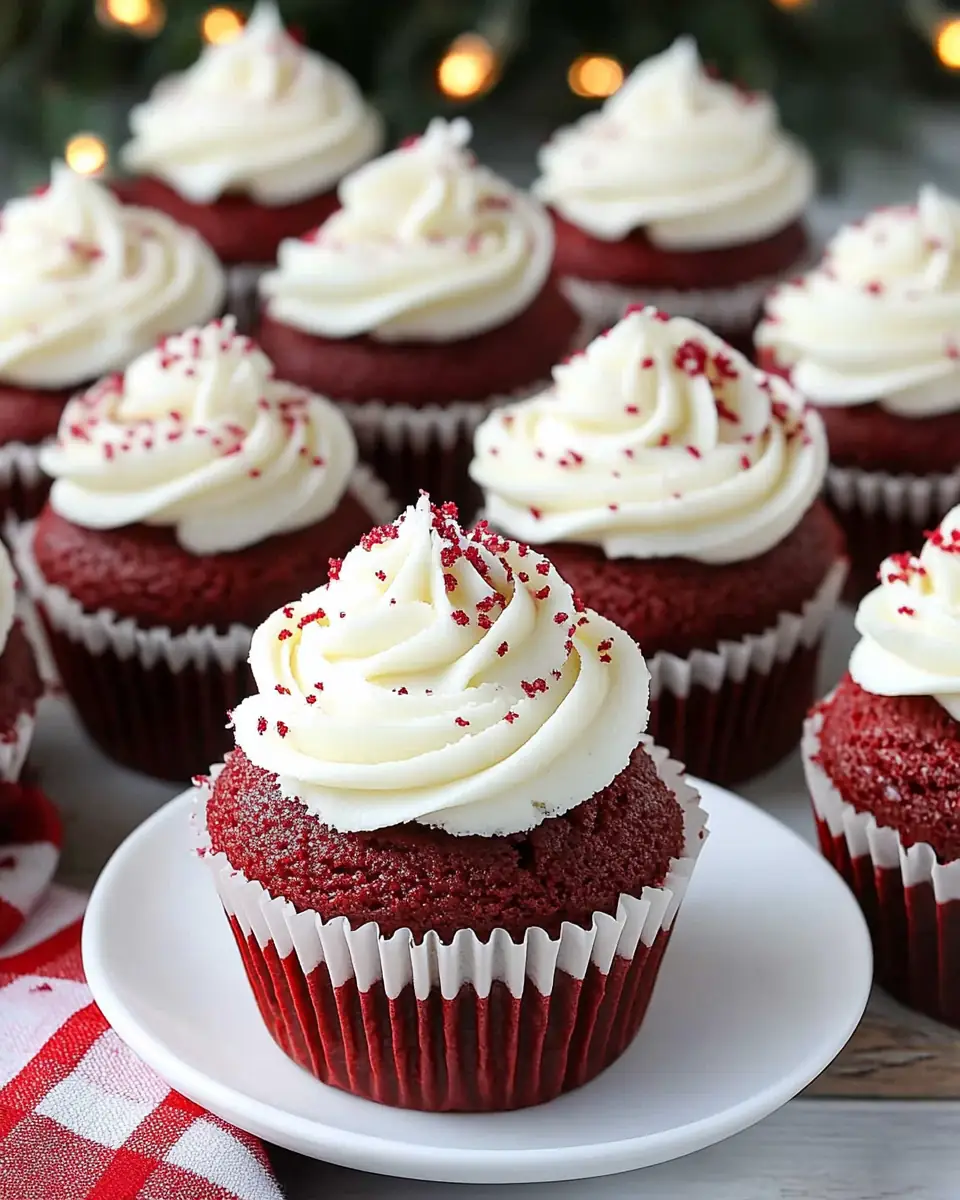
Red Velvet Cupcakes are not just a dessert; they’re an experience. Their vivid red hue, paired with the creamy white frosting, makes them visually striking, while their unique flavor profile sets them apart from other cupcakes. The delicate balance of cocoa, buttermilk, and a hint of tang from vinegar gives these cupcakes a rich, classic flavor that is both comforting and sophisticated.
The Evolution of Red Velvet
The history of Red Velvet Cupcakes is as rich and layered as the dessert itself. Originating in the 19th century, these cupcakes were initially known as “velvet” cakes, a term used to describe their soft, rich texture. The red color was not as pronounced back then, often achieved through non-Dutch processed cocoa, which had a reddish tint. It wasn’t until the 1940s that the iconic red hue became popular, largely due to the introduction of red food coloring by companies like Adams Extract. Their marketing campaign highlighted the vibrant color, turning Red Velvet into a staple at celebrations across America.
Family-Friendly Appeal
One of the greatest strengths of this recipe is its universal appeal. Red Velvet Cupcakes are perfect for any family gathering. They’re not only a hit with kids, who are often fascinated by the bold color, but also a delight for adults, thanks to their rich flavor and nostalgic charm. This makes them a universally loved dessert that can bridge generations, bringing everyone together over a shared love for something delicious.
Simplicity Meets Elegance
Despite their elegant appearance, Red Velvet Cupcakes are surprisingly easy to make. With simple, step-by-step instructions, these cupcakes are approachable even for novice bakers. There’s no need for complicated techniques or hard-to-find ingredients, making them a perfect starter project for anyone looking to dive into the world of baking.
The Role of Each Ingredient
Each component of these cupcakes plays a crucial role in creating their distinctive flavor and texture. The combination of cocoa and buttermilk gives these cupcakes that classic red velvet taste that’s both rich and subtly chocolatey. The cream cheese frosting adds a luscious, tangy sweetness that beautifully balances the flavors, creating a harmonious blend that’s simply irresistible.
The Recipe: Crafting Perfection
Prep Time: 20 minutes
Cook Time: 15-18 minutes
Servings: 24 cupcakes
Calories: Approximately 250 per cupcake
Ingredients Overview
Cupcakes:
- All-Purpose Flour: Provides the structure needed for light and fluffy cupcakes.
- Cocoa Powder: Adds a subtle chocolate flavor that is characteristic of red velvet.
- Buttermilk: Its acidity tenderizes the gluten, creating a soft, tender crumb.
- Vinegar and Baking Soda: These react together to create bubbles, giving the cupcakes a tender and airy texture.
- Red Food Coloring: Adds the iconic vibrant red color that makes these cupcakes stand out.
Cream Cheese Frosting:
- Cream Cheese: Its tanginess balances the sweetness, adding depth to the flavor.
- Confectioner’s Sugar: Provides the sweetness needed to complement the tangy cream cheese.
- Vanilla Extract: Enhances the overall flavor profile, adding a hint of warmth.
Step-by-Step Instructions
Cupcakes:
- Preparation: Preheat your oven to 350 degrees F and line a cupcake pan with liners. This ensures even baking and easy removal.
- Dry Ingredients: In a medium bowl, whisk together the flour, cocoa powder, salt, and baking powder. This helps distribute the cocoa evenly throughout the batter.
- Cream Butter and Sugar: In a large mixing bowl, cream the butter and sugar until light and fluffy. This step is crucial for creating a light texture.
- Add Eggs and Flavorings: Add the eggs and vanilla extract, mixing well to incorporate air into the batter, which helps in rising.
- Color and Combine: Stir in the desired amount of food coloring until evenly distributed. Gradually add the dry ingredients, alternating with the buttermilk, mixing until well combined.
- Final Mix: Add the water and mix well again. In a small bowl, combine vinegar and baking soda, then quickly add this mixture to the batter and mix well. This step helps in the leavening process.
- Bake: Divide the batter evenly into the prepared cupcake liners. Bake for 15-18 minutes, or until a toothpick inserted in the center comes out clean. Allow to cool completely before frosting.
Cream Cheese Frosting:
- Beat the Cream Cheese: In a large mixing bowl, beat the cream cheese until smooth. This ensures a creamy frosting.
- Add Butter: Incorporate the butter, beating until the mixture is smooth and combined.
- Sweeten and Flavor: Gradually incorporate the confectioner’s sugar, mixing between each addition until smooth and creamy. Beat in the vanilla until well combined.
- Frost the Cupcakes: Spread the frosting onto the cooled cupcakes using an offset spatula or pipe with a piping bag and star tip. Add sprinkles immediately after frosting, if desired, to add a festive touch.
Kitchen Tools You’ll Need
- Cupcake Pan: Essential for shaping and baking the cupcakes.
- Mixing Bowls: Various sizes for mixing dry and wet ingredients separately.
- Whisk and Electric Mixer: For combining ingredients thoroughly and ensuring a smooth batter and frosting.
- Measuring Cups and Spoons: For precise ingredient measurements, crucial for baking accuracy.
- Offset Spatula or Piping Bag: For applying the frosting in a smooth, decorative manner.
- Cooling Rack: Allows the cupcakes to cool evenly, preventing soggy bottoms.
Pairing and Serving Suggestions
Red Velvet Cupcakes are incredibly versatile and pair well with a variety of beverages. A glass of cold milk is a classic choice that complements the rich flavors, offering a refreshing contrast. For adults, a cup of coffee or a glass of red wine can enhance the experience, adding a layer of sophistication. If you’re hosting a party, consider pairing these cupcakes with a fruit platter or a simple vanilla ice cream scoop for a delightful contrast.
Storage & Leftover Tips
If you have any leftover cupcakes (which might be a rare occurrence!), store them in an airtight container at room temperature for up to two days. For longer storage, you can refrigerate them for up to a week, but make sure they’re in an airtight container to prevent the frosting from drying out. If you want to freeze them, it’s best to do so without the frosting. Wrap each cupcake individually in plastic wrap and place them in a freezer-safe bag. They can be frozen for up to three months. When you’re ready to enjoy them, let them thaw at room temperature and frost them fresh.
Conclusion: A Tradition of Baking and Bonding
There you have it, my trusted Red Velvet Cupcakes recipe, shared from my kitchen to yours. These cupcakes are more than just a dessert; they’re a way to bring a little joy and togetherness to your family. Whether you’re making these for a special occasion or just because, I hope they become a beloved part of your family’s culinary traditions. The beauty of baking is in its ability to bring people together, to create moments of joy and connection. So gather your loved ones, preheat that oven, and let the magic of Red Velvet Cupcakes fill your home and your hearts. Happy baking!
Exploring Variations and Customizations
For those who love to experiment, Red Velvet Cupcakes offer a fantastic canvas for creativity. You can infuse additional flavors into the batter, such as a hint of almond extract or a splash of espresso, to give the cupcakes a unique twist. If you’re a fan of nutty flavors, consider folding in some finely chopped pecans or walnuts into the batter for added texture and a delightful crunch.
Adding a Twist to the Frosting
The classic cream cheese frosting is a beloved accompaniment to Red Velvet Cupcakes, but there are endless possibilities for variation. For a citrusy touch, try incorporating some lemon or orange zest into the frosting. Alternatively, a dash of cinnamon or nutmeg can add warmth and depth, perfect for holiday gatherings.
Creative Decorations
Decorating Red Velvet Cupcakes is an opportunity to let your artistic side shine. You can use colored sugar crystals, chocolate shavings, or even edible flowers for a touch of elegance. For themed events, consider using seasonal decorations like heart-shaped candies for Valentine’s Day or mini chocolate eggs for Easter.
Red Velvet in Popular Culture
Red Velvet Cupcakes have made their mark not just in kitchens, but also in popular culture. From appearances in iconic TV shows like “Sex and the City” to being a staple in bakeries around the globe, their allure is undeniable. This widespread popularity has cemented their status as a classic dessert that continues to captivate taste buds and imaginations alike.
Healthier Alternatives
For those mindful of their dietary choices, there are ways to enjoy Red Velvet Cupcakes with a healthier twist. Consider using whole wheat flour or almond flour for a more nutritious base. Reducing the sugar content or using natural sweeteners like honey or maple syrup can also make these cupcakes a bit more health-conscious. For a vegan version, substitute traditional dairy ingredients with plant-based alternatives like almond milk and vegan cream cheese.
The Joy of Sharing
Baking is an act of love, and there’s nothing quite like sharing homemade Red Velvet Cupcakes with friends and family. Whether it’s bringing a batch to a neighbor or serving them at a community event, these cupcakes have a way of spreading joy and fostering connections. Their universal appeal makes them a perfect gift, a token of appreciation that resonates with everyone.
Conclusion: A Timeless Classic
Red Velvet Cupcakes are more than just a dessert; they are a celebration of flavor, tradition, and creativity. Their rich history, coupled with their elegant appearance and delicious taste, makes them a timeless classic that continues to charm generations. Whether you’re a seasoned baker or a novice in the kitchen, these cupcakes offer a rewarding experience that’s as delightful to make as it is to eat.
So, next time you’re looking for a recipe that combines nostalgia, flavor, and a touch of elegance, look no further than Red Velvet Cupcakes. Gather your ingredients, invite your loved ones, and embark on a baking adventure that promises to fill your home with warmth, laughter, and a delicious aroma that lingers long after the last cupcake is gone. Happy baking!
Red Velvet Cupcakes
Ingredients
Equipment
Method
- Preheat the oven to 350 degrees F.
- Place the liners in the cupcake pan.
- In a medium bowl, whisk together the flour, cocoa powder, salt, and baking powder.
- In a large mixing bowl, cream together the butter and sugar until light and fluffy.
- Add the eggs and vanilla extract, mix well.
- Add the desired amount of food coloring and mix well.
- Gradually add the dry ingredients, alternating with buttermilk until well combined.
- Add the water and mix well again.
- In a small bowl, combine vinegar and baking soda, then add that mixture to the batter and mix well.
- Divide the batter evenly into the prepared cupcake liners.
- Bake for 15-18 minutes or until a toothpick inserted in the center comes out clean.
- Cool completely before frosting.
- In a large mixing bowl add the cream cheese, and beat until smooth.
- Add in butter, and beat butter into the cream cheese until smooth.
- Gradually add confectioner’s sugar (1-2 cups at a time), mixing in between each addition, beating until smooth and creamy.
- Beat in the vanilla until smooth.
- Spread onto the cupcakes using an offset spatula or pipe on with a piping bag and star tip.
- Add desired sprinkles immediately after adding the frosting.