When I think about the comfort of home, I often find myself reminiscing about family gatherings where laughter filled the air, and the sweet aroma of freshly baked treats wafted through the house. There’s something magical about sharing a delightful dessert with loved ones, and that’s exactly what my Red Velvet Cake Bites are all about. These little gems are a staple in our family’s dessert repertoire, bringing smiles to faces young and old. Whether it’s a birthday celebration, a holiday feast, or just a weekend treat, these cake bites are my go-to for creating special moments. Today, I’m excited to share this easy recipe with you, one that promises to bring warmth and joy to your family table.
Why You’ll Love This Recipe
Family Togetherness: These Red Velvet Cake Bites are perfect for any family gathering. Their bite-sized nature makes them ideal for sharing, and they’re sure to become a conversation starter at your next gathering. Imagine a table full of family members reaching for these delightful bites, each one triggering nostalgic memories of past gatherings and shared moments.
Simplicity at Its Best: With a cake mix base, these treats are incredibly easy to make. You don’t need to be an expert baker to whip these up, but your friends and family will think you are! This simplicity makes them an excellent choice for involving kids in the kitchen. Little hands love helping with tasks like rolling the cake into balls or decorating with sprinkles.
Rich and Decadent Flavor: The combination of red velvet cake and cream cheese frosting creates an indulgent taste that feels like an embrace from an old friend. Red velvet’s subtle cocoa notes, paired with the tangy cream cheese, make for a flavor profile that’s both unique and universally appealing. Each bite is a journey through layers of taste and texture, leaving everyone craving more.
Versatile and Fun: Customize them with your favorite toppings or keep them classic. Either way, they’re a hit! You could try adding crushed nuts, colorful sprinkles, or even a dash of sea salt for an unexpected twist. The possibilities are endless, and you can tailor them to suit any theme or occasion.
Perfect for All Ages: Kids love helping roll the cake into balls, and adults can’t resist their charm. It’s a delightful recipe that brings out the child in everyone. The process of making these treats can be as enjoyable as eating them, turning an ordinary afternoon into a fun-filled family activity.
The Recipe
Ingredients:
- 15.25 ounces Red Velvet Cake Mix (1 box)
- 1 ¼ cups water (as listed on cake box)
- 3 eggs (as listed on cake box)
- ½ cup vegetable oil (as listed on cake box)
- 16 ounces cream cheese frosting (1 package or homemade)
- 1 pound white chocolate candy coating or almond bark
- 15 Red Candy Melts (optional for red stripes on top)
Directions:
Bake the Cake: Preheat your oven and bake the cake according to the directions on the package. While it bakes, enjoy the delightful aroma filling your kitchen—it’s a preview of what’s to come. This step is not just about preparing the cake; it’s about filling your home with warmth and anticipation.
Cool the Cake: Once baked, let the cake cool completely. For a quick cool-down, I like to pop mine in the freezer for about 45 minutes, although letting it cool overnight works just as well. Cooling the cake thoroughly is crucial for the next steps, ensuring that the cake crumbles and frosting mix seamlessly together.
Crumbly Goodness: Transfer the cooled cake into a large bowl and crumble it up. I find using my hands is the most efficient (and fun!) way to get the cake into small crumbs. This tactile step is a favorite among kids, making them feel involved in the process. It’s also a great way to ensure the cake is evenly crumbled, which is essential for the texture of your cake bites.
Mix in the Frosting: Stir in the cream cheese frosting, about ½ cup at a time, until the mixture holds together when rolled into a ball. You’ll know it’s perfect when it feels like a dense, doughy consistency. The gradual mixing helps achieve the ideal consistency, ensuring every part of your cake bite is moist and flavorful.
Roll and Shape: Roll the mixture into balls. Remember, a smaller size is better as these are quite rich. If you prefer, shape them into discs for a more traditional cake bite appearance. Place them on a large baking sheet and chill in the fridge for about 30 minutes to set. This step is vital as it helps the balls firm up, making them easier to coat with chocolate later on.
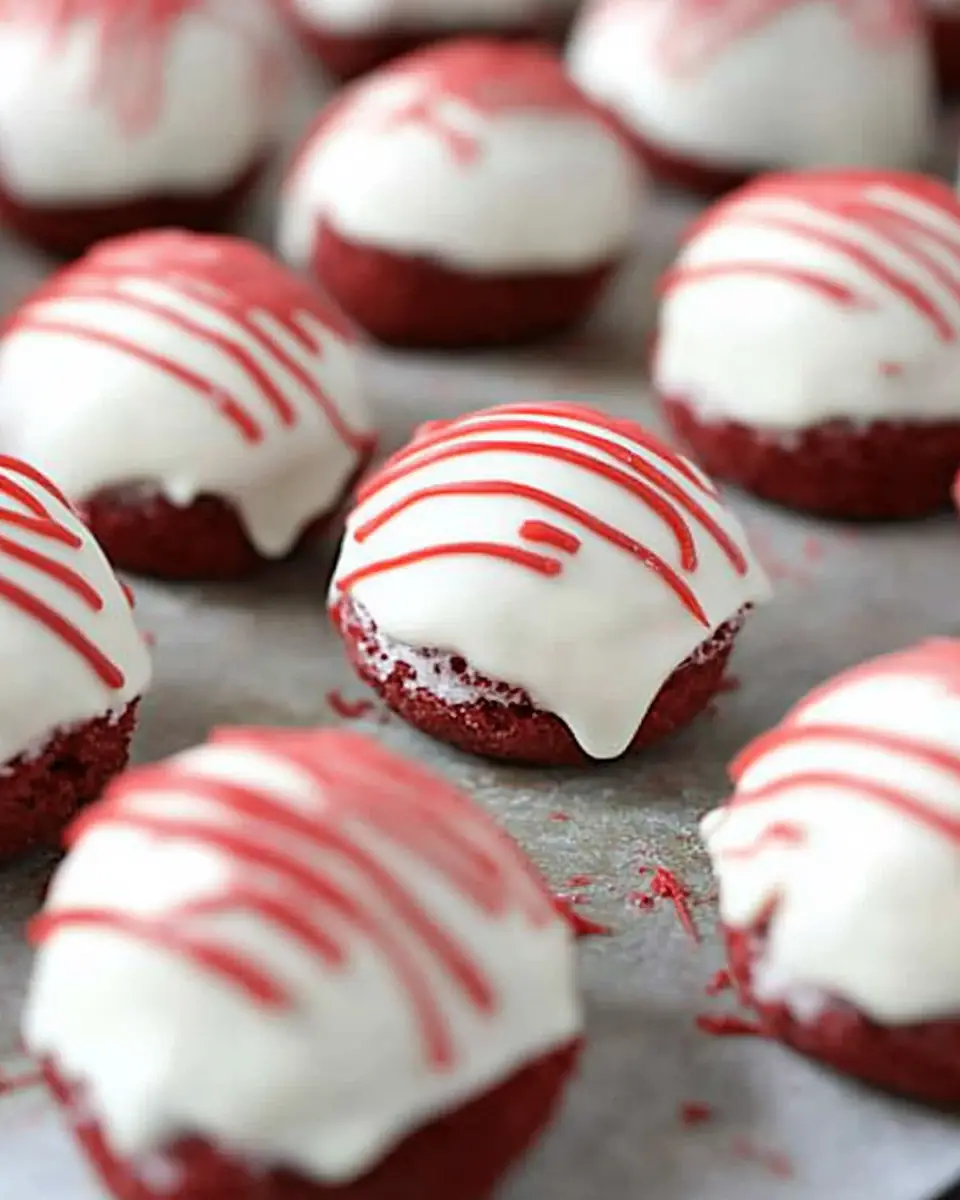
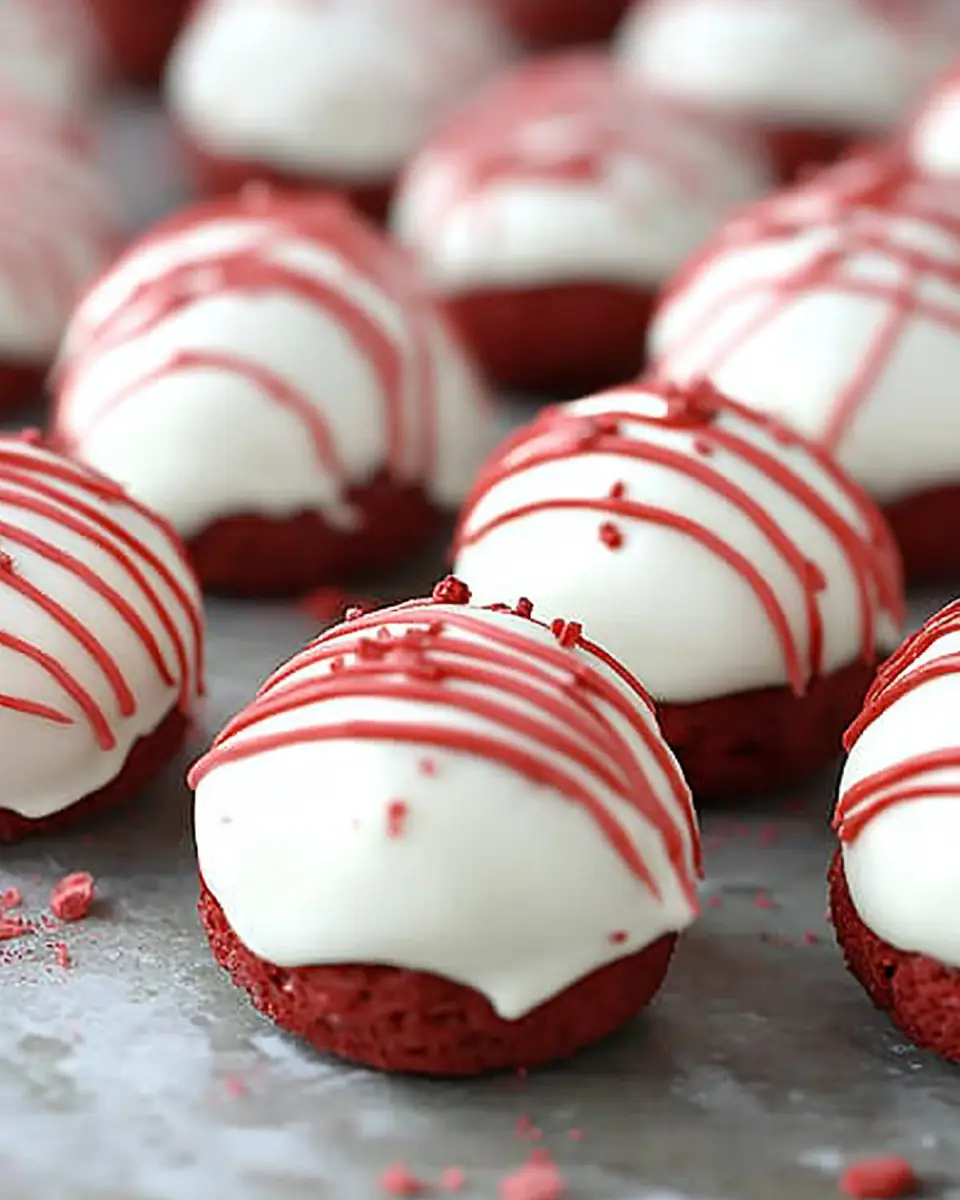
Dip in Chocolate: Melt the white chocolate candy coating as per package instructions. Use a skewer to dip each ball, ensuring they’re evenly coated. Allow any excess to drip off before placing them back onto the baking sheet or wax paper. The coating process is where you can get creative, experimenting with different techniques to achieve your desired look.
Decorate and Set: Let the candy-coated bites set up. If decorating with sprinkles, do so before the coating hardens. For a drizzle of red candy melts, wait until the coating is fully set, then melt the candy melts, transfer to a sandwich bag, snip a corner, and drizzle away! This is the step where you can let your artistic side shine, adding a personal touch to each bite.
Kitchen Tools You’ll Need
- Mixing Bowl: For crumbling and mixing the cake. A large, sturdy bowl is best, as it gives you plenty of room to work the ingredients together without making a mess.
- Baking Sheet: Essential for cooling and setting the cake bites. Make sure to line it with parchment paper or a silicone mat for easy removal.
- Skewer: Perfect for dipping the bites into the chocolate coating. A skewer or fork allows for easy handling and helps minimize chocolate drips.
- Microwave or Double Boiler: For melting the candy coating. A double boiler is ideal for controlled melting, but a microwave works in a pinch—just be sure to stir frequently to prevent burning.
- Freezer or Fridge: To cool and set your cake bites quickly. Having ample space in your fridge or freezer will ensure your cake bites are set evenly and quickly, ready for the final touches.
The Benefits of Each Ingredient
- Red Velvet Cake Mix: Provides the classic flavor and color that makes these bites irresistible. The mix simplifies the process while delivering that beloved red velvet taste, making it accessible for even novice bakers.
- Cream Cheese Frosting: Adds creaminess and richness, balancing the cake’s sweetness with a slight tang. This ingredient is key to achieving the perfect cake bite texture, melding seamlessly with the crumbled cake.
- White Chocolate Coating: Offers a sweet, smooth exterior that complements the cake’s texture. Besides adding flavor, the coating provides a protective shell that keeps the bites fresh longer.
- Red Candy Melts: Optional, but they add a festive touch that’s perfect for holidays or special occasions. They are an easy way to incorporate color and fun into your presentation, making your treats as delightful to look at as they are to eat.
What to Serve With This Dish
These Red Velvet Cake Bites pair beautifully with a hot cup of coffee or a glass of cold milk. They’re also delightful alongside a scoop of vanilla ice cream for an extra indulgent dessert. If you’re hosting a party, consider serving them with other bite-sized treats, like Chocolate Chip Cookies or Mini Cheesecakes from my collection. These pairings create a dessert table that caters to a variety of tastes and preferences, ensuring everyone finds something they love.
Storage & Leftover Tips
If you have leftovers (which is rare in my house!), store the cake bites in an airtight container in the fridge for up to a week. They also freeze well, making them a handy treat to have on standby. To freeze, arrange them in a single layer in a freezer-safe container, separating layers with parchment paper. They can be frozen for up to three months. Just thaw in the fridge when you’re ready to enjoy. This method ensures that your cake bites maintain their flavor and texture, ready to satisfy any sudden sweet tooth cravings.
As you embark on making these Red Velvet Cake Bites, remember that cooking is as much about the journey as it is about the destination. Involve your family, savor the process, and most importantly, have fun! There’s nothing quite like the joy of sharing homemade treats with those you love. The act of creating something delicious and beautiful with your own hands is incredibly rewarding, and the smiles on your loved ones’ faces will make every step worthwhile.
So, grab your ingredients, and let’s make some magic happen. I promise, these little bites of joy will become a cherished favorite in your home, just as they are in mine. Until next time, happy cooking! Your kitchen is a canvas, and with each recipe, you are painting memories that will last a lifetime.

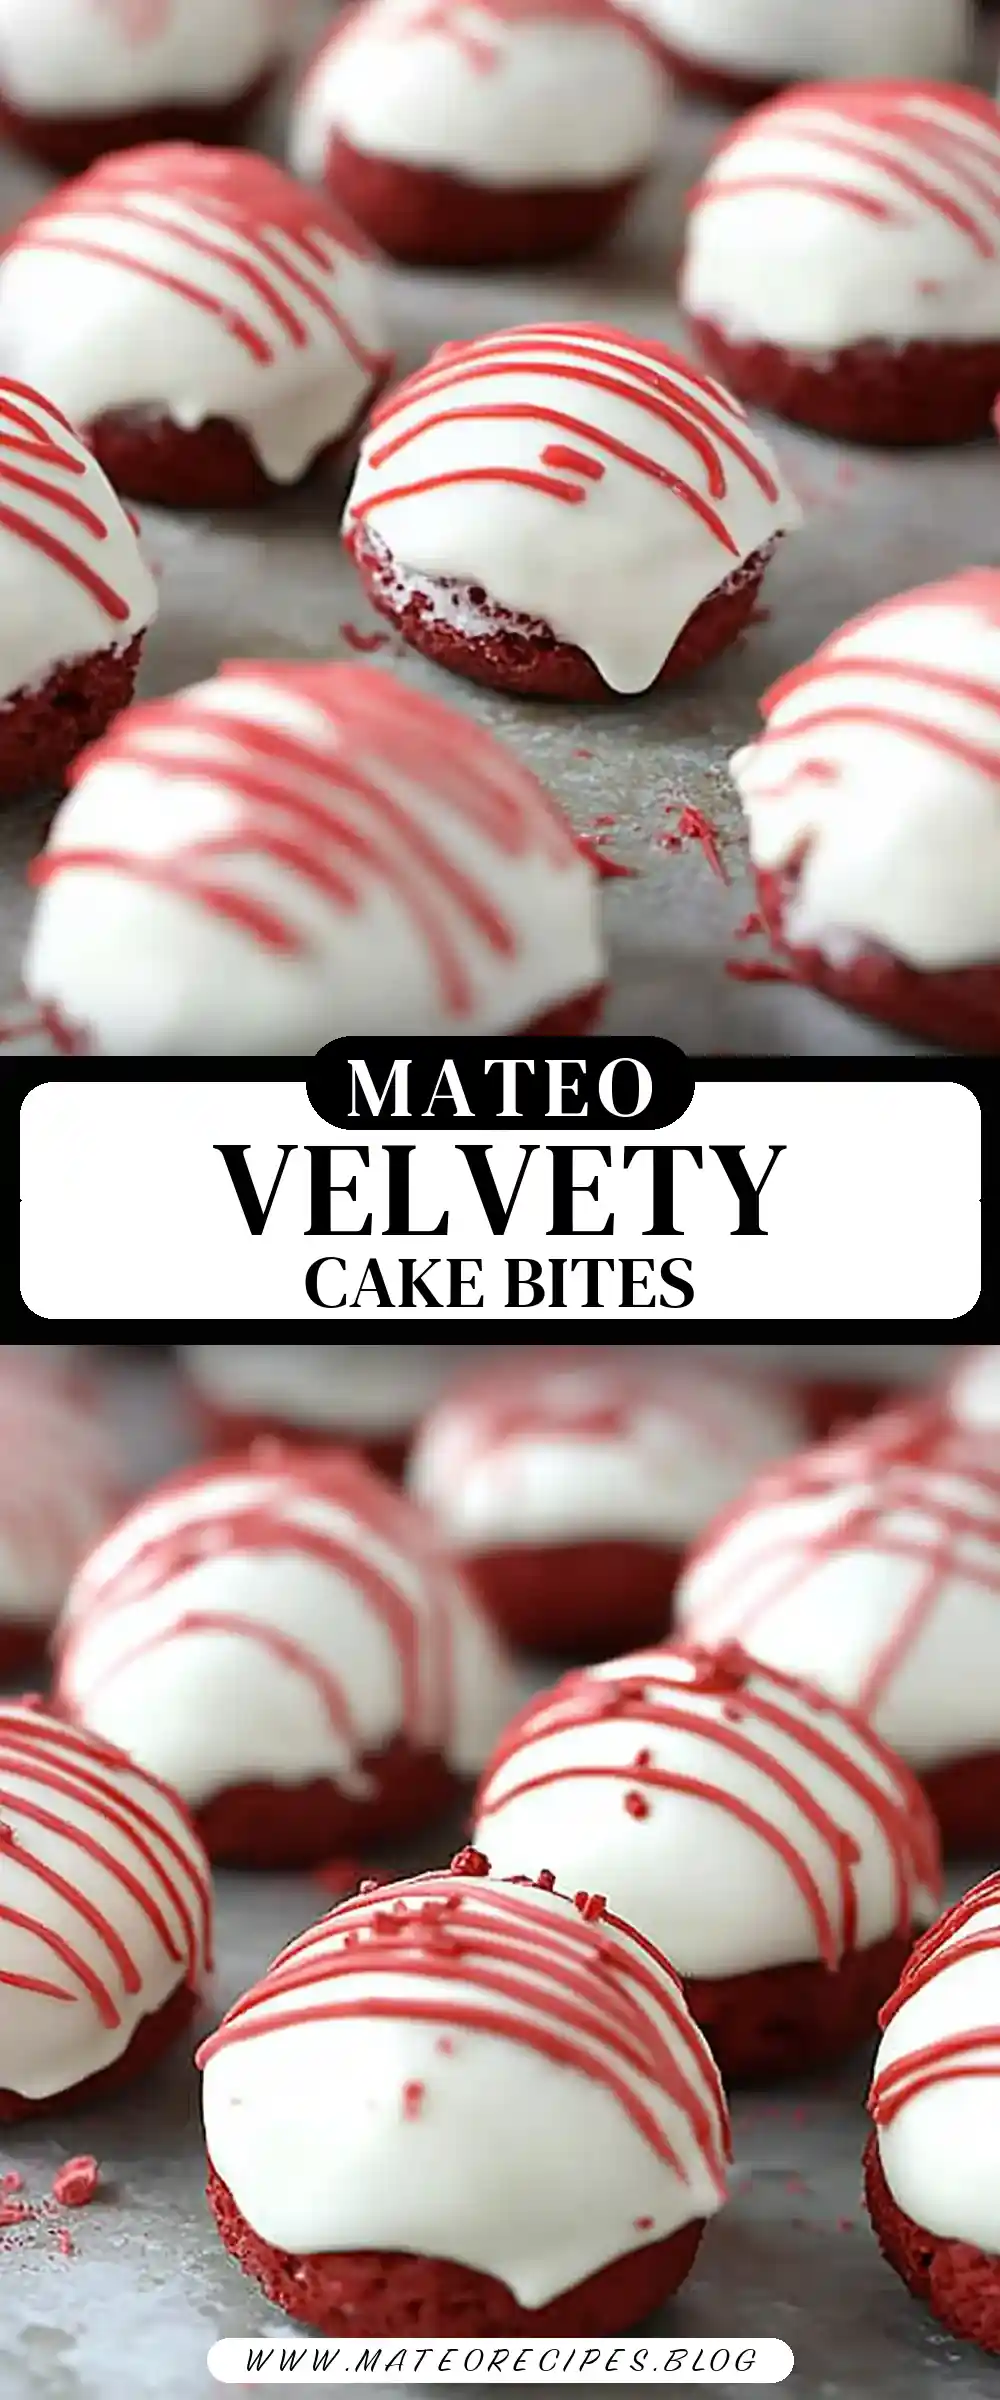
Red Velvet Cake Bites
Ingredients
Equipment
Method
- Bake the cake according to directions on the package.
- Let it cool completely, optionally placing it in the freezer for 45 minutes to speed up cooling.
- Crumble the entire cooled cake into a bowl using your hands.
- Stir in the container of frosting into the crumbled cake, about ½ cup at a time, until it reaches a consistency that holds together when rolled.
- Roll the cake and frosting mixture into balls and place them on a large baking sheet. Chill in the fridge for about 30 minutes to set.
- Melt the white chocolate candy coating according to package directions. Use a skewer to dip each ball into the melted coating, ensuring even coverage.
- Place the coated cake bites back onto the pan or wax paper and let them set. Chill in the fridge to speed up the hardening process, if desired.
- Melt the red candy melts according to package directions, if using for decoration.
- Spoon the melted candy into a resealable sandwich bag, clip a tiny corner, and drizzle over each cake bite.