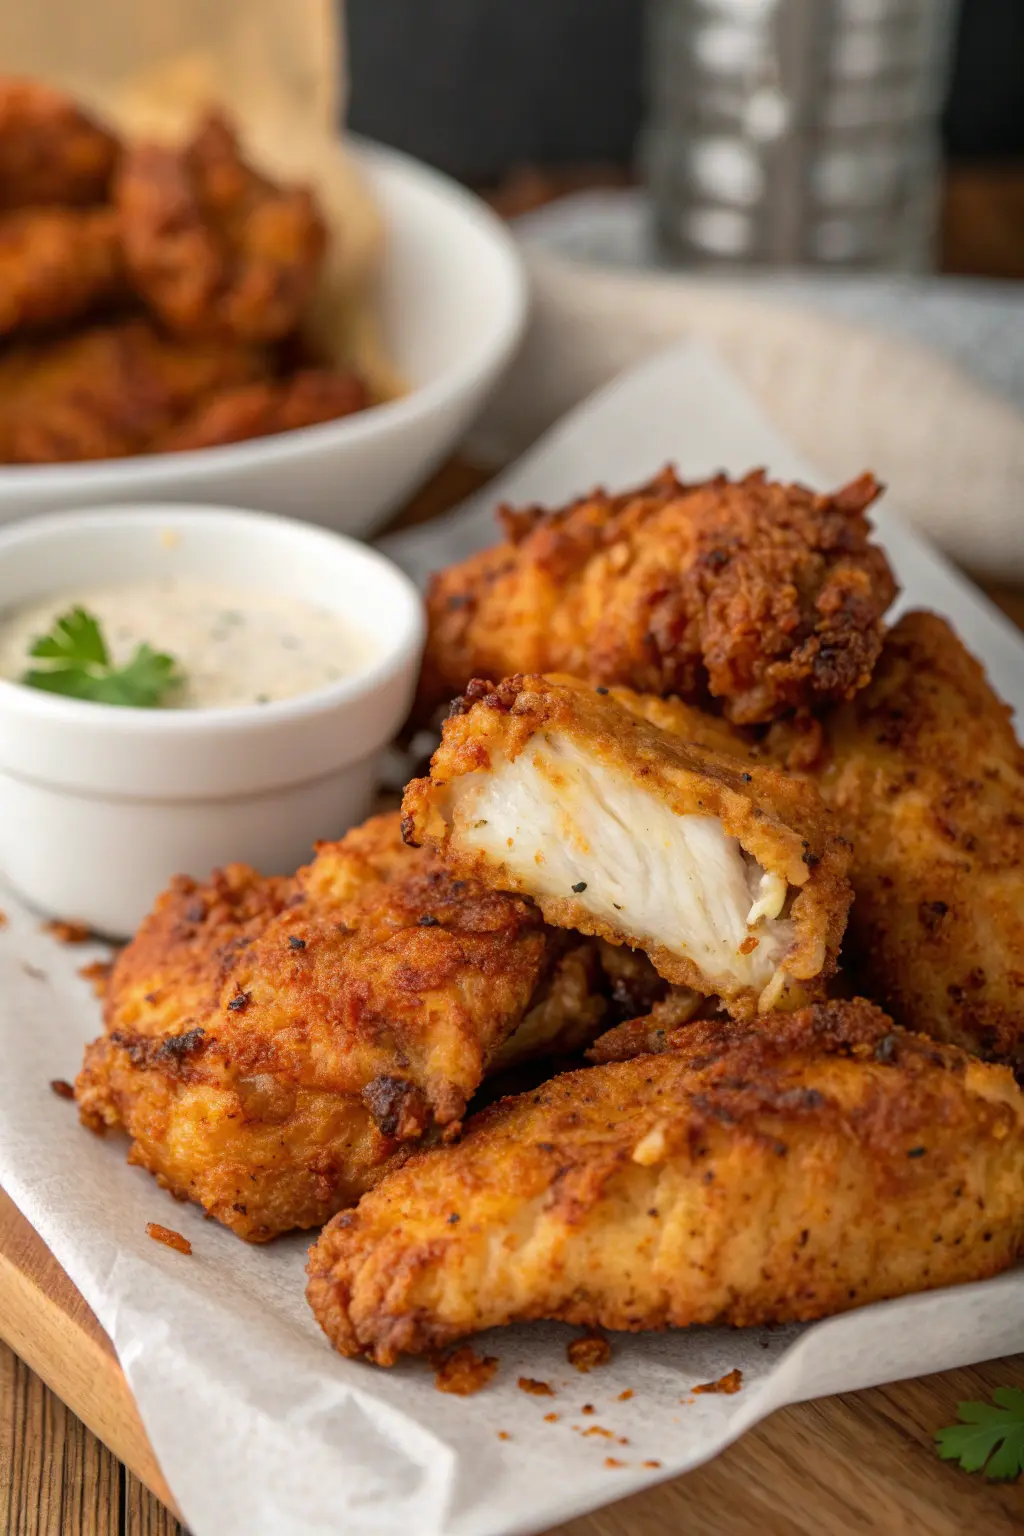
Hey there, fellow food lovers! Mateo here, ready to share a recipe that’s been a staple in my home for as long as I can remember: Air Fryer Chicken Tenders. There’s something incredibly comforting about a meal that brings everyone to the table, isn’t there? When I whip up these tenders, the whole family gathers around, just like when I was a kid. I have vivid memories of my mom in the kitchen, creating delicious homemade meals with love. These chicken tenders remind me of those times, offering the perfect blend of crispy, juicy goodness that’s sure to bring smiles to your family’s faces, too.
Why You’ll Love This Recipe
You’ll love this recipe for so many reasons, but here are just a few:
-
Quick and Easy: With just 15 minutes of prep time and 10 minutes of cooking, you’ll have dinner on the table in no time. Perfect for those busy weeknights when time feels like it’s slipping away faster than you can say “what’s for dinner?” The simplicity of the recipe makes it ideal for novice cooks and seasoned chefs alike. You can even prep the ingredients ahead of time to make the process even faster during the week.
-
Family-Friendly: These tenders are guaranteed to be a hit with both kids and adults, making them a great choice for family dinners. I find that even the pickiest eaters can’t resist the crispy texture and savory flavor of these tenders. The tenders are not just a meal; they’re a conversation starter. Watch as your little ones exclaim over the crispy coating and tender chicken, and enjoy the satisfaction of knowing you’ve provided a nutritious meal.
-
Healthier Option: By using an air fryer, you significantly cut down on oil, resulting in a lighter, guilt-free meal. This means you can indulge in that delicious fried taste without worrying about the extra calories. Traditional frying methods can leave you feeling heavy and sluggish, but these air fryer tenders are light enough to keep you energized. Plus, the reduced oil means less mess to clean up afterward.
-
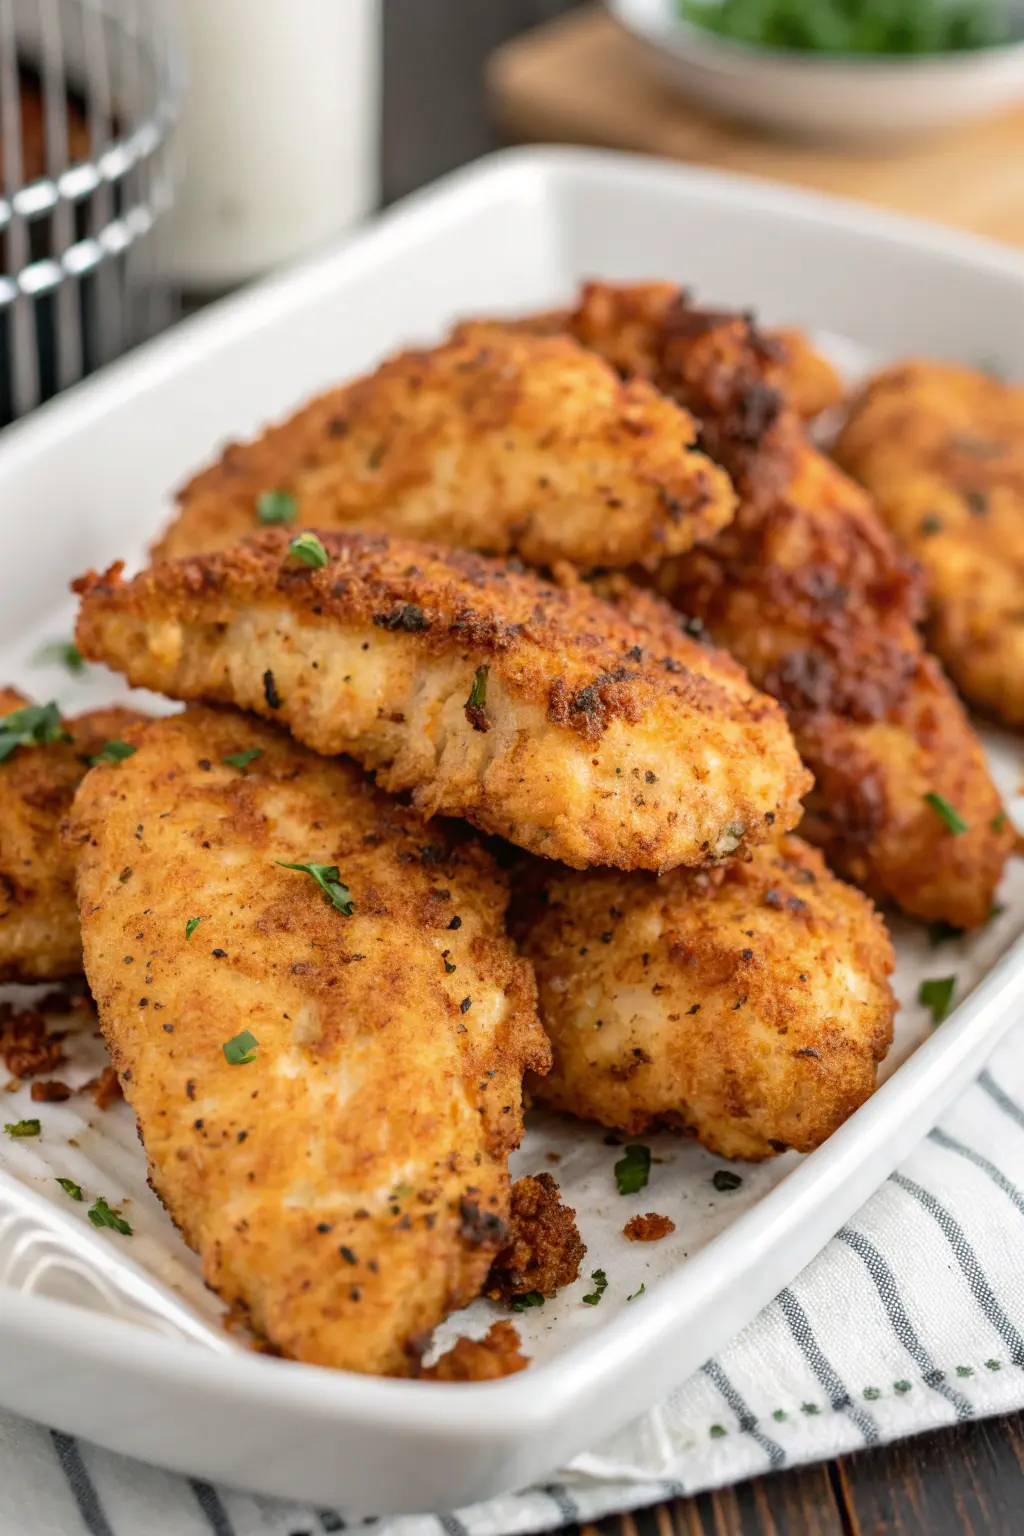
Crispy Perfection: The secret is in the panko breadcrumbs, which provide that irresistible crunch without frying. Panko is lighter and flakier than traditional breadcrumbs, giving you that restaurant-quality crispiness. The texture is a key factor that transforms these tenders from ordinary to extraordinary, and the panko delivers every time. You could be enjoying restaurant-quality chicken tenders in the comfort of your own home.
-
Everyday Ingredients: You probably have everything you need in your pantry right now, making this recipe both convenient and budget-friendly. There’s no need for a last-minute grocery store run. Common items like flour, eggs, and spices come together in a way that feels special, yet accessible. It’s a testament to the power of a well-stocked pantry.
The Recipe
Now, let’s dive into how to make these delicious tenders. You’ll find that the process is straightforward and enjoyable, perfect for getting everyone involved, even the kids!
Ingredients:
-
1 pound chicken tenderloins: These are the perfect size for quick cooking and provide a tender and juicy centerpiece for your meal. Tenderloins are naturally more tender than other cuts, making them ideal for quick cooking without sacrificing flavor or moisture.
-
1 cup all-purpose flour: This forms the base layer for our breading, helping the spices adhere and creating a nice crust. Flour acts as a crucial initial step in creating a barrier that seals in the juices, ensuring your chicken remains moist and flavorful.
-
2 large eggs: These act as a binding agent, ensuring the breadcrumbs stick to the chicken. Eggs also add richness to the coating, enhancing the overall taste and providing a beautiful golden color once cooked.
-
1 cup breadcrumbs (preferably panko): Panko breadcrumbs provide a superior crunch compared to regular breadcrumbs, making them ideal for this dish. Their airy, coarse texture helps achieve that desirable crunch that makes every bite satisfying.
-
1 teaspoon paprika: Adds a subtle smokiness and a hint of color to the tenders. Paprika not only contributes to the flavor but also gives the tenders a visually appealing hue that makes them look as good as they taste.
-
1 teaspoon garlic powder: Infuses the chicken with a savory depth of flavor that’s hard to resist. Garlic powder distributes evenly, ensuring every bite is infused with its aromatic essence.
-
1 teaspoon onion powder: Complements the garlic powder, rounding out the flavor profile. Onion powder adds a sweet, yet savory component that balances the dish perfectly.
-
½ teaspoon salt: Enhances all the flavors in the dish, bringing everything together. Salt is essential for flavor enhancement, ensuring that each ingredient shines in its own right.
-
½ teaspoon black pepper: Adds just a touch of heat and complexity. Black pepper brings a mild kick, adding depth and complexity to the seasoning blend.
-
Cooking spray: Helps achieve that golden-brown color without the need for excess oil. Cooking spray is your best friend for achieving a perfectly crisp exterior without the heaviness of deep frying.
Instructions:
-
Preheat the air fryer to 400°F (200°C) for about 5 minutes. This ensures even cooking right from the start. Preheating the air fryer is akin to preheating an oven, ensuring that your chicken starts cooking immediately upon placement.
-
In a shallow bowl, mix together flour, paprika, garlic powder, onion powder, salt, and pepper. This seasoned flour layer is crucial for flavor depth. Mixing these ingredients ensures that every piece of chicken is thoroughly seasoned before even hitting the eggs and breadcrumbs.
-
In a second bowl, beat the eggs. Whisk until they are well blended, as this will ensure an even coating on the chicken. A well-beaten egg mixture prevents clumping and ensures a smooth transition from flour to breadcrumbs.
-
In a third bowl, place the breadcrumbs. You can add a pinch of salt and pepper here for extra seasoning if you like. This step allows you to season each layer, contributing to a more complex and satisfying flavor.
-
Dredge each chicken tender in the flour mixture, shaking off excess. Dip into the beaten eggs, then coat with breadcrumbs. Make sure each piece is thoroughly coated with each layer for maximum flavor and crunch. The breading process is crucial for locking in moisture and providing that satisfying crunch everyone loves.
-
Arrange the breaded chicken tenders in a single layer in the air fryer basket, spraying lightly with cooking spray. Avoid overcrowding to ensure even cooking and crispiness. Overcrowding can lead to uneven cooking and a less crispy result, so give each piece space to breathe.
-
Cook at 400°F for 10 minutes, flipping halfway through, until golden brown and cooked through (internal temperature should reach 165°F). This flipping step is crucial for even browning on all sides. Flipping halfway ensures both sides receive equal heat exposure, resulting in a uniformly crispy exterior.
-
Remove from the air fryer and let rest for a few minutes before serving. This resting period helps the juices redistribute within the meat, keeping it moist. Allowing the chicken to rest prevents juices from escaping when you cut into it, ensuring each bite is juicy.
Helpful Tip: For extra crispiness, spray the tenders with a little more cooking spray before cooking. This simple trick helps mimic the effect of deep-frying without the added oil. A quick spray before and during cooking can enhance the crispiness, delivering that perfect crunch you’re aiming for.
Kitchen Tools You’ll Need
To create these delightful chicken tenders, you’ll need:
-
Air fryer: This is the star tool for achieving that crispy texture without the extra oil. Modern air fryers are efficient and easy to use, making them great for quick meals. They use hot air circulation to mimic the effect of frying with significantly less oil, making them a healthier choice.
-
Mixing bowls: You’ll need three separate bowls for the flour mixture, eggs, and breadcrumbs. This setup makes the breading process seamless and organized. Having a designated station for each step keeps your workspace tidy and efficient.
-
Tongs: Handy for flipping the tenders halfway through cooking. They also keep your hands clean during the cooking process. Tongs provide a firm grip and make it easy to turn the chicken without disturbing the coating.
-
Meat thermometer: To ensure your chicken is cooked safely to 165°F. This is an essential tool for avoiding undercooked poultry. A reliable meat thermometer takes the guesswork out of cooking, giving you peace of mind with every meal.
The Benefits of Each Ingredient
Understanding the role of each ingredient can help you become a more intuitive cook:
-
Chicken tenderloins: These are the perfect cut for tenders, offering a juicy bite every time. They cook quickly and absorb flavors well. Their natural tenderness makes them a favorite in many households, offering a versatile base for various seasonings.
-
All-purpose flour: Helps the seasonings stick and gives the tenders a nice base layer before coating. It’s a versatile staple in any kitchen. Flour is a critical component of the breading process, acting as the initial layer that holds everything together.
-
Eggs: Act as a binder that helps the breadcrumbs adhere to the chicken. They also add a rich flavor and color to the coating. Eggs play a dual role, acting as both a binder and a flavor enhancer, crucial for a cohesive breading.
-
Panko breadcrumbs: Create a light, crispy crust, setting these tenders apart. They absorb less oil than traditional breadcrumbs, making them a healthier option. The unique texture of panko allows it to create pockets of air, resulting in a crispier finish.
-
Paprika, garlic powder, onion powder: These spices infuse the chicken with flavor, elevating it from ordinary to extraordinary. They provide a well-rounded flavor profile that appeals to many palates. This combination of spices forms the backbone of the dish’s flavor, creating a savory, aromatic experience.
-
Salt and black pepper: Essential for enhancing the overall taste. These basic seasonings are crucial for bringing out the natural flavors of the chicken. Salt and pepper are the quintessential seasonings, amplifying the dish’s other flavors and adding depth.
What to Serve With This Dish
These air fryer chicken tenders are incredibly versatile. Here are a few serving suggestions:
-
Dipping sauces: Serve with honey mustard, ranch, or barbecue sauce for a fun, interactive meal. Each sauce offers a unique flavor profile that complements the tenders. Dipping sauces allow each family member to customize their meal, creating a personalized dining experience.
-
Side dishes: Pair with a fresh garden salad or some homemade air fryer sweet potato fries for a complete meal. The sweetness of the fries balances the savory chicken. Consider adding a coleslaw or steamed vegetables for additional color and nutrients.
-
Beverages: A cold glass of lemonade or iced tea is the perfect refreshing drink alongside these tenders. These drinks add a refreshing contrast to the savory meal. A light, fruity beverage complements the flavors without overpowering them, making for a balanced meal.
Storage & Leftover Tips
If you’re lucky enough to have leftovers, here’s how to store them:
-
Refrigeration: Place leftover tenders in an airtight container and store in the fridge for up to 3 days. This keeps them fresh and ready for a quick snack or meal. Proper storage ensures that the tenders maintain their flavor and texture for future enjoyment.
-
Reheating: To maintain crispness, reheat in the air fryer at 350°F for about 5 minutes. This method avoids the sogginess that comes with microwave reheating. Using the air fryer for reheating helps restore the original texture, making leftovers as enjoyable as the first serving.
-
Freezing: For longer storage, freeze the cooked tenders in a single layer on a baking sheet. Once frozen, transfer to a freezer-safe bag or container for up to 1 month. Reheat directly from frozen in the air fryer at 400°F for 8-10 minutes. This method keeps them crispy and delicious. Freezing in a single layer prevents the tenders from sticking together, making it easy to reheat only what you need.
Cooking at home can be such a rewarding experience, especially when the result is a dish as delightful as these Air Fryer Chicken Tenders. They’re a testament to how simple ingredients can create something that feels like a warm hug for your taste buds. If you’re interested in more family-friendly comfort food, be sure to check out my easy chicken stir fry recipe.
So go ahead, gather your family around the table, and enjoy this comforting meal together. After all, nothing brings people closer than sharing good food and creating cherished memories. Happy cooking!


Air Fryer Chicken Tenders
Ingredients
Equipment
Method
- Preheat the air fryer to 400°F (200°C) for about 5 minutes.
- In a shallow bowl, mix together flour, paprika, garlic powder, onion powder, salt, and pepper.
- In a second bowl, beat the eggs.
- In a third bowl, place the breadcrumbs.
- Dredge each chicken tender in the flour mixture, shaking off excess. Dip into the beaten eggs, then coat with breadcrumbs.
- Arrange the breaded chicken tenders in a single layer in the air fryer basket, spraying lightly with cooking spray.
- Cook at 400°F for 10 minutes, flipping halfway through, until golden brown and cooked through (internal temperature should reach 165°F).
- Remove from the air fryer and let rest for a few minutes before serving.