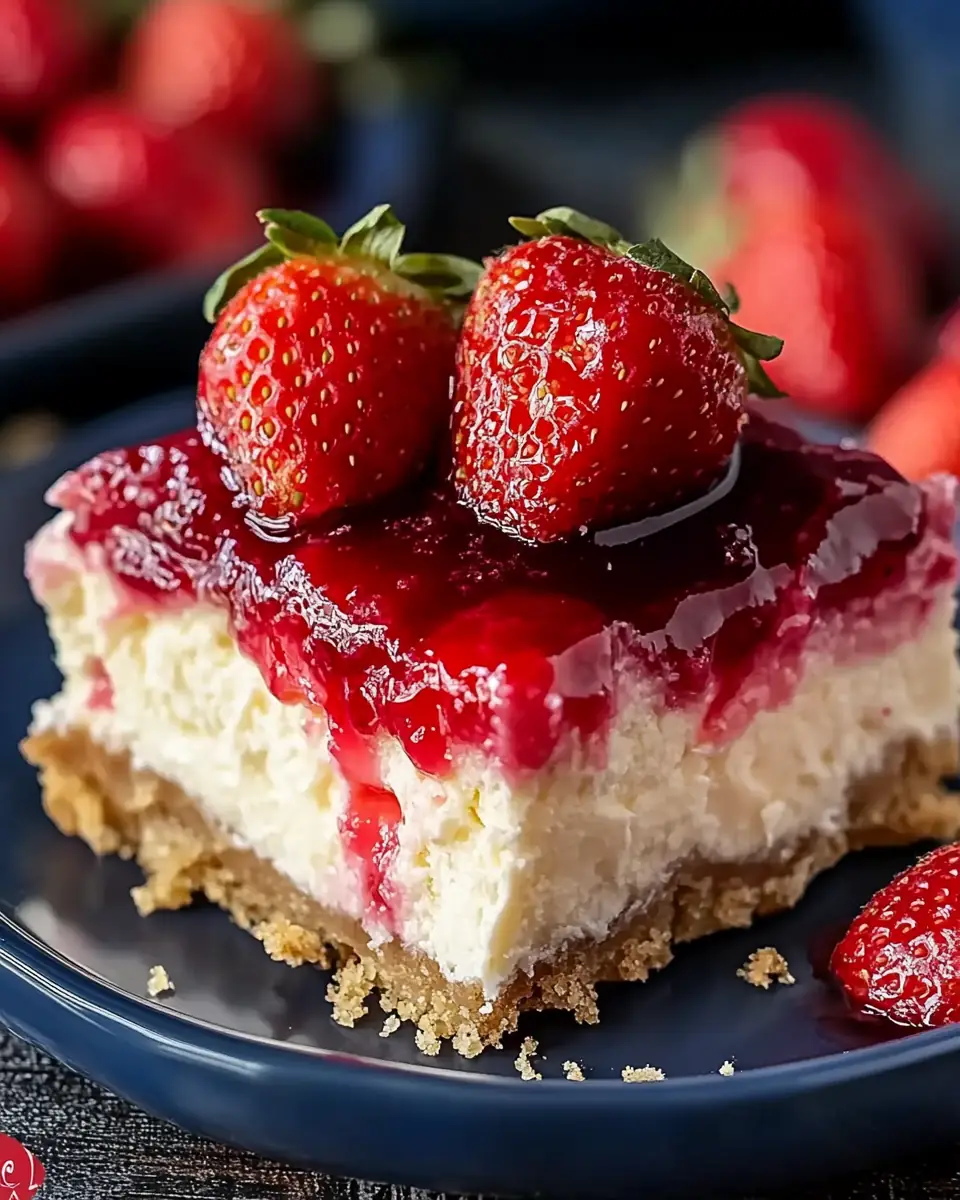
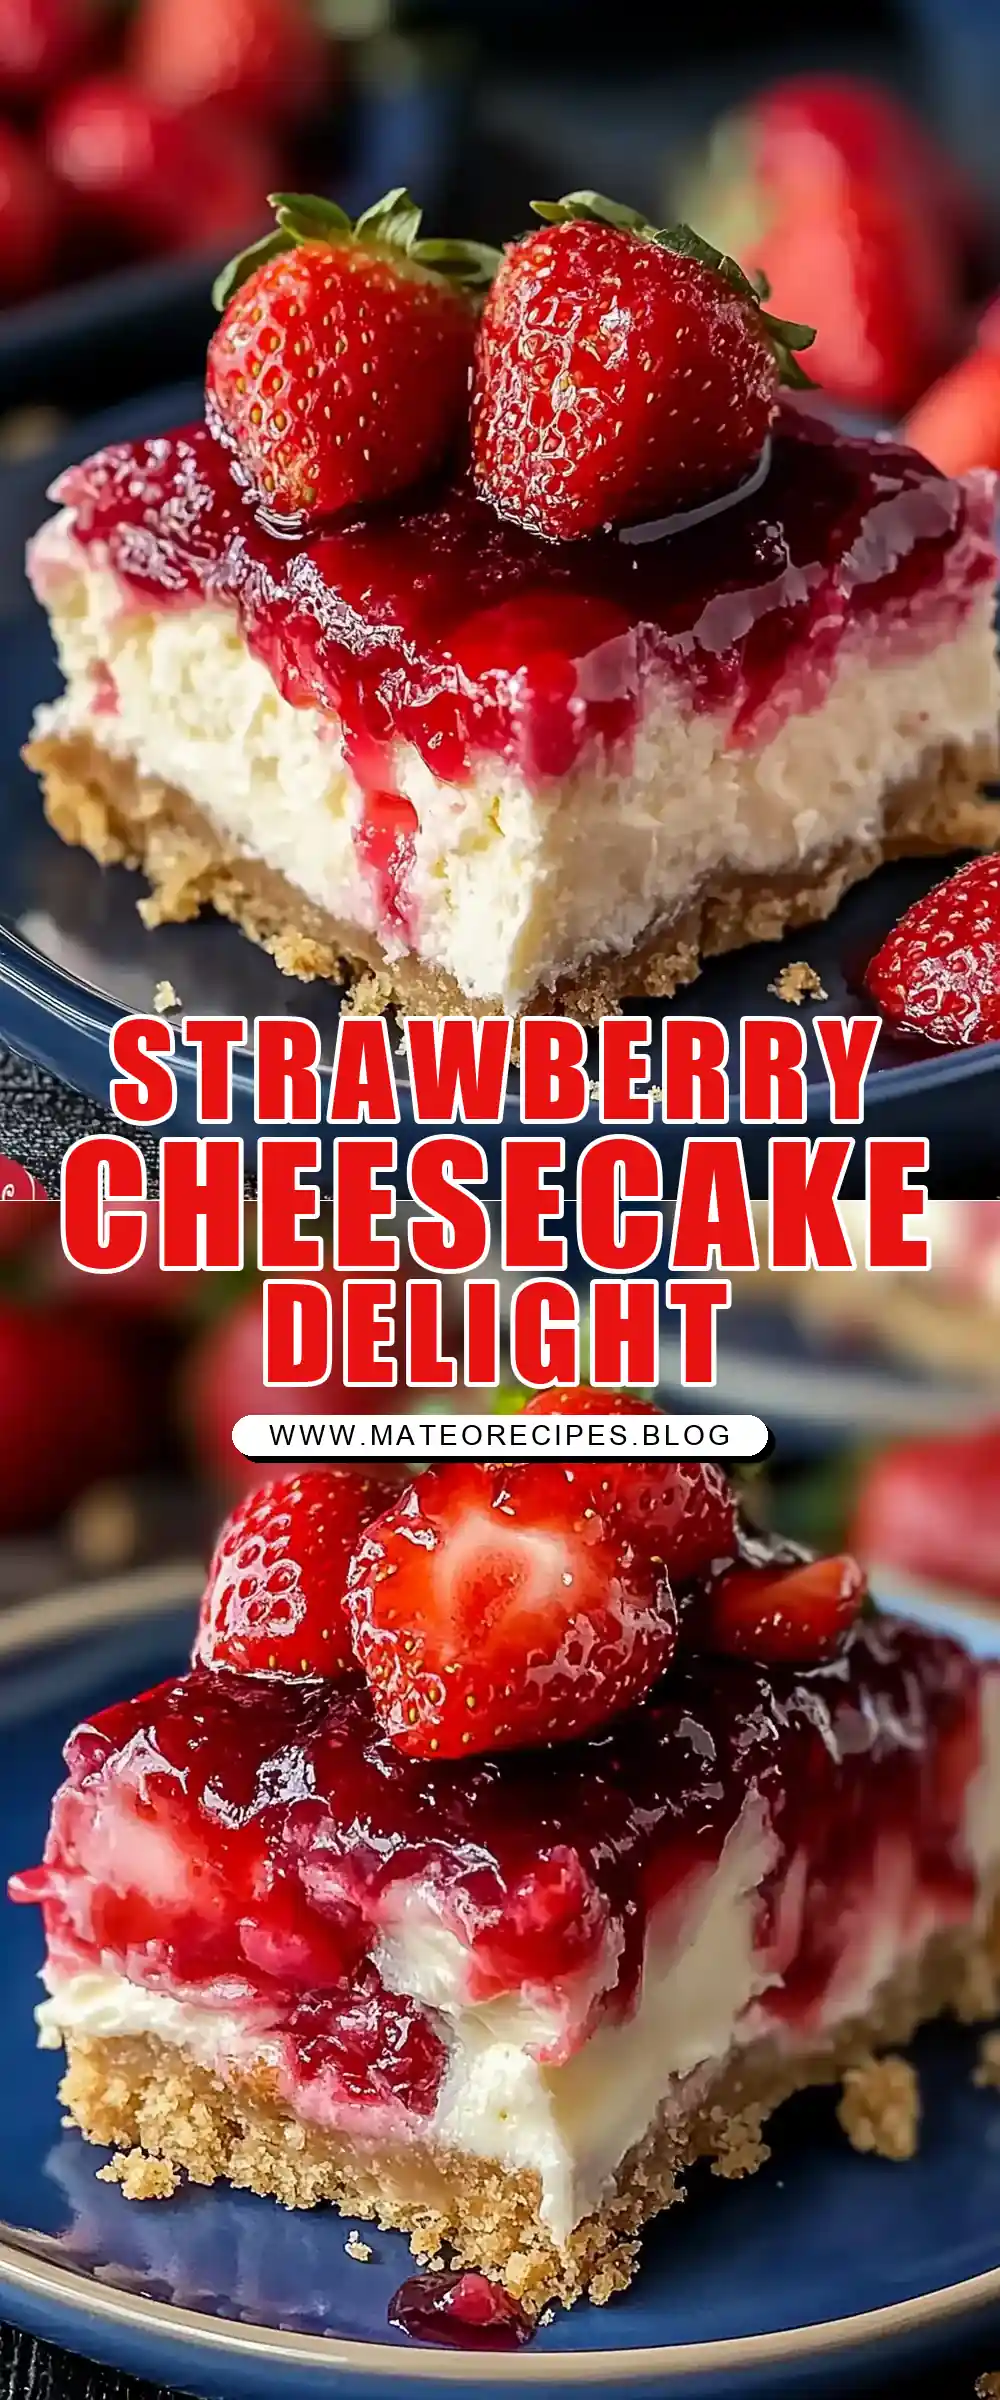
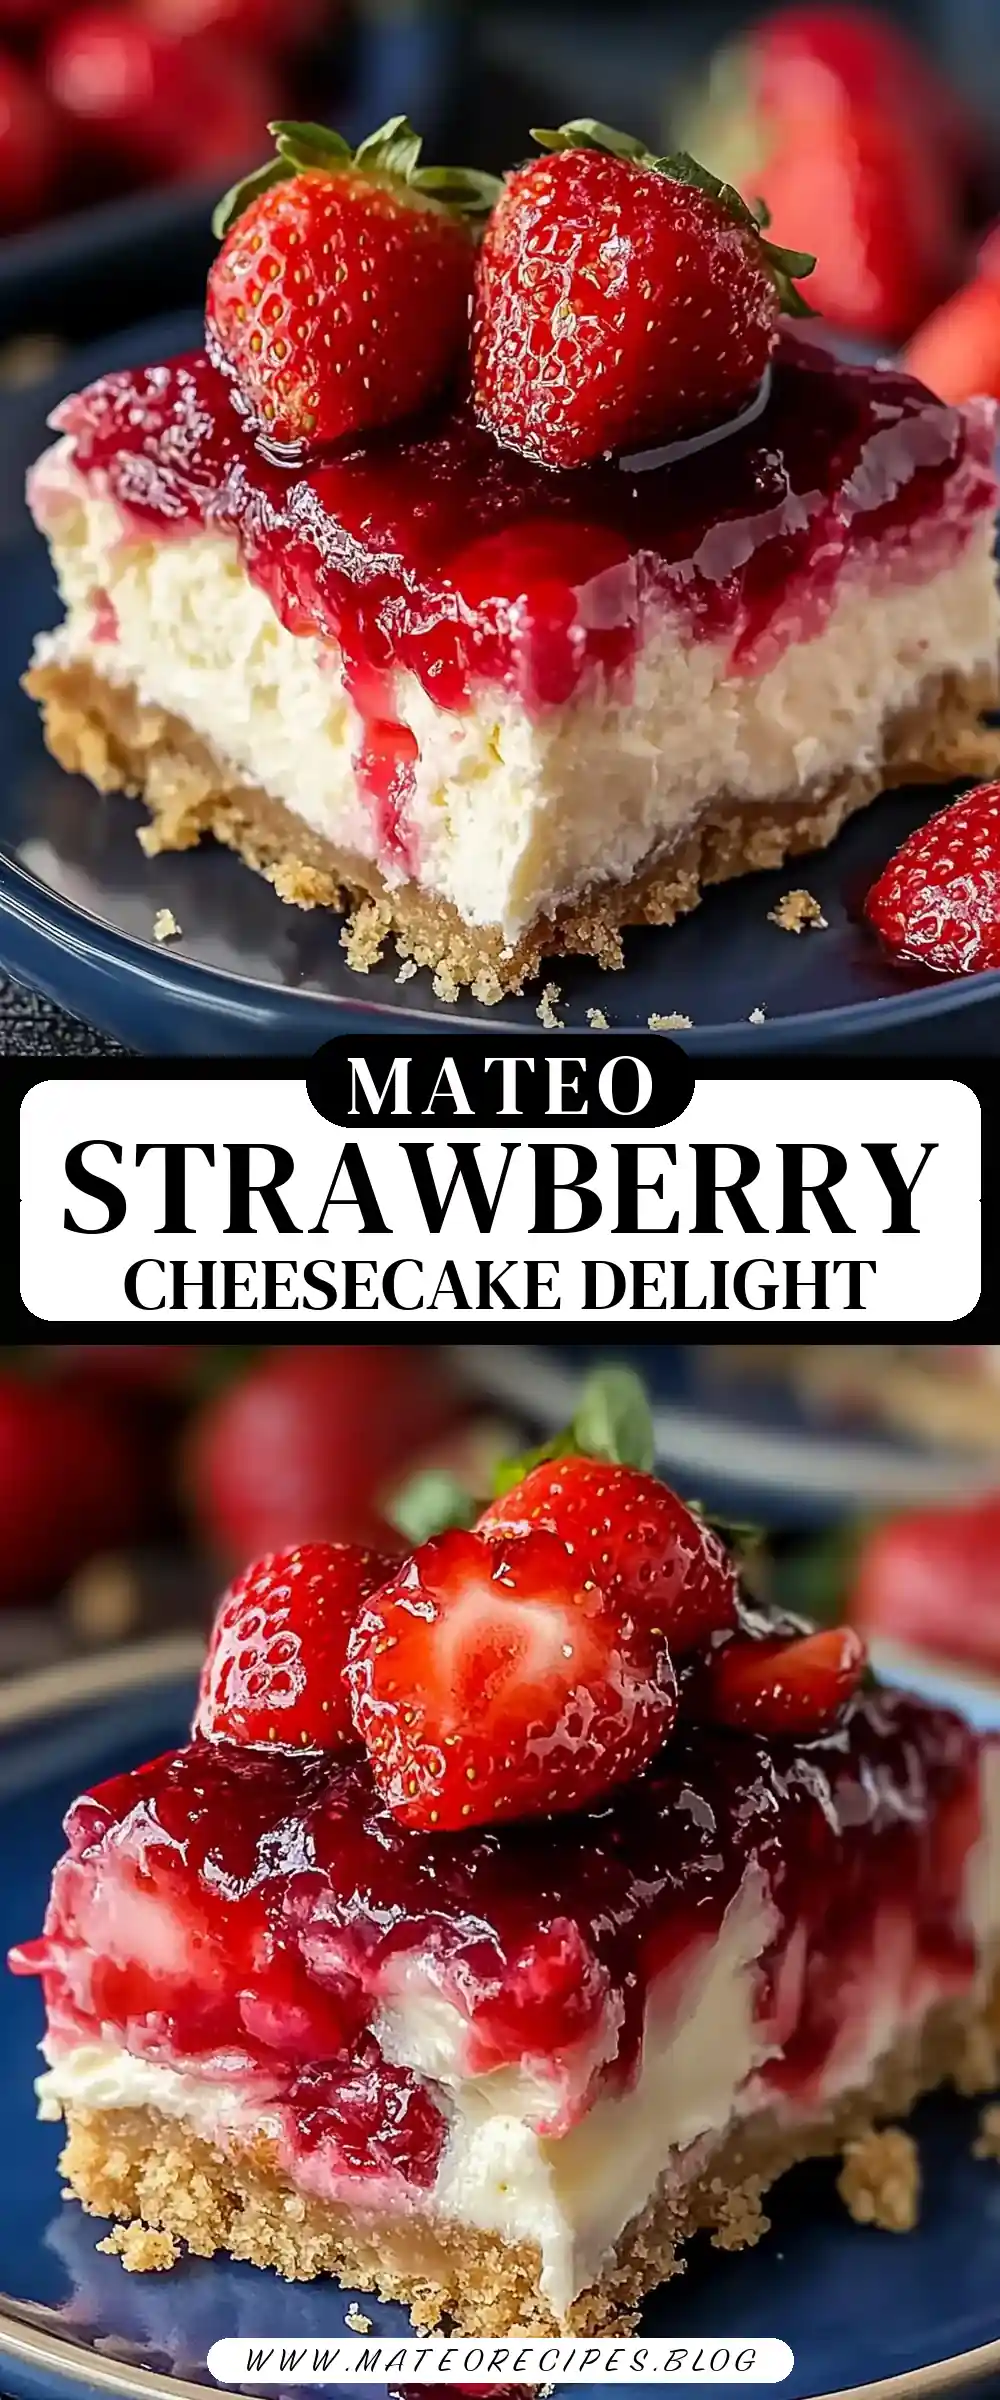
When I think of desserts that bring everyone together, the Strawberry Cheesecake Dump Cake always takes the cake—quite literally! Picture this: a bustling kitchen filled with laughter and the sweet aroma of strawberries and cream wafting through the air. This dish is one of those delightful recipes that’s not just about the flavors but about the moments you create with family. I remember the first time I made this—it was a Sunday afternoon, my kids were playing in the yard, and I wanted to surprise them with something special for dessert. This cake was the answer, and boy, did it deliver smiles all around!
Now, I’m excited to share this easy yet indulgent recipe with you, just like I would with a close friend over coffee. Let’s dive into the cozy, comforting world of Strawberry Cheesecake Dump Cake.
Why You’ll Love This Recipe
- Effortless Preparation: This dump cake is the epitome of ease—no complicated steps or fancy techniques. It’s perfect for those busy days when you want something sweet without the fuss.
- Family-Friendly Flavor: Who can resist the classic combo of strawberries and cream cheese? This dessert is a hit with both kids and adults, making it a fantastic choice for family gatherings.
- Comforting and Cozy: With its warm, gooey texture and rich flavors, this cake is the ultimate comfort food. It feels like a hug in dessert form.
- Versatile Ingredients: You likely have most of these ingredients in your pantry. Plus, you can easily swap in other pie fillings for a different flavor profile—think cherry or mixed berries!
- Perfect for Any Occasion: Whether it’s a casual family dinner or a festive celebration, this cake suits every occasion and always impresses.
The Recipe
Ingredients: – 2 cans (20 oz each) strawberry pie filling – 1 package (8 oz) cream cheese, softened – 1/2 cup granulated sugar – 1 teaspoon vanilla extract – 1 box (15.25 oz) yellow or white cake mix – 1/2 cup unsalted butter, melted – 1/2 cup graham cracker crumbs (optional, for topping)
Directions: 1. Preheat your oven to 350°F (175°C) and lightly grease a 9×13-inch baking dish. 2. Spread the strawberry pie filling evenly over the bottom of the dish. 3. In a medium bowl, beat the softened cream cheese, sugar, and vanilla extract until smooth. Drop spoonfuls of the cream cheese mixture over the pie filling, spreading gently to create pockets of cheesecake. 4. Evenly sprinkle the dry cake mix over the top of the filling layers. 5. Drizzle the melted butter evenly over the cake mix, ensuring as much coverage as possible. 6. For added crunch, sprinkle graham cracker crumbs over the top. 7. Bake for 40-45 minutes, or until the top is golden brown and bubbly. 8. Let the cake cool slightly before serving. Serve warm or chilled, optionally with a dollop of whipped cream or a scoop of vanilla ice cream.
Prep Time: 10 minutes | Cooking Time: 45 minutes | Total Time: 55 minutes
Calories: 320 kcal per serving | Servings: 12 servings
Kitchen Tools You’ll Need
To make this Strawberry Cheesecake Dump Cake, you’ll need just a few basic kitchen tools: – A 9×13-inch baking dish: This size is perfect for ensuring even baking and serving a crowd. – Mixing bowls: One medium-sized bowl for combining the cream cheese mixture. – Electric mixer or whisk: To beat the cream cheese, sugar, and vanilla extract until smooth. – Spatula or spoon: For spreading the cream cheese mixture and pie filling. – Measuring cups and spoons: To ensure you get the right amount of each ingredient. – Pastry cutter (optional): If you want a crumbly topping, a pastry cutter can help blend the butter into the cake mix gently.
The Benefits of Each Ingredient

Understanding why each ingredient is included can elevate your cooking experience:
- Strawberry Pie Filling: Provides the sweet, fruity base of the cake. It’s convenient and brings that juicy strawberry goodness to every bite.
- Cream Cheese: Adds a luxurious, creamy texture that complements the strawberries beautifully. It’s the cheesecake component that makes this dessert stand out.
- Granulated Sugar: Enhances the natural sweetness of the strawberries and balances the tanginess of the cream cheese.
- Vanilla Extract: Adds depth and warmth to the flavors, making the cake feel homey and inviting.
- Cake Mix: Offers a quick and easy way to create a cake layer without the need for scratch baking. It absorbs the butter and transforms into a delightful topping.
- Unsalted Butter: Ensures the cake mix bakes into a rich, golden topping. It’s the magic ingredient for that crumbly, buttery finish.
- Graham Cracker Crumbs: Optional but recommended for adding a crunchy texture reminiscent of cheesecake crusts.
What to Serve With This Dish
This Strawberry Cheesecake Dump Cake is a versatile dessert that pairs well with a variety of accompaniments: – Whipped Cream: A dollop of whipped cream adds a light, airy contrast to the rich cake. – Vanilla Ice Cream: The cool creaminess of ice cream complements the warm, gooey cake perfectly. – Fresh Berries: Enhance the fruitiness with a side of fresh strawberries or mixed berries. – Coffee or Tea: A warm cup of coffee or tea balances the sweetness and makes for a comforting combo.
For more delightful pairings, you might want to try my Classic Vanilla Custard or Homemade Whipped Cream recipes.
Storage & Leftover Tips
If you have any leftovers (which is rare because it’s so delicious!), here’s how to store them: – Refrigeration: Store the cake in an airtight container in the refrigerator for up to 3 days. The flavors meld beautifully over time, making it even more delicious. – Freezing: This cake can be frozen for up to 2 months. Wrap individual slices in plastic wrap and place them in a freezer-safe container. Thaw overnight in the refrigerator before serving. – Reheating: To enjoy warm, reheat a slice in the microwave for 15-20 seconds or in the oven at 350°F (175°C) for about 10 minutes.
For more tips on storing desserts, you can check out this guide on storing cakes from Serious Eats.
In conclusion, this Strawberry Cheesecake Dump Cake is more than just a dessert; it’s a centerpiece for creating cherished family memories. The simplicity of its preparation, combined with its heartwarming flavors, makes it a must-try for any occasion. I hope you enjoy making—and eating—it as much as my family does. Remember, the best recipes are the ones shared with love and a dash of laughter. Happy baking!
Strawberry Cheesecake Dump Cake 🍰🍓
Ingredients
Equipment
Method
- Preheat your oven to 350°F (175°C) and lightly grease a 9×13-inch baking dish.
- Spread the strawberry pie filling evenly over the bottom of the dish.
- In a medium bowl, beat the softened cream cheese, sugar, and vanilla extract until smooth. Drop spoonfuls of the cream cheese mixture over the pie filling, spreading gently to create pockets of cheesecake.
- Evenly sprinkle the dry cake mix over the top of the filling layers.
- Drizzle the melted butter evenly over the cake mix, ensuring as much coverage as possible.
- For added crunch, sprinkle graham cracker crumbs over the top.
- Bake for 40-45 minutes, or until the top is golden brown and bubbly.
- Let the cake cool slightly before serving. Serve warm or chilled, optionally with a dollop of whipped cream or a scoop of vanilla ice cream.