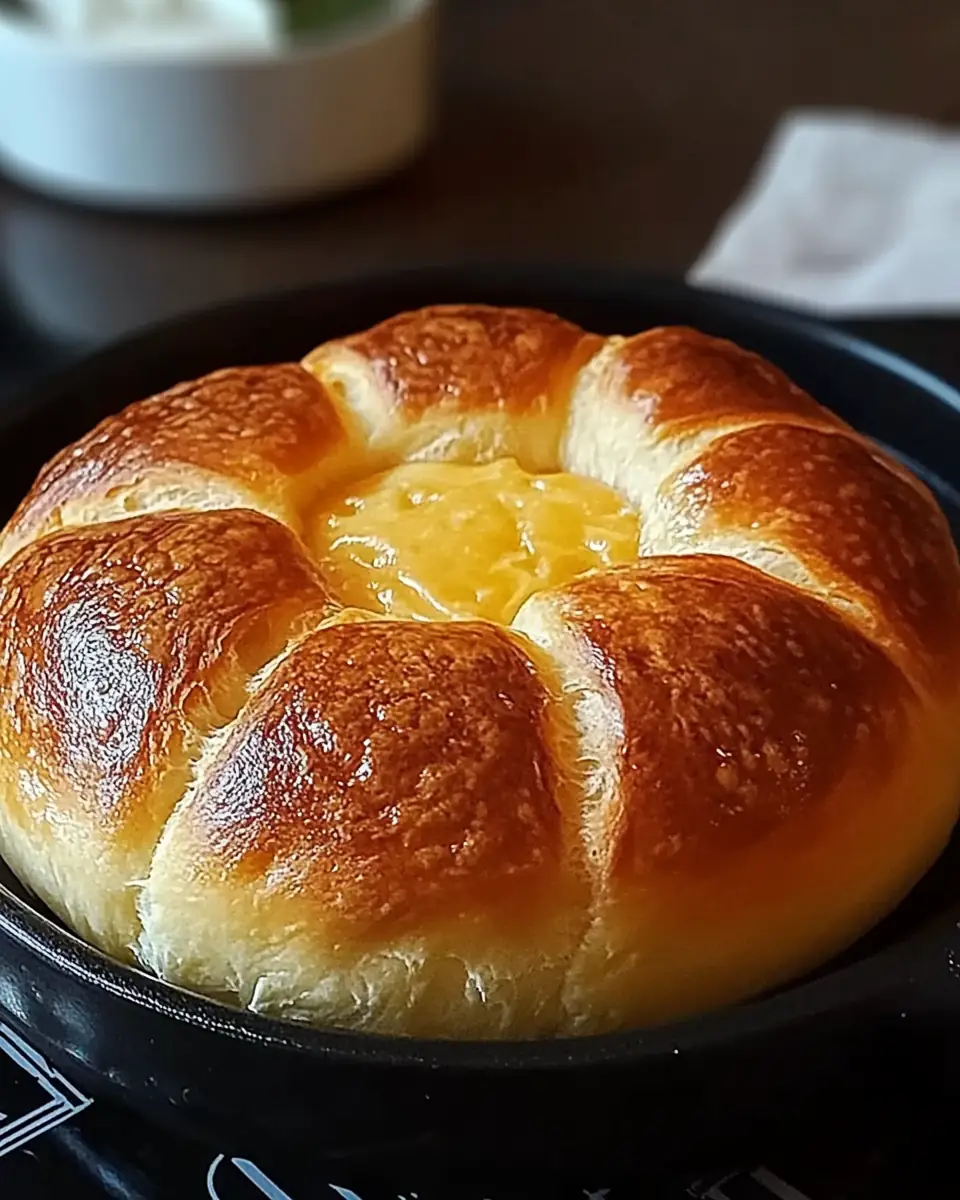
There’s something undeniably comforting about the smell of freshly baked bread wafting through the house, isn’t there? I remember the first time I made bread without an oven. It was a chilly Saturday, and my kids were playing in the living room while my wife and I sipped coffee in the kitchen. I wanted to make something warm and comforting without the fuss of preheating the oven and waiting hours for dough to rise. That’s when I stumbled upon the magic of No-Oven Stovetop Bread. This recipe quickly became a family favorite—a go-to comfort food that brings us together, especially on those cozy weekends.
Why You’ll Love This Recipe
- Quick and Easy: You can whip up this bread in just 20 minutes, making it perfect for those busy days when you want something homemade without the wait.
- No Oven Required: Perfect for hot days when you want to avoid heating up the entire kitchen or when you simply don’t have access to an oven.
- Family-Friendly: With its soft texture and mild flavor, this bread is a hit with kids and adults alike. Plus, it’s fun to make together as a family.
- Versatile: This bread can be paired with almost anything, from soups and stews to a simple spread of butter and jam.
- Everyday Ingredients: Using ingredients you likely have in your pantry already, this recipe is both accessible and budget-friendly.
The Recipe
Ingredients:
- 1 cup all-purpose flour
- 1/4 teaspoon salt
- 1/4 cup unsalted butter, melted
- 1/2 cup milk
- 1 egg
Directions:
- In a mixing bowl, combine the flour, baking powder, and salt. Whisk to ensure the dry ingredients are evenly distributed.
- In a separate bowl, whisk together the melted butter, milk, and egg until well combined.
- Gradually add the wet ingredients to the dry ingredients, stirring until a soft dough forms.
- Heat a non-stick skillet or griddle over medium-low heat. Lightly grease the skillet if necessary.
- Scoop the dough into the skillet and spread it into a round, flat shape about 1/2-inch thick.
- Cover the skillet with a lid and cook for 6-8 minutes, or until the bottom is golden brown.
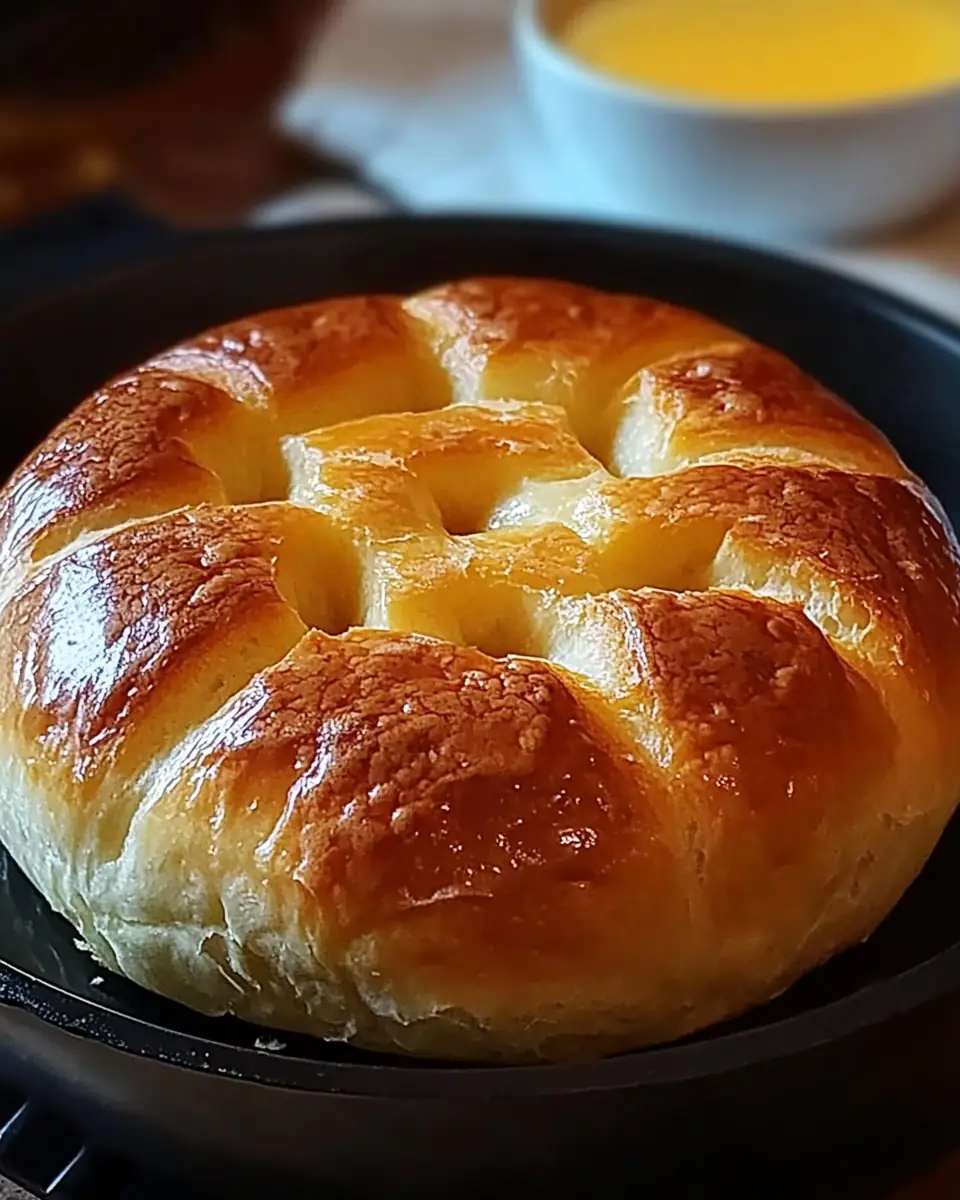
- Flip the bread and cook for another 6-8 minutes, ensuring both sides are evenly cooked.
- Remove the bread from the skillet and let it cool slightly before slicing or serving.
Prep Time: 5 minutes | Cooking Time: 15 minutes | Total Time: 20 minutes
Calories: 140 kcal per serving | Servings: 4 servings
Tips:
- Use a low flame to prevent the bread from burning while ensuring it cooks through.
- Add herbs or spices to the dough for a flavored variation, like rosemary or garlic powder.
Kitchen Tools You’ll Need
To make this delightful No-Oven Stovetop Bread, you’ll need just a few basic kitchen tools:
- Mixing Bowls: One for dry ingredients and one for wet ingredients.
- Whisk: To combine the ingredients effortlessly.
- Non-stick Skillet or Griddle: Essential for cooking the dough evenly.
- Lid: To cover the skillet, helping the bread cook through without drying out.
- Spatula: For flipping the bread.
The Benefits of Each Ingredient
- All-Purpose Flour: The backbone of our bread, it provides structure and texture. Its versatility makes it a staple in many recipes, serving as the foundation for countless baked goods.
- Salt: Enhances the flavor, making each bite more satisfying. While it’s a small component, it plays a crucial role in balancing and enhancing the overall taste.
- Unsalted Butter: Adds richness and a subtle buttery flavor to the bread. It also contributes to the bread’s tender texture, making each bite melt in your mouth.
- Milk: Keeps the dough moist, contributing to the bread’s soft texture. Milk not only hydrates the flour but also adds a slight sweetness and richness.
- Egg: Binds the ingredients together and adds a touch of richness. It also gives the bread a lovely golden color and a slightly fluffy texture.
What to Serve With This Dish
This No-Oven Stovetop Bread is incredibly versatile. Here are a few ideas to get you started:
- Hearty Soups and Stews: Perfect for dipping and soaking up those delicious flavors. Try pairing it with my Hearty Beef Stew for a complete meal.
- Breakfast Spread: Serve it with butter, jam, or honey for a simple yet satisfying breakfast. Consider adding a dollop of homemade berry compote for an extra special touch.
- Savory Sandwiches: Slice the bread and use it as a base for your favorite sandwich fillings. Perfect for a light lunch! Consider a turkey and avocado combo or a classic BLT.
- Comforting Pasta Dishes: Complement a creamy pasta dish like my Creamy Garlic Pasta with this bread for an ultimate comfort food experience.
Storage & Leftover Tips
If you happen to have any leftovers (which is rare in my house!), here’s how to store them:
- Room Temperature: Wrap the bread in a clean kitchen towel or place it in an airtight container. It’ll stay fresh for about 1-2 days. This method is perfect if you plan to consume the bread quickly.
- Refrigeration: For longer storage, keep the bread in the fridge. It will last up to a week. Just make sure it’s well-wrapped to prevent it from drying out. The cool environment slows down the staling process.
- Reheating: To enjoy the bread warm, simply heat it on a skillet over low heat for a few minutes or pop it in the microwave for 10-15 seconds. This will help restore its soft texture.
Exploring Flavor Variations
One of the beauties of this recipe is its adaptability. You can easily modify it to suit your taste preferences or to match the meal you’re serving. Here are a few suggestions for flavor variations:
- Herbed Delight: Add a tablespoon of mixed herbs like oregano, basil, or thyme to the dough for an aromatic twist. This would pair wonderfully with Italian dishes.
- Cheesy Goodness: Incorporate a 1/4 cup of shredded cheese into the dough. Cheddar or Parmesan works beautifully, providing a savory depth that complements soups and salads.
- Sweet Cinnamon: For a sweeter version, add a teaspoon of cinnamon and a tablespoon of sugar to the dry ingredients. This variation is fantastic for breakfast or as a treat with afternoon tea.
- Garlic and Onion: Mix in garlic powder and finely chopped onions for a savory bread that pairs well with grilled meats or a cheese platter.
The Joy of Bread Making
Bread making, especially this No-Oven Stovetop Bread, is truly a delightful experience. It’s a simple yet rewarding way to bring a little warmth and comfort to your family table. Whether you’re a seasoned home cook or just starting out, this recipe is approachable and forgiving. The process of mixing, cooking, and flipping the bread can be therapeutic, offering a moment of mindfulness in a busy day.
Remember, the best meals are those shared with loved ones. I hope this bread becomes a staple in your home as it has in ours. Gather your family, get everyone involved in the process, and enjoy the fruits of your labor together. Happy cooking, and here’s to many more meals shared with family and friends!
Additional Serving Suggestions
Consider elevating your bread experience by serving it with a selection of dips and spreads. Here are some ideas to get you started:
- Classic Hummus: A smooth and creamy hummus pairs wonderfully with this bread, offering a protein-rich accompaniment.
- Avocado Spread: Mash ripe avocados with lime juice, salt, and a hint of chili flakes for a refreshing and creamy topping.
- Pesto: A vibrant basil pesto adds a burst of flavor and pairs beautifully with the bread’s mild taste.
- Bruschetta Topping: Dice fresh tomatoes, basil, and garlic, and drizzle with olive oil for a fresh and zesty topping.
The Cultural Significance of Bread
Bread is more than just a food item; it’s a universal symbol of sustenance and comfort. Across different cultures, bread has held a place of honor at the table, symbolizing prosperity and hospitality. From the humble flatbreads of the Middle East to the hearty baguettes of France, bread is a testament to cultural diversity and culinary creativity.
The act of breaking bread together is a universal gesture of goodwill and camaraderie. By making this No-Oven Stovetop Bread, you’re not just preparing a meal; you’re partaking in a time-honored tradition that transcends borders and brings people together. So as you flip your bread on the stovetop, remember that you’re keeping a rich culinary heritage alive.
Adding a Personal Touch
Every cook knows that recipes are living things—they evolve with each person who makes them. This No-Oven Stovetop Bread is no different. Consider these ways to make it your own:
- Seasonal Twists: In the fall, add pumpkin spice to the dough for a seasonal touch. In the summer, incorporate fresh herbs from your garden.
- Family Involvement: Make it an event by involving your kids in the kitchen. Let them help with measuring, mixing, or even flipping the bread (under supervision, of course).
- Cultural Inspirations: Take inspiration from global cuisines by adding spices like cumin or cardamom for a unique twist.
Through this recipe, I hope to inspire more home cooks to explore the joys of bread making, even without an oven. May this No-Oven Stovetop Bread become a cherished part of your culinary repertoire, bringing joy and warmth to your family gatherings.

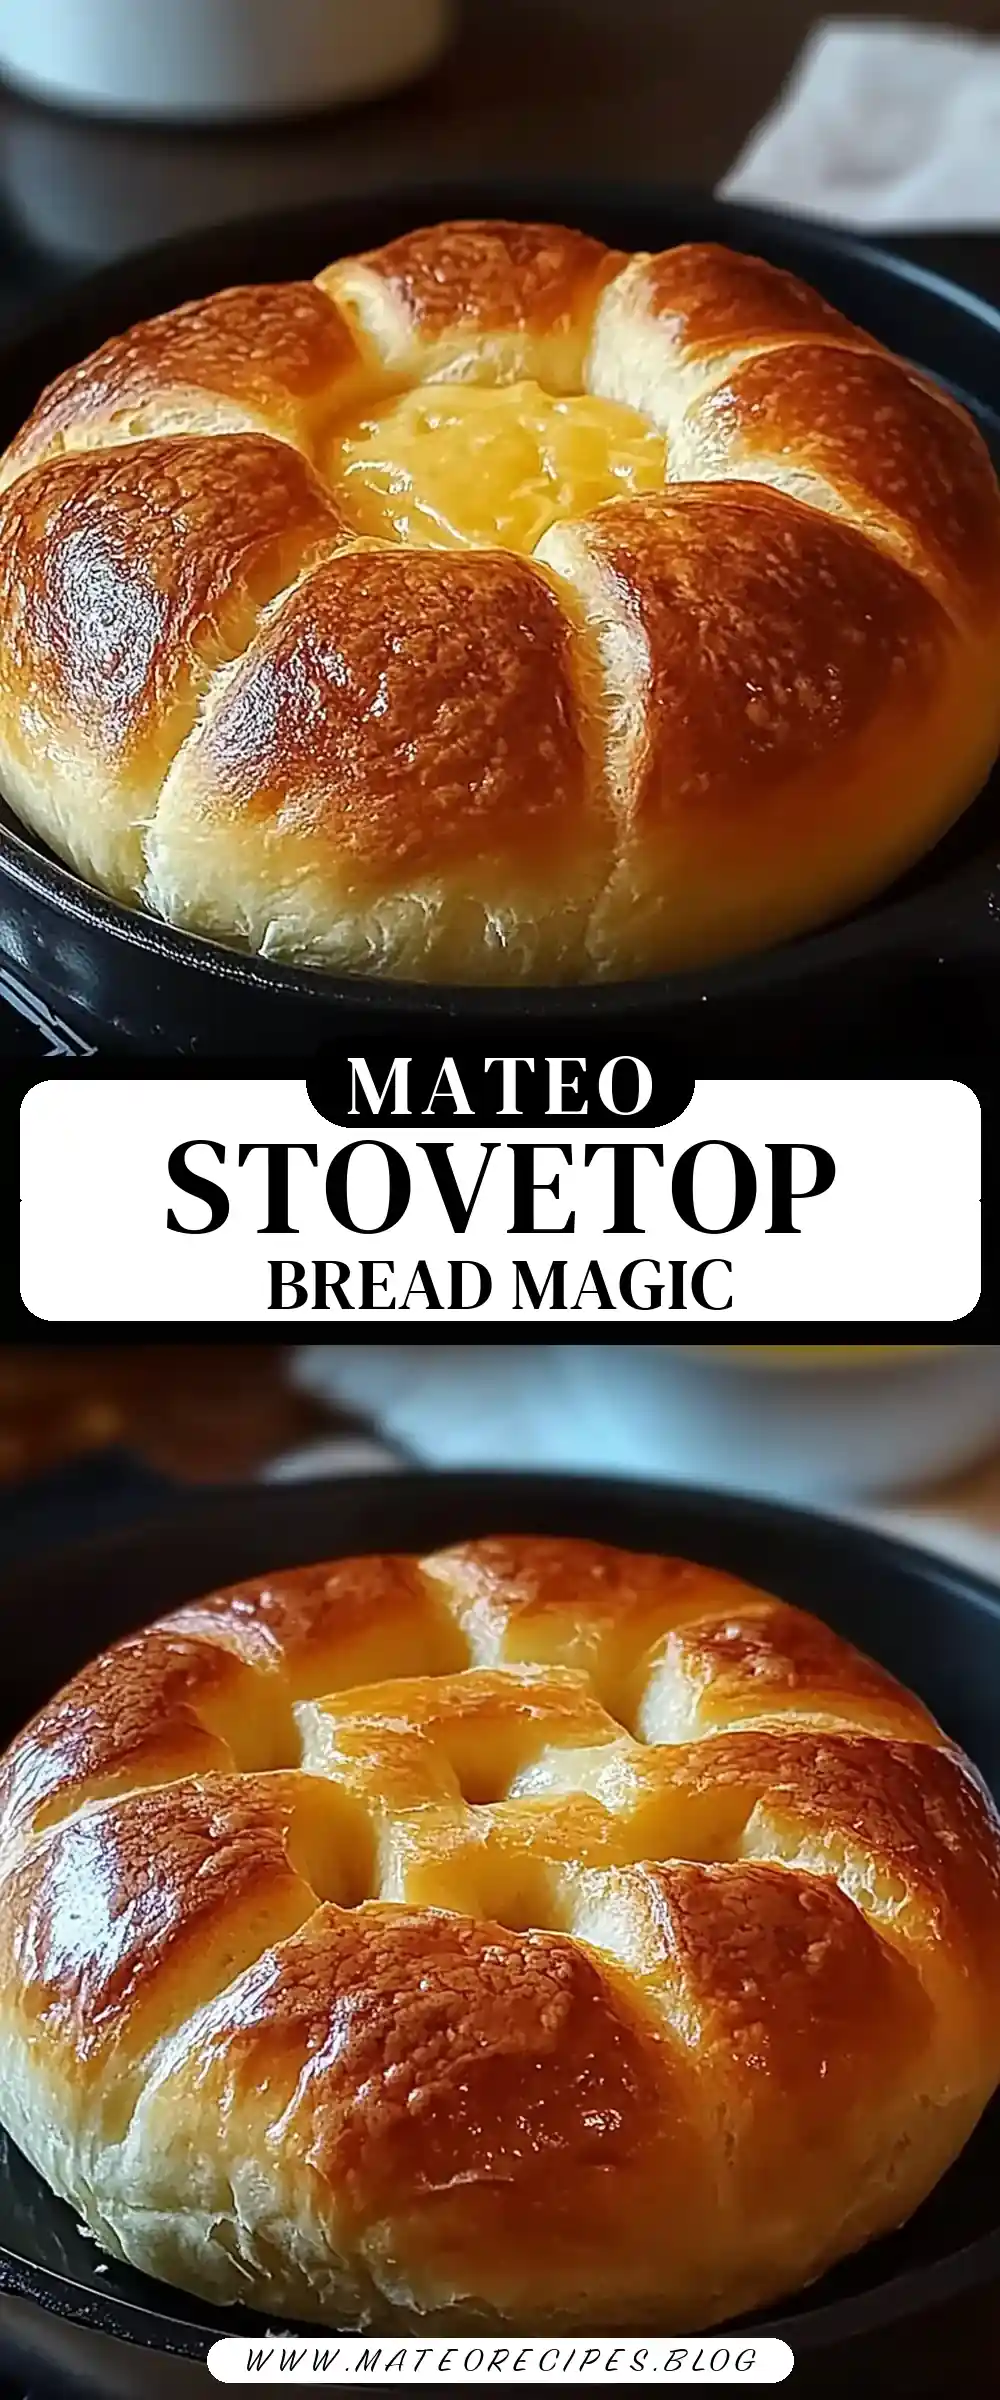
No-Oven Stovetop Bread
Ingredients
Equipment
Method
- In a mixing bowl, combine the flour, baking powder, and salt. Whisk to ensure the dry ingredients are evenly distributed.
- In a separate bowl, whisk together the melted butter, milk, and egg until well combined.
- Gradually add the wet ingredients to the dry ingredients, stirring until a soft dough forms.
- Heat a non-stick skillet or griddle over medium-low heat. Lightly grease the skillet if necessary.
- Scoop the dough into the skillet and spread it into a round, flat shape about 1/2-inch thick.
- Cover the skillet with a lid and cook for 6-8 minutes, or until the bottom is golden brown.
- Flip the bread and cook for another 6-8 minutes, ensuring both sides are evenly cooked.
- Remove the bread from the skillet and let it cool slightly before slicing or serving.
How much baking soda? It not in the recipe?
Why is Baking Powder mentioned in the directions, but not included in the ingredients list?
sorry, its our mistake , we didnt put it in ingredients
How do you get the pretty design on the bread?
Hey Dae , i can send you vedio step by step to make same design on that recipe