
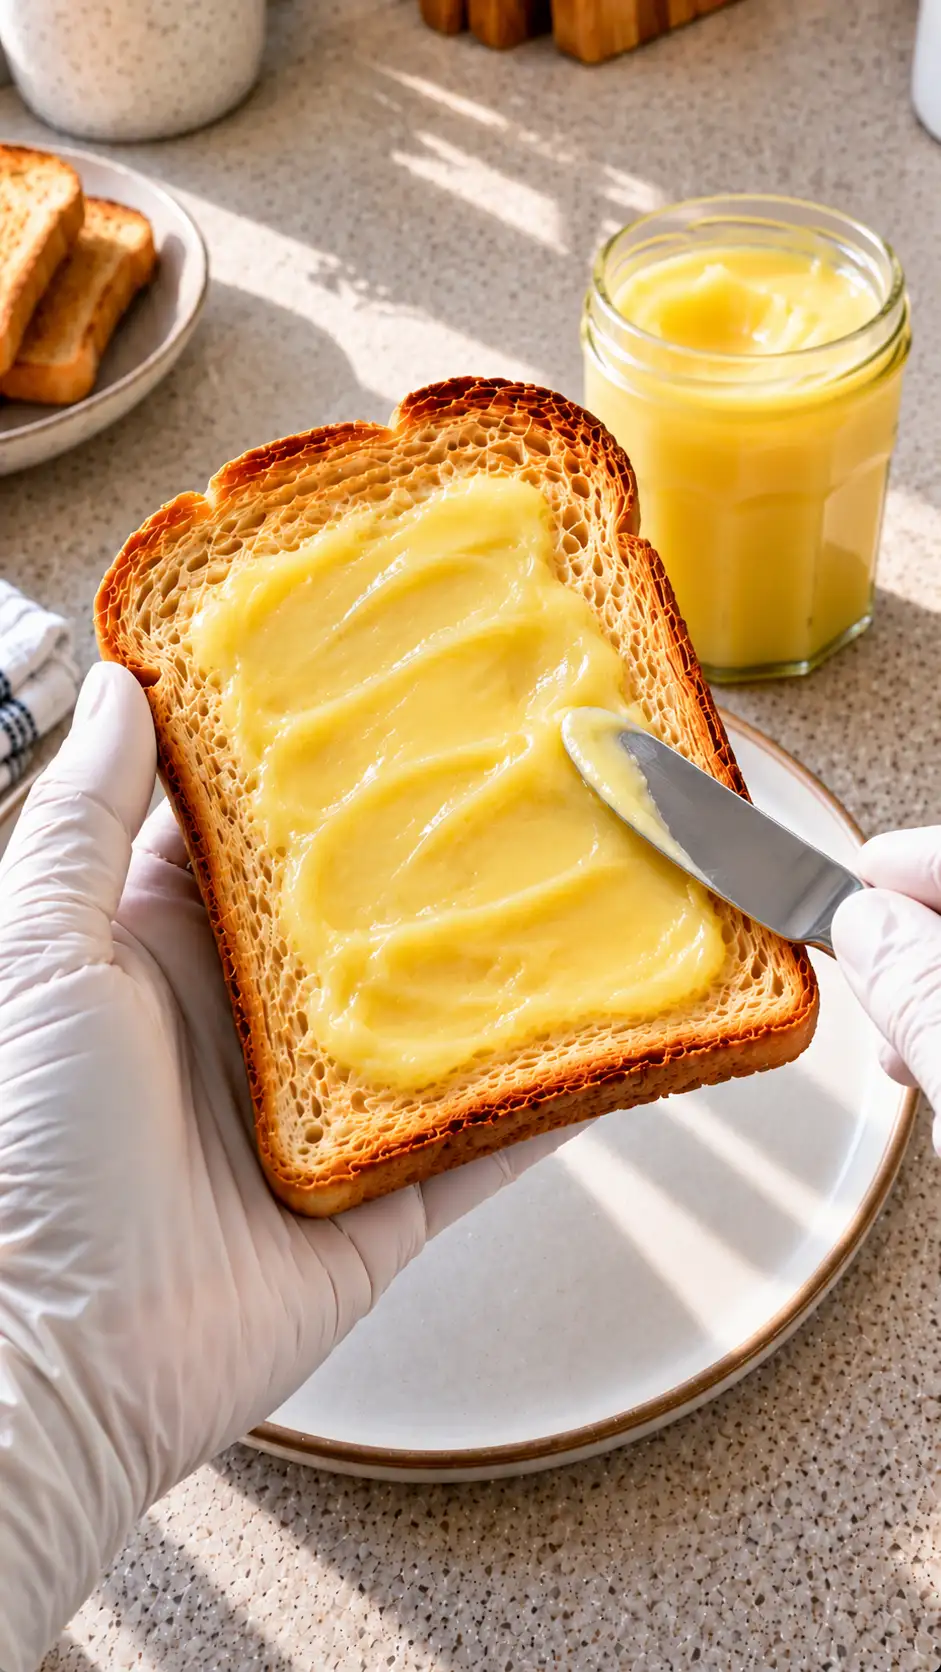
PERFECT LEMON CURD is one of my favorite kitchen delights. This simple yet delicious treat can transform a regular breakfast or dessert into something extraordinary. Whether you’re spreading it on toast, filling a tart, or simply enjoying a spoonful directly from the jar, lemon curd is a versatile and beloved staple in my home. Today, I’m excited to share my recipe for perfect lemon curd, along with tips and tricks to make it a success every time.
To truly master the art of making lemon curd, it’s important to understand the science behind it. The balance of acidity and sweetness is crucial, as it determines the overall flavor profile. If you’re curious about the chemistry of cooking, Serious Eats offers an insightful article on how these elements work together. Additionally, for those who love experimenting in the kitchen, BBC Good Food provides a variety of creative ways to use lemon curd, inspiring you to think outside the jar.
Table of Contents
Why You’ll Love This Lemon Curd
Lemon curd is a fantastic addition to any home cook’s repertoire, and here’s why you’ll love it:
- Quick and Easy: With just 10 minutes of prep time and 6 minutes of cooking, this lemon curd is ready in a flash. It’s perfect for those last-minute dessert needs.
The beauty of this lemon curd recipe lies in its simplicity and speed. In today’s busy world, who doesn’t love a quick recipe that doesn’t compromise on flavor? Imagine having a batch of fresh lemon curd ready to go in just over 15 minutes. Whether you’re an early riser preparing breakfast or a late-night baker in need of a finishing touch for your dessert, this recipe fits seamlessly into your schedule.
- Family-Friendly: Kids and adults alike enjoy the tangy and sweet flavors of lemon curd. It can be a fun kitchen project to make together.
Cooking with family is a wonderful bonding experience. Involving kids in the kitchen can be both educational and entertaining. With its simple steps and quick results, this lemon curd recipe is perfect for little hands eager to help. They can take turns whisking the ingredients or zesting the lemons, learning about flavors and cooking techniques in the process. Plus, the satisfaction of tasting something they helped create is priceless.
- Versatile Usage: Spread it on toast, fill pastries, or use it as a cake layer. The possibilities are endless, making it a versatile ingredient in your kitchen.
The versatility of lemon curd is truly remarkable. It’s like the Swiss army knife of kitchen ingredients. Beyond the typical uses, consider swirling it into oatmeal or yogurt for a citrusy start to your day. Or, mix it with whipped cream to create a luscious filling for layered cakes. You could even use it as a dip for fresh fruits at your next gathering. The bright, tangy flavor complements both sweet and savory dishes, opening up a world of culinary possibilities.
- Comforting and Delicious: The creamy, tangy, and sweet balance makes for a comforting treat that’s hard to resist.
There’s something incredibly comforting about the taste of lemon curd. Its creamy texture combined with a zesty punch creates a sensory delight that can uplift any mood. Whether you’re enjoying it as a simple spread or an indulgent dessert topping, the blend of flavors offers a nostalgic reminder of home-cooked meals and cherished family recipes.
The Recipe
For the Lemon Curd:
| Amount | Ingredient | Notes |
|---|---|---|
| 180 ml | fresh lemon juice | for a tangy flavor |
| 150 g | granulated sugar | adds sweetness |
| 115 g | unsalted butter, cubed | for a creamy texture |
| 3 | large eggs | provides richness |
| 1 tbsp | finely grated lemon zest | adds extra lemon flavor |
- Combine all the ingredients in a 2-quart saucepan.
Start by gathering all your ingredients and tools. Having everything prepped and ready is key to a smooth cooking process. Squeeze the fresh lemons, measure out your sugar and butter, and grate the lemon zest. This preparation helps ensure that the cooking process is seamless and stress-free.
- Whisk constantly over medium-low heat until the mixture thickens and the first bubbles reach the surface, about 5–6 minutes. Focus on the thickening rather than the timing, making sure to whisk around the pan’s edges.
The whisking is crucial in this step. It prevents the eggs from curdling and ensures a smooth, creamy consistency. As you whisk, you’ll notice the mixture gradually thickening. This is your cue that the curd is nearing perfection. Remember, patience is key here; don’t rush the process by turning up the heat.
- Remove from heat and, if desired, pass the curd through a fine-mesh strainer to ensure a smooth texture.
Straining the curd is an optional step, but it can make a significant difference in the final texture. It removes any tiny bits of cooked egg and zest, leaving you with a silky, luxurious curd. This step is especially recommended if you’re using the curd for a special occasion or as a filling in delicate pastries.
- Transfer the curd to a clean bowl and press food-safe plastic wrap directly against the surface to prevent a skin from forming.
This step is crucial in maintaining the curd’s smooth texture. By pressing the plastic wrap directly onto the surface, you prevent a skin from forming, which can disrupt the creamy consistency. It’s a small detail but one that makes a big difference in the quality of your lemon curd.
- Allow the curd to cool briefly, then refrigerate until it is thoroughly chilled and set. The curd will thicken more as it cools.
Refrigeration not only helps set the curd but also enhances its flavor. As it chills, the flavors meld together, creating a more pronounced lemony taste. The curd will continue to thicken as it cools, reaching the perfect consistency for spreading or filling.
- Enjoy the chilled lemon curd spread on toast or scones, or use it as a filling for desserts. Remember to keep it refrigerated.
The moment you’ve been waiting for: tasting your homemade lemon curd. Spread it generously on warm toast, pair it with freshly baked scones, or use it to fill tarts and pastries. Its refreshing taste is sure to delight your taste buds and those of anyone you share it with.
Kitchen Tools You’ll Need
| Tool | Why you need it |
|---|---|
| 2-quart saucepan | To combine and cook the ingredients evenly |
| Whisk | For constant stirring to achieve the right texture |
| Fine-mesh strainer | Optional, for a smoother texture |
| Bowl | To transfer and cool the curd |
| Plastic wrap | To prevent a skin from forming on the curd |
Investing in quality kitchen tools can make a significant difference in your cooking experience. A good saucepan ensures even heat distribution, which is crucial for making curd. A sturdy whisk helps you incorporate air and achieve the desired texture, while a fine-mesh strainer provides that extra level of refinement if desired.
The Benefits of Each Ingredient
| Ingredient | What it does here |
|---|---|
| Fresh lemon juice | Provides a tangy flavor |
| Granulated sugar | Balances the tartness with sweetness |
| Unsalted butter | Adds creaminess and richness |
| Large eggs | Thickens the curd and adds richness |
| Lemon zest | Enhances the lemon flavor |
Understanding the role of each ingredient can enhance your cooking skills and allow for creative adjustments. The fresh lemon juice is the star of the show, offering a bright and vibrant flavor. Sugar balances the tartness, while unsalted butter contributes to the curd’s creamy texture. Eggs are essential for thickening, and lemon zest amplifies the citrus notes, creating a well-rounded flavor profile.
What to Serve With This Lemon Curd
| Idea | Why it pairs well |
|---|---|
| Scones | Complements the buttery, flaky texture |
| Pancakes | Adds a bright, tangy contrast |
| Yogurt | Enhances the creaminess and tanginess |
| Cheesecake | Provides a refreshing, citrusy topping |
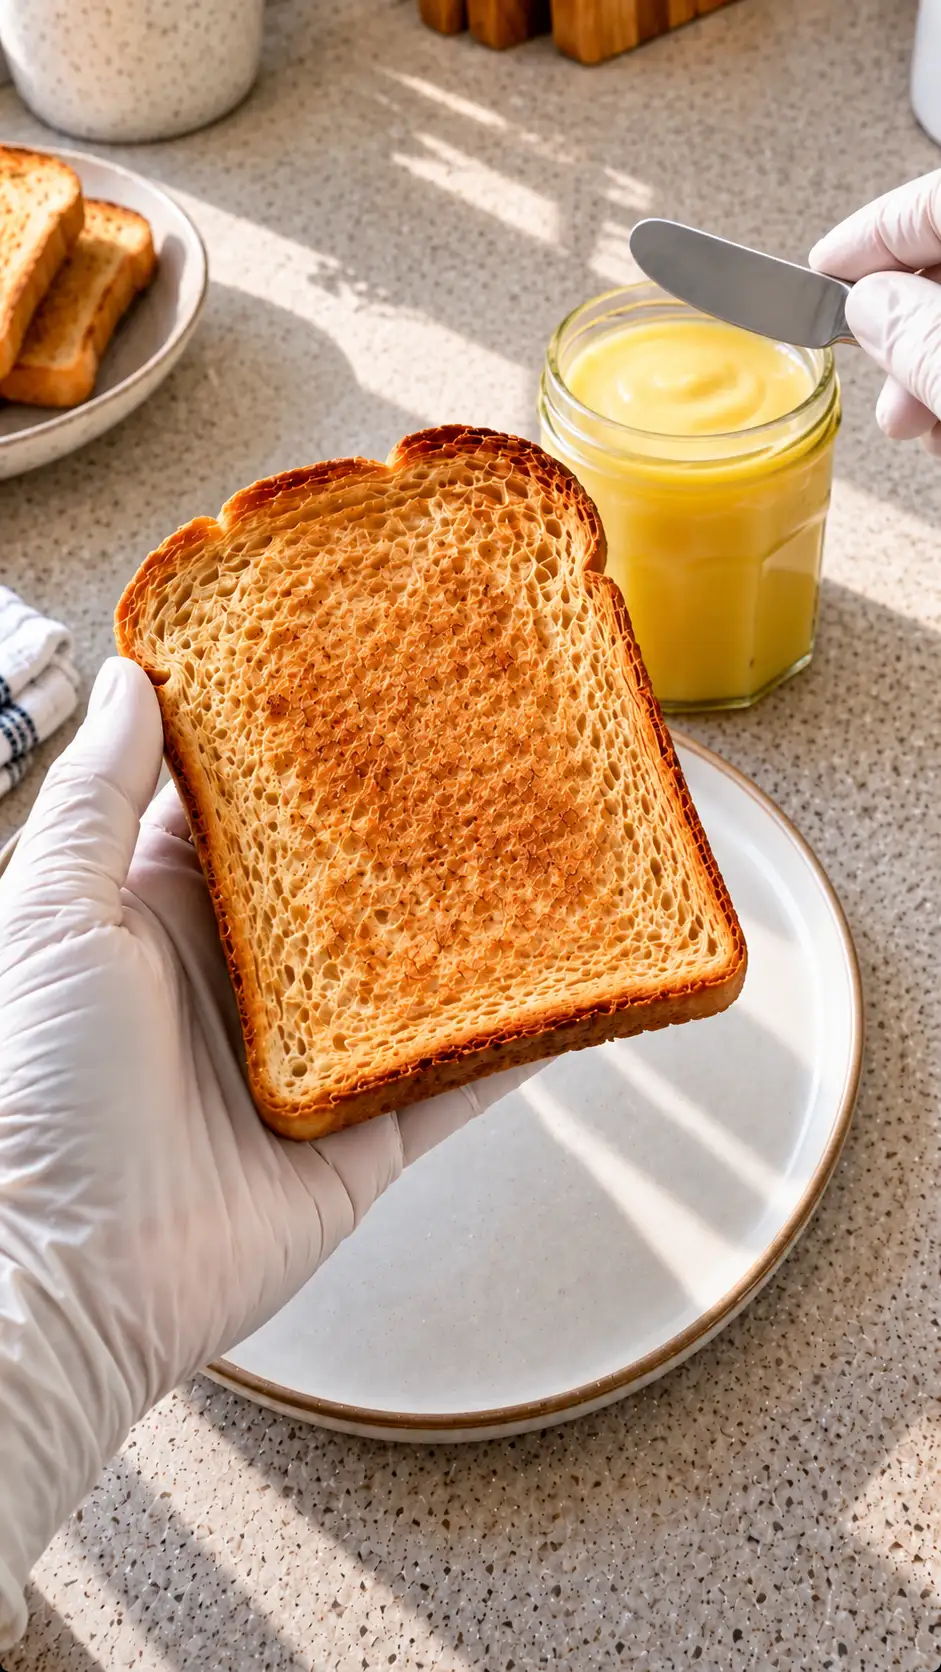
The beauty of lemon curd is how well it pairs with a variety of dishes. Its tangy flavor cuts through the richness of buttery scones and complements the sweet, fluffy nature of pancakes. When stirred into yogurt, it adds a burst of flavor that can elevate your breakfast or snack. As a cheesecake topping, it provides a refreshing contrast, highlighting the creamy texture of the dessert.
Storage & Leftover Tips
| Method | How long | Tip |
|---|---|---|
| Refrigerate | Up to 2 weeks | Store in an airtight container |
| Freeze | Up to 3 months | Thaw overnight in the fridge |
Proper storage of lemon curd ensures you can enjoy its delightful flavor for weeks to come. In the refrigerator, it stays fresh for up to two weeks when stored in an airtight container. If you have a larger batch, freezing is a great option. Just make sure to thaw it in the fridge overnight before use to maintain its smooth consistency.
Making this perfect lemon curd is like bringing a little sunshine to your kitchen. Its bright and zesty flavor can lift your spirits and elevate your meals. I hope you enjoy making and sharing it with your loved ones as much as I do. It’s not just a recipe, but a way to create lasting memories and indulge in the simple pleasures of homemade delights. Whether as a family activity or a personal culinary adventure, this lemon curd is sure to become a cherished favorite.
FAQs About PERFECT LEMON CURD
Can I use bottled lemon juice instead of fresh?
While fresh lemon juice provides the best flavor, bottled lemon juice can be used in a pinch. Just be sure it’s 100% juice without added sugars or preservatives.
How should I store lemon curd?
Store the lemon curd in an airtight container in the refrigerator for up to two weeks. For longer storage, freeze it for up to three months and thaw overnight in the fridge before use.
Can I make lemon curd ahead of time?
Absolutely! Lemon curd can be made ahead and stored in the fridge or freezer. It’s perfect for preparing in advance for gatherings or busy days.
Perfect Lemon Curd
Ingredients
Equipment
Method
- Combine all ingredients in a 2-quart saucepan.
- Whisk constantly over medium-low heat until thickened and the first bubbles reach the surface, about 5–6 minutes. Judge the thickening rather than the clock; keep whisking around the pan’s edges.
- Remove from heat. If needed, pass through a fine-mesh strainer for a smoother texture.
- Transfer to a clean bowl and press food-safe plastic wrap against the surface to prevent a skin.
- Cool briefly, then refrigerate until chilled and set. It thickens as it cools.
- Spread the chilled curd on toast or scones, or use as a dessert filling. Keep refrigerated.