
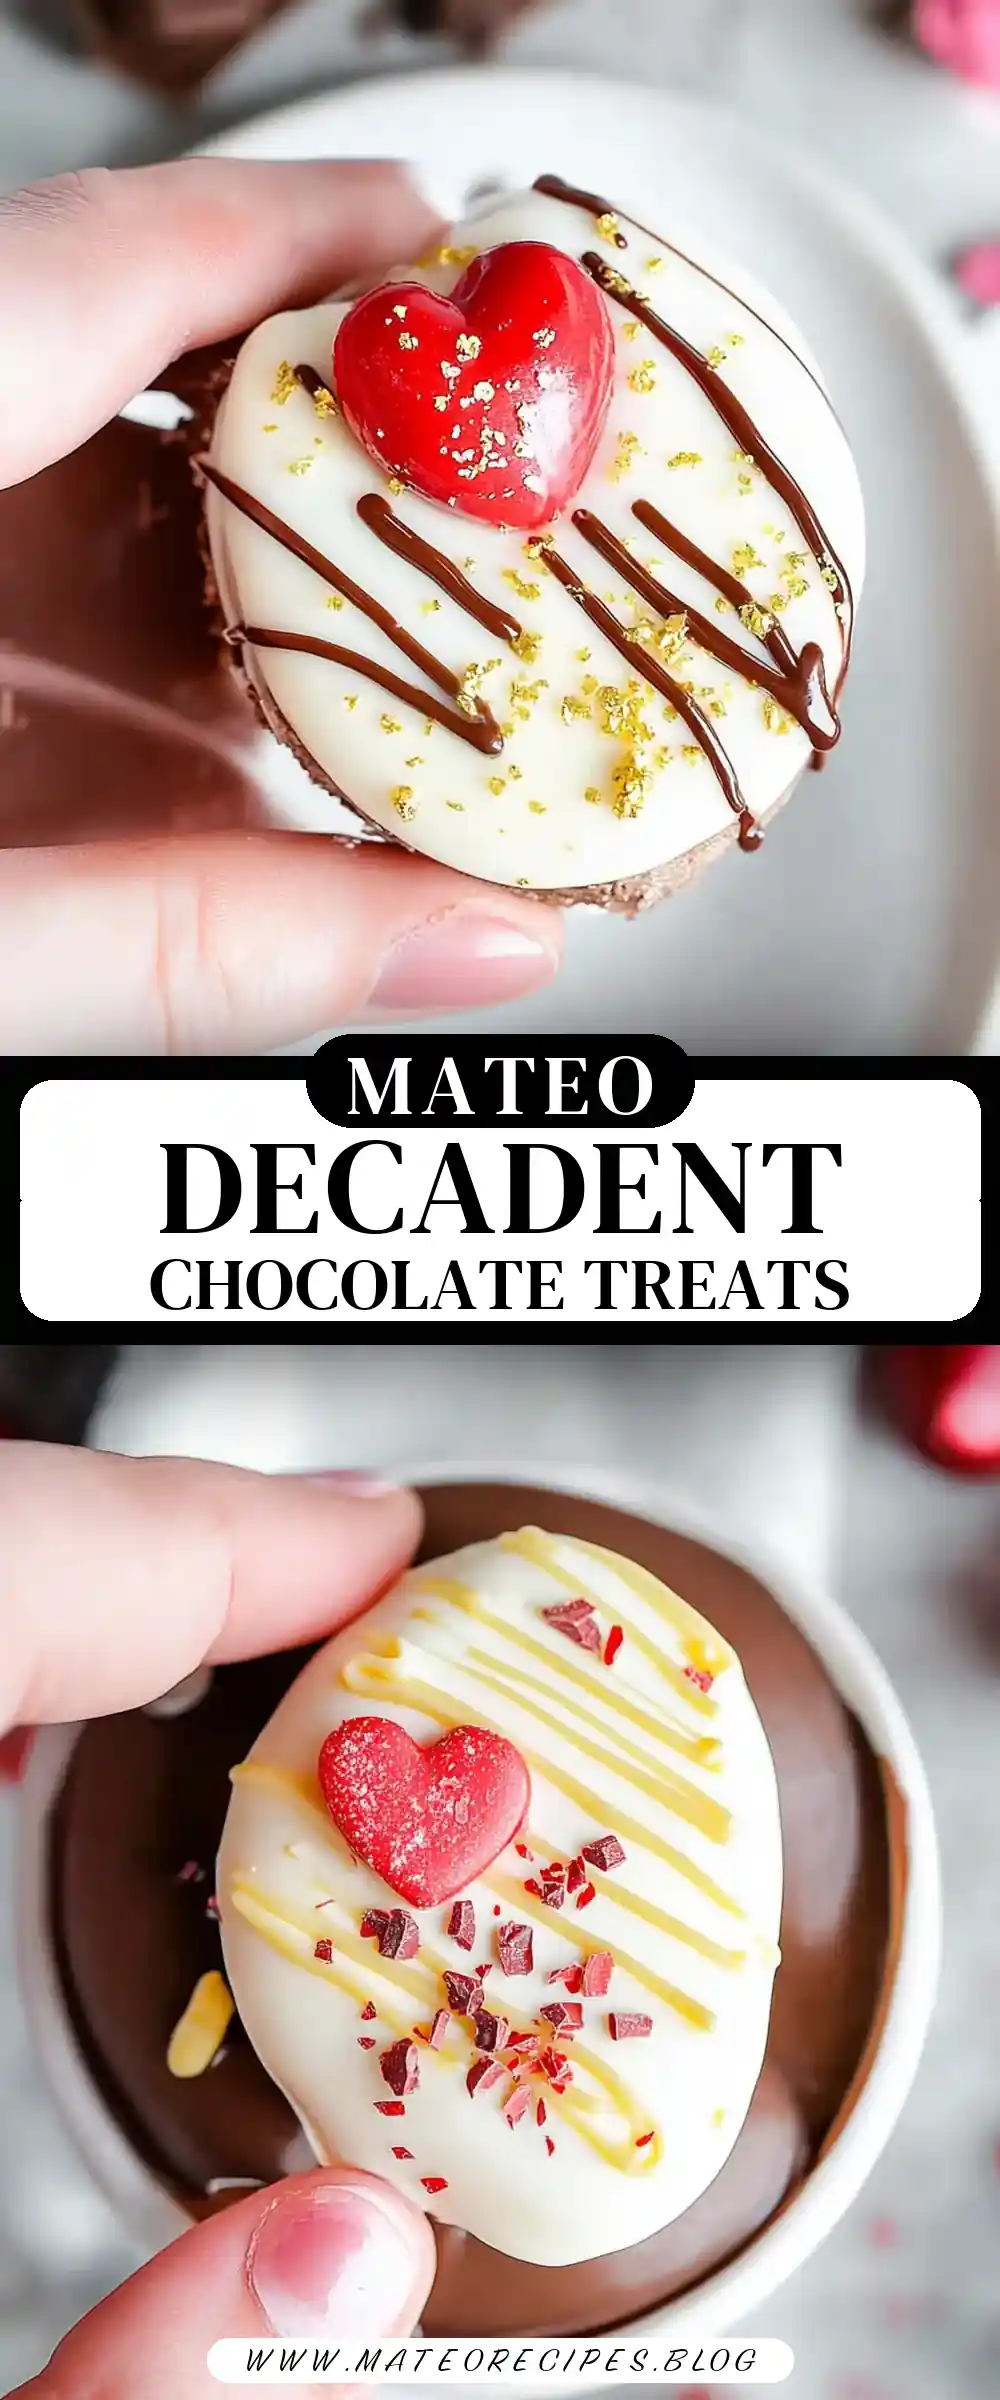
A Cozy Winter Tradition: The Magic of Hot Chocolate Bombs
Imagine it’s a chilly winter evening; the kids are back from playing in the snow, their cheeks rosy and eyes sparkling with excitement. You’re all gathered in the kitchen, and the warm, comforting aroma of chocolate fills the air. This scenario has become a cherished tradition in my home, and it’s all thanks to the magic of Hot Chocolate Bombs. These little spheres of joy are not just a treat but a delightful activity that brings my family together. The kids love watching the bombs dissolve in steaming milk, revealing hidden marshmallows and cocoa, while my wife and I enjoy the rich, velvety hot chocolate that warms us from the inside out. It’s the kind of comfort food experience that creates lasting memories, and I’m thrilled to share this recipe with you.
Why You’ll Love This Recipe
Family Bonding Activity
Making Hot Chocolate Bombs is a fun, interactive activity perfect for involving the whole family. From melting chocolate to decorating, everyone has a role. It’s a wonderful way to spend quality time together, creating not just a delicious treat but also precious memories. The process of crafting these bombs can easily turn a mundane afternoon into an exciting adventure. Imagine the joy and laughter that fills the kitchen as everyone takes on different tasks, from stirring the chocolate to sprinkling toppings. This shared experience is a delightful bonding opportunity that extends beyond the kitchen, strengthening familial connections.
Versatile Flavors
Whether you’re in the mood for a classic hot chocolate or something adventurous like Eggnog or Red Velvet, these bombs offer a variety of flavors to please every palate. The beauty of hot chocolate bombs lies in their versatility. You can customize them to suit your preferences or experiment with new combinations. Consider adding a pinch of cinnamon for a Mexican-inspired twist, or perhaps a dash of chili powder for a bit of heat. The possibilities are endless, and each variation offers a new taste sensation, ensuring that there’s something for everyone.
Simple Ingredients
Using everyday ingredients found in most kitchens, these treats are accessible and easy to prepare. You don’t need to hunt down exotic components or invest in complex tools. Most of what you need is probably already in your pantry, making this recipe both convenient and economical. This simplicity also means that even novice cooks can tackle this project with confidence, knowing that delicious results are within reach.
Perfect for Gifting
Wrapped in a little box or nestled in a mug, these make an excellent homemade gift during the holiday season. There’s something special about giving homemade gifts, and hot chocolate bombs are no exception. They offer a personal touch, showing the recipient that you’ve taken the time to craft something unique just for them. Plus, their charming appearance and delectable taste make them a surefire hit with friends, family, or colleagues. Consider personalizing each bomb with custom flavors or decorations to make your gift even more memorable.
Comfort in a Cup
Nothing beats the cozy feeling of sipping on a rich, creamy hot chocolate after a long day. It’s an instant mood lifter, providing warmth and comfort with every sip. In the hustle and bustle of daily life, taking a moment to indulge in a warm cup of hot chocolate can be a much-needed respite. It’s a simple pleasure that invites you to pause, relax, and savor the present moment. Whether you’re enjoying it alone or sharing it with loved ones, hot chocolate offers a sense of comfort and contentment that is truly unparalleled.
The Recipe
Ingredients
Standard Hot Chocolate Bomb – 1 cup milk or semi-sweet chocolate chips or 1¼ cup chocolate candy melts – 3 tbsp hot cocoa powder mix, divided – 1 tbsp each – 3 tbsp mini dehydrated marshmallows, divided – 1 tbsp each – ¼ cup white chocolate candy melts for decoration – Pinch shaved chocolate for decoration each bomb
Peppermint Hot Chocolate Bomb – 1 cup milk or semi-sweet chocolate chips or 1¼ cup chocolate candy melts – 3 tbsp hot cocoa powder mix, divided – 1 tbsp each – 3 tbsp mini dehydrated marshmallows, divided – 1 tbsp each – 2 tsp crushed peppermint candies each bomb
Sugar Cookie Hot Chocolate Bomb – 1 cup white chocolate chips or 1¼ cup white chocolate candy melts – 3 tbsp white hot chocolate powder mix, divided – 1 tbsp each – 3 tbsp mini dehydrated marshmallows, divided – 1 tbsp each – 1 tsp rainbow sprinkles each bomb – ½ tsp powder vanilla extract each bomb
Eggnog Hot Chocolate Bomb – 1¼ cup yellow chocolate candy melts or white chocolate candy melts + several drops of yellow food color – 3 tbsp eggnog powder mix, divided – 1 tbsp each – 3 tbsp mini dehydrated marshmallows, divided – 1 tbsp each – ⅛ tsp nutmeg each bomb
Instructions
Prep the Mold: Place the silicone mold on a flat, movable surface like a tray or cutting board. This makes it easier to transfer the molds to the fridge or freezer without spilling.
Melt the Chocolate: Place chocolate in a microwave-safe container. Melt at 50% power in 30-second intervals, stirring between each. It should take about 2 minutes in total. Be sure to stir frequently to avoid overheating the chocolate, which can cause it to seize up.
Form the Shells: Add a heaping tablespoon of melted chocolate to each mold well. Use a small spatula to spread it evenly across the sides. After 5 minutes, add a second layer for sturdiness. Freeze for 30 minutes. Ensuring the shells are thick enough is crucial for structural integrity and prevents them from cracking when you remove them from the mold.
Assemble the Bombs: Once set, gently remove chocolate shells from the mold. Handle them carefully to prevent breakage. Fill half of each shell with 1 tbsp cocoa mix, 1 tbsp marshmallows, and any additional fillings.
Seal the Bombs: Melt edges of an empty shell on a hot plate, then press onto a filled shell. Pipe melted chocolate around the seam for extra security. This ensures that your hot chocolate bomb won’t come apart when it’s time to use it.
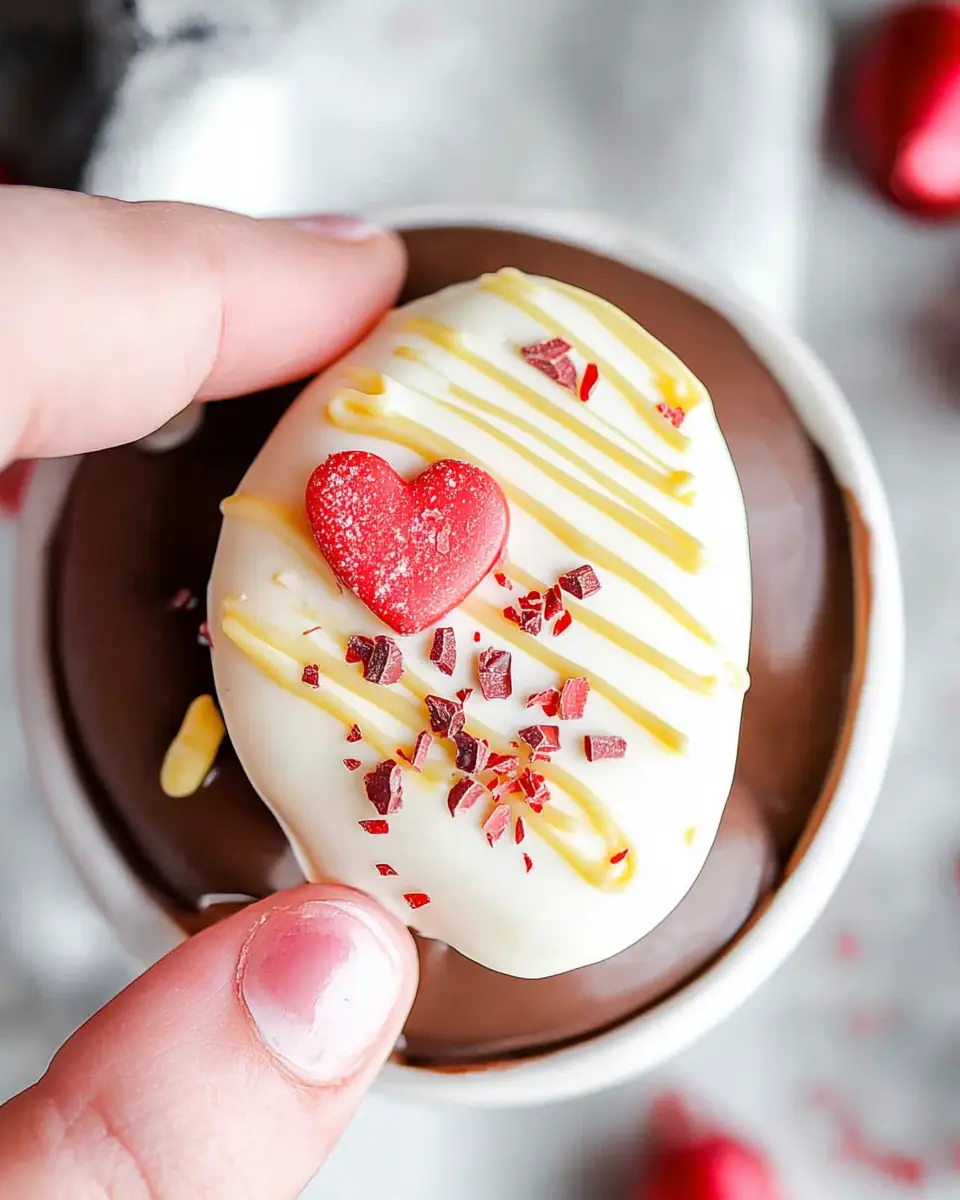
Decorate: Use melted chocolate to drizzle over the bombs, adding decorative touches like sprinkles or shaved chocolate. This step allows you to get creative and personalize each bomb.
Store: Keep refrigerated or frozen until ready to use. Proper storage keeps your bombs fresh and ensures they maintain their shape until you’re ready to enjoy them.
Kitchen Tools You’ll Need
- Silicone Mold: Essential for shaping the chocolate shells. Silicone molds are flexible, making it easy to pop out the chocolate without breaking it.
- Microwave-Safe Bowl: For melting chocolate easily and evenly. Choose a bowl with high sides to prevent splattering.
- Small Spatula: Perfect for spreading chocolate within molds. A small offset spatula works particularly well for this purpose.
- Hot Plate: Handy for sealing the chocolate shells. Alternatively, you can use a warm pan or a heated plate.
- Piping Bag: Ideal for precision decorating. If you don’t have a piping bag, a small plastic bag with a corner snipped off works in a pinch.
The Benefits of Each Ingredient
Chocolate Chips/Candy Melts
The base of your bomb, providing the rich chocolatey flavor and structure. Choose high-quality chocolate for the best results, as it directly impacts the taste and texture of your hot chocolate.
Cocoa Powder Mix
Infuses each cup with intense chocolate flavor. You can use your favorite brand or even make your own cocoa mix for a personalized touch.
Dehydrated Marshmallows
They bring a delightful, nostalgic surprise as they pop up in your hot chocolate. These tiny marshmallows are perfect for hot chocolate bombs as they rehydrate quickly and add a fun element to the drink.
Peppermint Candies/Nutmeg
Adds an aromatic twist that elevates traditional hot chocolate. These spices and flavorings can transform your drink, providing a refreshing or warming note.
Sprinkles and Edible Decorations
Enhance visual appeal and add fun to each sip. They allow you to customize your hot chocolate bombs, making them as visually delightful as they are tasty.
What to Serve With This Dish
Pair your Hot Chocolate Bombs with a cozy snack for the ultimate comfort food experience. Consider serving with:
Homemade Cookies
Try my Chewy Chocolate Chip Cookies for a classic combo. The soft, chewy texture of these cookies complements the smooth, creamy hot chocolate perfectly.
Pastries
A warm Apple Cinnamon Muffin complements the rich chocolate flavors beautifully. The hint of spice and sweetness from the muffin pairs wonderfully with the deep chocolate notes.
Cheese Board
The savory-sweet contrast works wonders with rich hot chocolate. A selection of cheeses, nuts, and fruits can provide a delightful balance, making for a sophisticated and satisfying pairing.
Storage & Leftover Tips
Refrigeration
Store prepared bombs in an airtight container in the fridge. They’ll keep for up to two weeks. This method preserves the integrity of the chocolate and prevents it from melting.
Freezing
For longer storage, freeze the bombs. Ensure they are well-sealed to prevent moisture from affecting the chocolate. This way, you can enjoy a little taste of winter magic long after the season has passed.
Reheating
When ready to enjoy, simply place a bomb in a mug and pour hot milk over it. Stir until dissolved. It’s a quick and easy process that brings the delightful transformation of the bomb to life.
With these Hot Chocolate Bombs, not only do you get a delicious treat, but you also create an opportunity for family fun and bonding. These little spheres are more than just a drink; they’re a celebration of togetherness. So gather your loved ones, share the joy of making and sipping these delightful treats, and make every moment a cherished memory. After all, in the heart of every home is a warm cup of comfort, shared with those we love most. As the winter winds blow outside, let the warmth of your kitchen and the love of your family fill your home with joy and laughter.

Hot Chocolate Bombs
Ingredients
Equipment
Method
- Place the silicone mold on a flat, moveable surface like a tray or cutting board.
- Place the chocolate in a microwave-safe container like a glass measuring cup and microwave at 50% power in 30-second intervals, stirring in between each time until melted.
- Add a heaping tablespoon of melted chocolate to each well of the silicone mold. Spread the chocolate up the sides of the mold until completely coated.
- Wait about 5 minutes for the chocolate to cool a bit and then divide the remaining chocolate between all of the wells and spread it around to give each of them a thicker coat.
- Place the mold, while on the tray, in the freezer for the chocolate to set for at least 30 minutes.
- Once the chocolate has set, remove from the freezer. Carefully use your fingers to push the chocolate cup out of the mold. Place the chocolate cups on a plate.
- Place the drink mix, marshmallows, and any other add-ins you are including in 3 of the chocolate cups.
- Working quickly, place one of the empty cups open-side down on a hot plate to melt the edges a bit. Then place it on the filled half of the sphere and press lightly.
- Melt the decorating chocolate and then transfer it to a piping bag or decorating squeeze bottle. Pipe a thin ribbon of chocolate around the seam of the spheres and then drizzle the melted chocolate over the tops of the bombs.
- Sprinkle with decorations and allow the chocolate to set before moving. Keep refrigerated or frozen until ready to use.
- To make the hot chocolate: Place the bomb in an empty mug and top with 8 ounces of hot milk. Stir well before enjoying.
- To make homemade hot chocolate powder: Combine all of the ingredients (sugar, cocoa powder, white chocolate, and powdered milk) in a small bowl. Stir to combine. Set aside until ready to use.