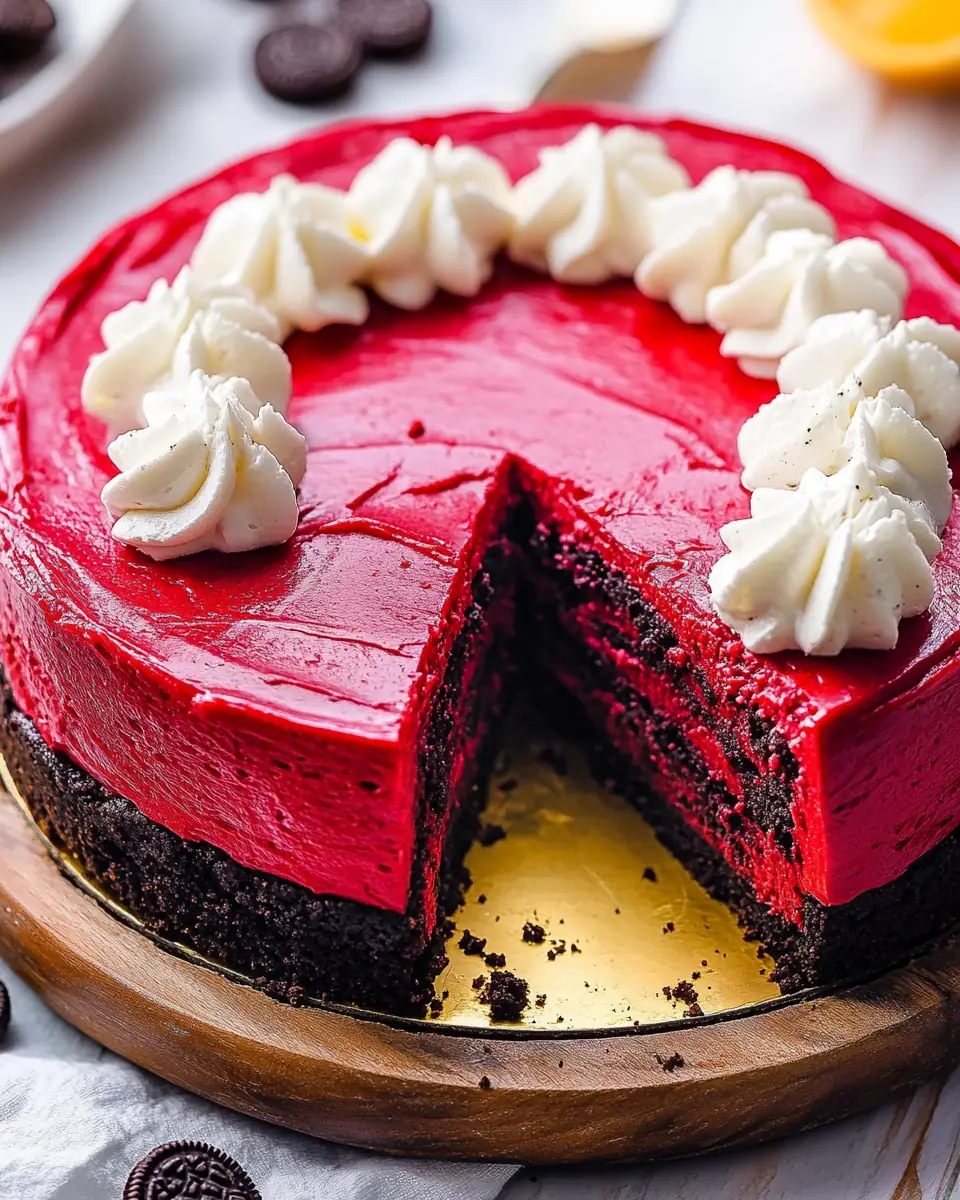
The Heart of Home: Red Velvet Oreo Cheesecake
Growing up, my kitchen was always the heart of our home. The warmth of the oven, the aroma of something delicious baking, and the laughter of family gathered around the table are memories I cherish deeply. One of my favorite traditions was baking a special cake for family gatherings, and nothing brings the family together quite like my Red Velvet Oreo Cheesecake. This dessert combines the classic, velvety charm of red velvet with the irresistible crunch of an Oreo crust. It’s a treat that calls for a second slice while stories are told and laughter abounds. If you’re looking for a recipe that feels like a hug from an old friend, you’re in the right place.
Why You’ll Love This Recipe
Family-Friendly Appeal
This cheesecake is a surefire hit with both kids and adults. The vibrant color and rich taste make it the perfect centerpiece for any family gathering. Children are often drawn to its eye-catching red hue, while adults appreciate the rich, decadent flavors. It’s a dish that brings generations together, allowing everyone to indulge in a shared moment of sweetness. There’s something magical about watching your loved ones’ faces light up at the sight of this beautiful dessert, knowing it was crafted with love and care.
Comfort Food at Its Best
A smooth, creamy filling meets a crunchy Oreo crust — it’s the ultimate comfort food dessert that’s both decadent and delightful. The combination of textures creates a sensory experience that is deeply satisfying. The creaminess of the cheesecake contrasts beautifully with the crispiness of the Oreo crust, creating a perfect bite every time. Each bite envelops you in warmth and nostalgia, reminiscent of cozy family evenings and cherished traditions.
Simple Ingredients, Big Flavor
With everyday ingredients like cream cheese, Oreos, and cocoa powder, this recipe is as accessible as it is delicious. You don’t need to be a master chef or own a fancy pantry to create this masterpiece. The simplicity of the ingredients allows the flavors to shine, making it easy for anyone to whip up this dessert without a fuss. Each component is carefully selected to enhance the overall taste while ensuring that the recipe remains approachable for bakers of all skill levels.
Make-Ahead Marvel
This cheesecake needs to chill, making it a perfect make-ahead dessert for stress-free entertaining. Preparing it the day before not only enhances its flavor but also frees up your time on the day of the gathering. This means you can focus on enjoying the company of your guests rather than being stuck in the kitchen. The convenience of a make-ahead dessert cannot be overstated, especially during busy holiday seasons or when hosting large gatherings.
Eye-Catching Presentation
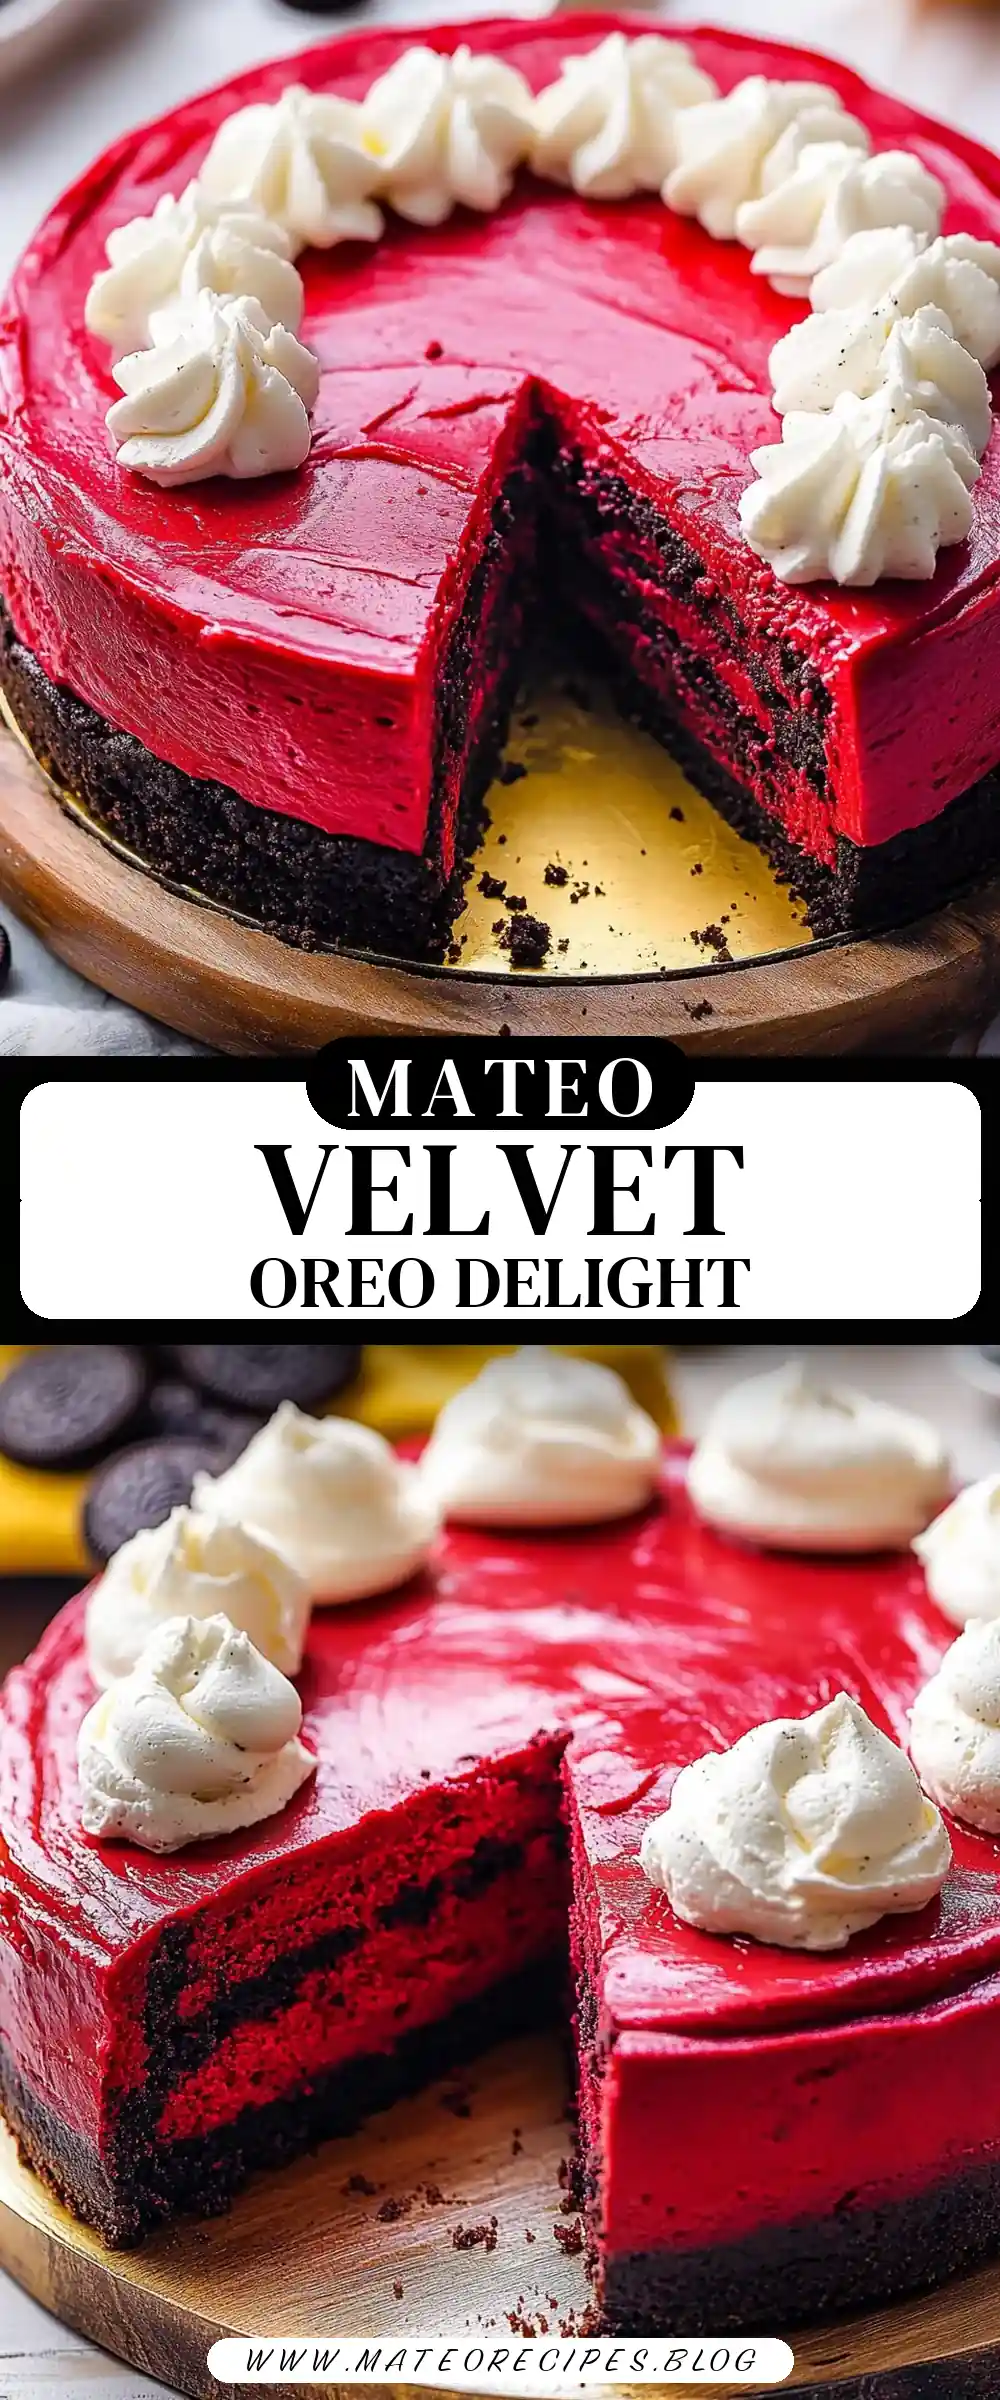
The red velvet hue and elegant cream cheese topping make for a stunning dessert that looks as good as it tastes. The visual appeal of this cheesecake is undeniable; it commands attention on any dessert table. Whether it’s a festive holiday gathering or a simple family dinner, this cheesecake is sure to impress. Its vibrant color and decorative swirls make it a centerpiece that invites admiration and compliments from family and friends alike.
The Recipe
Prep Time: 20 minutes
Cook Time: 60 minutes
Servings: 12 slices
Calories: 332 kcal per serving
Ingredients
Oreo Crust
– 2 cups Oreo cookie crumbs
– 4 tablespoons unsalted butter, melted
Cheesecake Filling
– 24 ounces cream cheese, softened
– 1 cup granulated sugar
– 3 tablespoons cocoa powder
– ¼ cup milk
– 2 teaspoons white vinegar
– ⅓ cup sour cream
– 2 teaspoons vanilla extract
– 3 large eggs
– 1 egg yolk
– Red food dye
Cream Cheese Topping
– 4 ounces cream cheese
– ⅓ cup granulated sugar
– ½ teaspoon vanilla extract
– ⅛ teaspoon salt
– 1 cup heavy cream
Instructions
Prepare Your Pan: Preheat your oven to 350°F. Line a 9-inch springform pan with parchment paper on the bottom and sides. This not only makes for easy removal but also prevents the crust from sticking, ensuring a clean and professional-looking dessert. The use of parchment paper is a small but essential step that can make a significant difference in the final presentation of your cheesecake.
Make the Crust: In a bowl, combine Oreo crumbs and melted butter. Press this mixture into the bottom of the prepared springform pan to form an even layer. Place in the freezer to set. Freezing the crust helps it stay firm when the filling is added, ensuring a stable base. This step is crucial for achieving the perfect texture, preventing the crust from becoming soggy under the weight of the filling.
Mix the Filling: In a large bowl, blend cream cheese until smooth. Add sugar, mixing until combined. Stir in milk, vinegar, vanilla, sour cream, and cocoa powder. Mix well. Add eggs one at a time, mixing thoroughly. Lastly, add the food dye to achieve a deep red color. The addition of each ingredient should be slow and deliberate to ensure a smooth, lump-free filling. This careful mixing process is key to achieving the cheesecake’s signature silky texture.
Bake: Pour the filling over the crust. Shake the pan slightly to even out. Bake for 60 minutes. The center should be slightly jiggly. Turn off the oven and let the cheesecake set for another hour in the warm oven. This method of gradual cooling helps prevent cracks on the surface of the cheesecake. The slow cooling process is a professional tip that transforms your home-baked cheesecake into a flawless dessert.
Chill: Transfer the cheesecake to the refrigerator to chill for at least 6 hours or overnight. This step is crucial as it allows the flavors to meld and the texture to firm up to that classic cheesecake consistency. Patience is key here, as the chilling process truly enhances the cheesecake’s flavor profile, making each bite more delightful.
Prepare the Topping: Blend cream cheese and sugar until smooth. Mix in vanilla and salt. In another bowl, whip heavy cream to stiff peaks. Gently fold whipped cream into the cream cheese mixture. This topping adds a light, airy contrast to the dense cheesecake, enhancing both flavor and texture. The fluffy topping provides a delightful contrast to the rich filling, elevating the overall eating experience.
Decorate: Using a piping bag with a star tip, pipe swirls of topping onto the chilled cheesecake. Slice and serve. The decorative swirls not only enhance the visual appeal but also provide an additional layer of creamy goodness in each bite. Taking the time to add a decorative touch turns your cheesecake into a showstopper, impressing your guests before they’ve even taken a bite.
Kitchen Tools You’ll Need

- 9-Inch Springform Pan: Essential for easy removal of the cheesecake.
- Parchment Paper: Keeps the crust from sticking and makes cleanup easy.
- Hand Mixer: For smooth and creamy filling.
- Piping Bag with Star Tip: To create beautiful swirls on top.
The Benefits of Each Ingredient
Oreo Crumbs
Provides a crunchy, chocolatey base that complements the creamy filling. The Oreos not only add texture but also a familiar, comforting flavor that elevates the cheesecake. Their distinctive taste is a perfect match for the red velvet filling, creating a harmonious blend of flavors.
Cream Cheese
The heart of the cheesecake, providing that irresistible smooth texture. Its richness is what gives the cheesecake its luxurious mouthfeel. The cream cheese’s tangy flavor balances the sweetness, ensuring the dessert remains perfectly balanced.
Cocoa Powder
Adds depth and a hint of chocolate, enhancing the red velvet flavor. It’s the secret ingredient that ties the chocolatey crust and the creamy filling together. The cocoa powder enriches the overall flavor profile, adding complexity and richness to each bite.
Sour Cream
Adds a tangy richness that balances the sweetness. It introduces a subtle tartness that cuts through the richness, preventing the cheesecake from becoming overwhelmingly sweet. The sour cream also contributes to the cheesecake’s creamy texture, making each slice melt in your mouth.
Eggs
Essential for binding the filling and achieving a smooth texture. They provide structure, ensuring the cheesecake holds its shape while remaining creamy. The eggs also add a richness that enhances the overall flavor and texture of the cheesecake.
What to Serve With This Dish
Pair this Red Velvet Oreo Cheesecake with a simple side of fresh berries or a dollop of whipped cream for added freshness. The tartness of berries can balance the richness of the cheesecake, creating a harmonious flavor profile. For a cozy family dinner, serve it alongside a steaming mug of coffee or a glass of cold milk. The bold flavors of coffee or the creamy texture of milk pair perfectly with the cheesecake’s richness. You might also enjoy it after a hearty meal like my Classic Meatloaf or Creamy Mushroom Risotto for a complete comfort food experience.
Storage & Leftover Tips
This cheesecake keeps well in the refrigerator for up to 5 days. Be sure to store it in an airtight container to prevent it from drying out or absorbing other flavors. If you’re planning to freeze it, wrap individual slices tightly in plastic wrap and place in a freezer-safe bag. Thaw in the refrigerator overnight before serving. This makes it an excellent choice for those who like to prep desserts in advance or enjoy a tasty slice on a whim. The ability to freeze and thaw this cheesecake without losing quality makes it a versatile dessert option that fits seamlessly into any busy lifestyle.
Bringing It All Together
In closing, I hope this Red Velvet Oreo Cheesecake becomes a staple in your family gatherings, as it has in mine. The joy of sharing a homemade dessert with loved ones is unparalleled, bringing warmth and connection to the table. Every ingredient, every step, and every slice tells a story of love and tradition. Happy baking, and may each bite remind you of cherished memories and the love that goes into every recipe. As you gather around your table, let the cheesecake be more than just a dessert—it’s an invitation to create new memories and strengthen the bonds of family and friendship.
This cheesecake is more than just a recipe; it’s a testament to the joy of cooking and the power of food to bring people together. Whether you’re an experienced baker or a novice in the kitchen, this recipe is sure to become a beloved favorite, offering a delicious taste of comfort and nostalgia with each slice. Enjoy the moments spent in the kitchen, the laughter shared around the table, and the lasting memories created with every bake.

Red Velvet Oreo Cheesecake
Ingredients
Equipment
Method
- Preheat the oven to 350 degrees Fahrenheit.
- Prepare a springform pan with parchment paper on the bottom and around the edges of the pan.
- Combine the Oreo crumbs and melted butter in a medium bowl. Use a fork to blend until combined and the texture is slightly crumbly.
- Transfer the mixture to the prepared springform pan and press into an even layer in the bottom and slightly up the sides of the pan. Place in the freezer while making the cream cheese filling.
- In a large mixing bowl blend the cream cheese until smooth and lump-free.
- Add the sugar and blend again until combined.
- Mix in the milk, vinegar, vanilla extract, sour cream, and cocoa powder until thoroughly combined. Scrap the sides of the bowl if needed.
- Add in each egg, one at a time, blending between each addition. On the last egg yolk, add the food dye, using a generous amount depending on the vibrancy of your food dye of choice. The batter is a little brown so you want the batter to be a nice deep red once everything is mixed thoroughly.
- Remove the Oreo crust from the freezer and pour the red velvet mixture into the springform pan.
- Slightly shake/jiggle the pan to even out the filling and then bake for 60 minutes.
- The cheesecake will still be slightly jiggly in the center when done. Turn the oven off and let the cheesecake stay in the warm oven for another hour to finish cooking. This will allow it to set perfectly.
- Remove from the oven and transfer to the refrigerator to chill for at least 6 hours or overnight.
- When ready to serve, make the cream cheese topping.
- In a bowl, combine the cream cheese and sugar. Blend until smooth.
- Then add the vanilla and salt. Mix once more until combined.
- In a separate, smaller bowl, whip the heavy cream until stiff peaks form.
- Gently fold the whipped cream into the cream cheese mixture until smooth and no streaks are left.
- Transfer to a piping bag fitted with a large star piping tip.
- Create 6-8 swirls on top of the cheesecake to decorate as desired. Cut and serve.