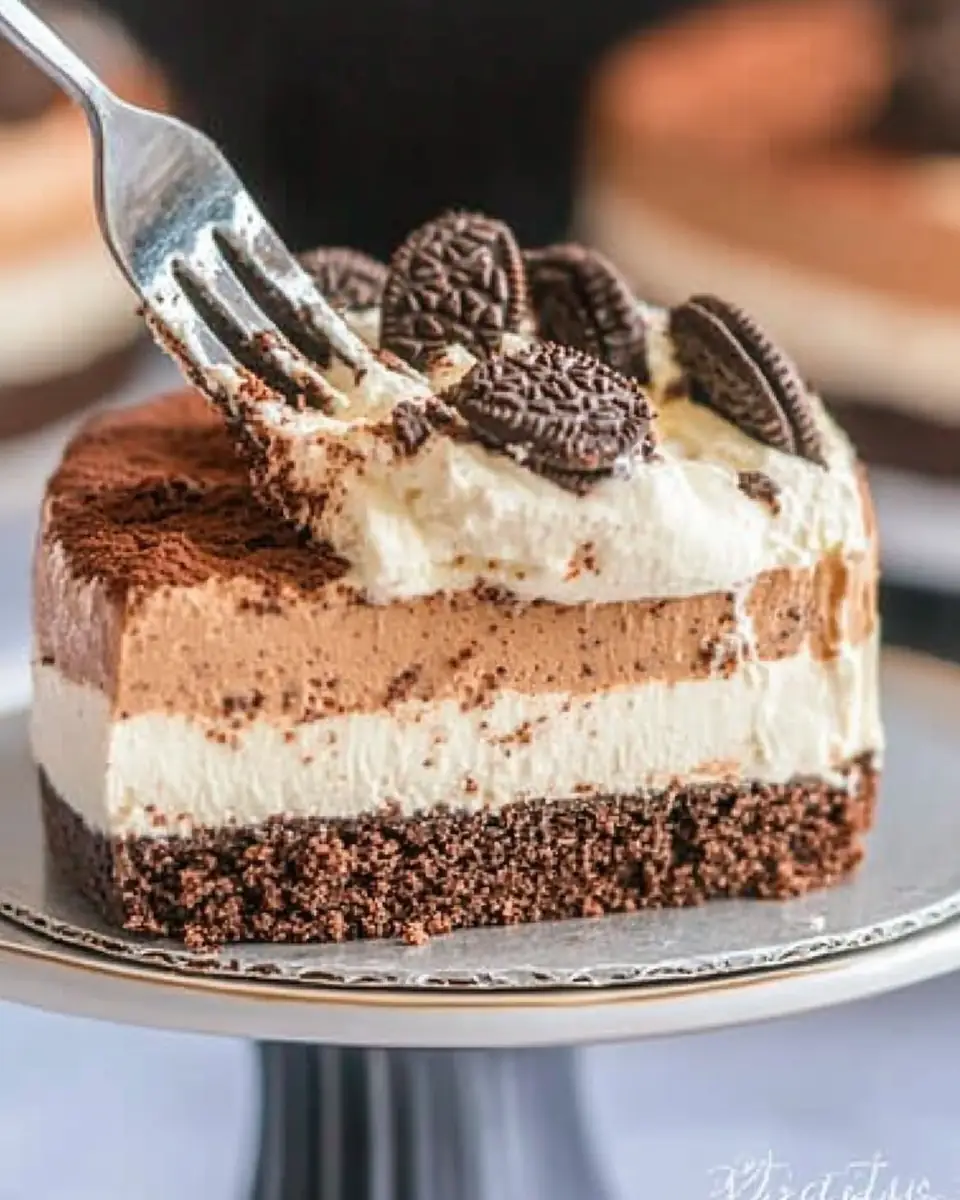
A Sweet Nostalgia: The Magic of an Oreo Mousse Cake
There’s something truly magical about creating a dish that brings everyone together in the kitchen and around the dining table. Growing up, I remember the excitement that filled the room whenever my mom announced that a special dessert was in the works. Her Oreo Mousse Cake was a family favorite, a delightful combination of rich chocolate and the classic taste of Oreos. It wasn’t just a dessert—it was a celebration, a reason for us to gather, laugh, and savor each other’s company. Now, I’ve taken that beloved recipe and added my own touches to share with you. This Oreo Mousse Cake is more than just a sweet treat; it’s a way to create lasting memories with your loved ones, just like it did for my family.
Why You’ll Love This Recipe
Simple Ingredients: You probably have most of these ingredients at home already, making it easy to whip up without a last-minute grocery run. This simplicity not only saves time but also ensures that the focus remains on the fun of the cooking process rather than the complexity of a shopping list. It’s a reminder that sometimes, the most delectable dishes come from the most humble components.
No-Bake Wonder: No need to turn on the oven, which is perfect for those hot days or when you’re short on time. A no-bake dessert means less hassle and more time enjoying your creation. It also opens the door for more people to join in the fun, as you won’t need to supervise an oven, freeing you to engage with family and friends while the dessert chills.
Kid-Friendly Fun: Let the little ones crush the Oreos! It’s a fun and safe way for them to get involved. Cooking with children not only teaches them essential life skills but also encourages creativity and boosts their confidence. Plus, who doesn’t enjoy a little mess in the name of making something delicious?
Impressive Yet Easy: Despite its rich layers, this Oreo Mousse Cake is straightforward to prepare, making you look like a dessert superstar without the stress. The layered appearance suggests complexity, but the step-by-step process is very manageable, offering you a chance to shine at any gathering.
Perfect for Any Occasion: From birthdays to casual Sunday dinners, this cake fits any gathering, adding a sweet note to your family meals. Its versatility makes it an excellent choice for almost any event, ensuring that your culinary efforts are met with appreciation and joy.
The Recipe
Prep Time: 20 minutes
Chill Time: 4 hours
Servings: 12 slices
Calories: 514 per serving
Ingredients:
- 14.3 oz Oreo Cookies, crushed (1 package – standard Oreos, not double stuffed)
- ⅓ cup butter, melted – unsalted
- 8 oz semi-sweet chocolate chips, melted
- 3 cups heavy whipping cream
- ½ cup confectioner’s sugar
- Additional crushed Oreos, to decorate
Instructions:
Prepare the Crust:
Combine the crushed Oreos and melted butter in a mixing bowl. Mix them together until the crumbs are moist. Press the mixture into the bottom of a lined 9-inch springform pan. Chill in the freezer until ready to fill. This forms a sturdy base that holds up well under the creamy layers, providing a satisfying crunch with every bite.Melt the Chocolate:
Melt the chocolate chips in a medium microwave-safe bowl in 30-second increments, stirring in between each round until melted. Stir until smooth and set aside to cool slightly. This ensures the chocolate is perfectly tempered, maintaining a glossy finish and smooth texture.Whip the Cream:
Whip the heavy cream and confectioner’s sugar in the bowl of a stand mixer with the whisk attachment on medium speed until stiff peaks form. For best results, chill the bowl prior to whipping. This step is crucial for achieving the mousse-like consistency that makes this cake so light and airy.Create the Mousse Layers:
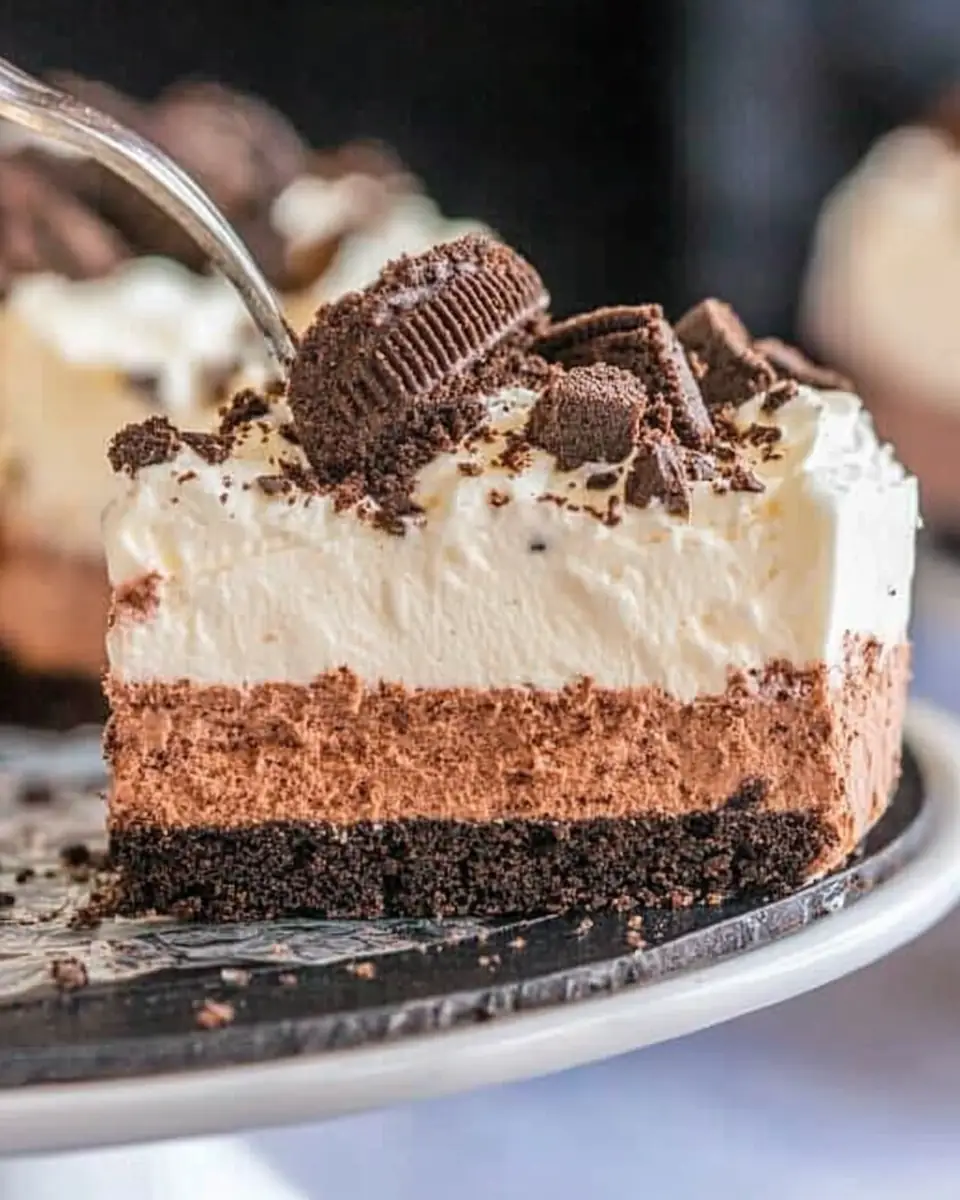
Gently fold half of the whipped cream into the slightly cooled melted chocolate until combined. Transfer the chocolate mixture into the springform pan with the Oreo crust. Spread evenly to the edges. This careful folding technique preserves the airiness of the whipped cream, ensuring the mousse remains light.Top with Whipped Cream:
Spread the remaining whipped cream evenly over the chocolate layer. Sprinkle with additional crushed Oreo pieces. This final touch adds visual appeal and a hint of texture, making the cake irresistible.Chill to Set:
Cover loosely and refrigerate for approximately 4 hours or until set. This time allows the flavors to meld and the structure to firm up, making each slice perfect.
Kitchen Tools You’ll Need
- Mixing bowl
- Microwave-safe bowl
- Stand mixer with whisk attachment
- 9-inch springform pan
- Spatula
These tools are kitchen staples, ensuring that you won’t need any specialized equipment to create your masterpiece. Each tool plays a critical role in achieving the perfect texture and presentation of the cake.
The Benefits of Each Ingredient
Oreo Cookies: These add a familiar, comforting flavor that everyone loves. They also provide the crunchy base that contrasts beautifully with the creamy mousse. The iconic taste of Oreos is universally loved, making this cake a sure hit.
Butter: Unsalted butter helps bind the crust without adding extra saltiness, allowing the sweetness of the Oreos to shine through. It melts smoothly into the cookie crumbs, creating a cohesive base that’s easy to slice.
Semi-Sweet Chocolate Chips: They offer a rich chocolate flavor that complements the sweetness of the Oreos, creating a balanced mousse. The slight bitterness of the semi-sweet chocolate adds depth, making the dessert more complex and satisfying.
Heavy Whipping Cream: The foundation of the mousse, it gives the cake its light and airy texture. It’s the secret to achieving that melt-in-your-mouth experience that makes mousse cakes so special.
Confectioner’s Sugar: Adds a touch of sweetness to the whipped cream without being grainy, ensuring a silky smooth finish. Its fine texture dissolves easily, enhancing the cream’s natural sweetness without overpowering it.
What to Serve With This Dish
This Oreo Mousse Cake pairs wonderfully with a cup of freshly brewed coffee or a glass of cold milk. The bitterness of coffee or the creamy texture of milk enhances the cake’s flavors, providing a balanced finish. For a special touch, serve it alongside fresh berries like strawberries or raspberries, which add a refreshing contrast to the cake’s richness. The tartness of the berries cuts through the sweetness, offering a delightful balance.
If you’re planning a full meal, consider my Classic Roast Chicken or Garlic Mashed Potatoes for a comforting family dinner that ends on a sweet note. These dishes provide a savory backdrop that highlights the cake’s sweetness, creating a well-rounded dining experience.
Storage & Leftover Tips
Storage: The cake should be refrigerated in an airtight container and consumed within two days. This keeps the mousse fresh and the Oreo crust crisp. Proper storage ensures that the cake retains its texture and flavor, making it just as delicious the next day.
Freezing: If you’d like to store it for longer, you can freeze the cake. Wrap it tightly in plastic wrap, then aluminum foil, and freeze for up to one month. Thaw in the refrigerator overnight before serving. Freezing extends the life of your creation, allowing you to enjoy it at your convenience.
Leftover Ideas: If you have leftovers, consider crumbling them over ice cream for a quick dessert or mixing them into a milkshake for a delicious Oreo twist. These creative uses of leftovers ensure that nothing goes to waste and that every bite is enjoyed.
Conclusion: A Celebration of Togetherness
In conclusion, this Oreo Mousse Cake is not just a treat; it’s a way to bring a little joy and togetherness to your table. Whether you’re celebrating a special occasion or simply enjoying a quiet evening at home, this cake is sure to delight everyone. Its rich flavors and creamy texture make it a standout dessert, while its ease of preparation ensures you spend more time with loved ones rather than in the kitchen.
Remember, the best recipes are those shared with love and laughter, and I hope this one becomes a cherished part of your family traditions. As you savor each bite, may it remind you of the joy of sharing meals and creating memories with those you hold dear. Happy cooking!
Oreo Mousse Cake
Ingredients
Equipment
Method
- Combine the crushed Oreos and melted butter in a mixing bowl. Mix them together until the crumbs are moist.
- Press the mixture into the bottom of a lined 9-inch springform pan. Chill in the freezer until ready to fill.
- Melt the chocolate chips in a medium microwave-safe bowl in 30-second increments (stirring in between each round) until melted and stir until smooth. Set aside to cool slightly.
- Whip the heavy cream and confectioner’s sugar in the bowl of a stand mixer with the whisk attachment on medium speed until stiff peaks. (this works best if the bowl is chilled prior to whipping)
- Gently fold half of the whipped cream into the slightly cooled melted chocolate until combined.
- Transfer the chocolate mixture into the spring form pan with the Oreo crust. Spread evenly to the edges.
- Spread the remaining whipped cream evenly over the chocolate layer.
- Sprinkle with additional crushed Oreo pieces.
- Cover loosely and refrigerate for approximately 4 hours or until set.