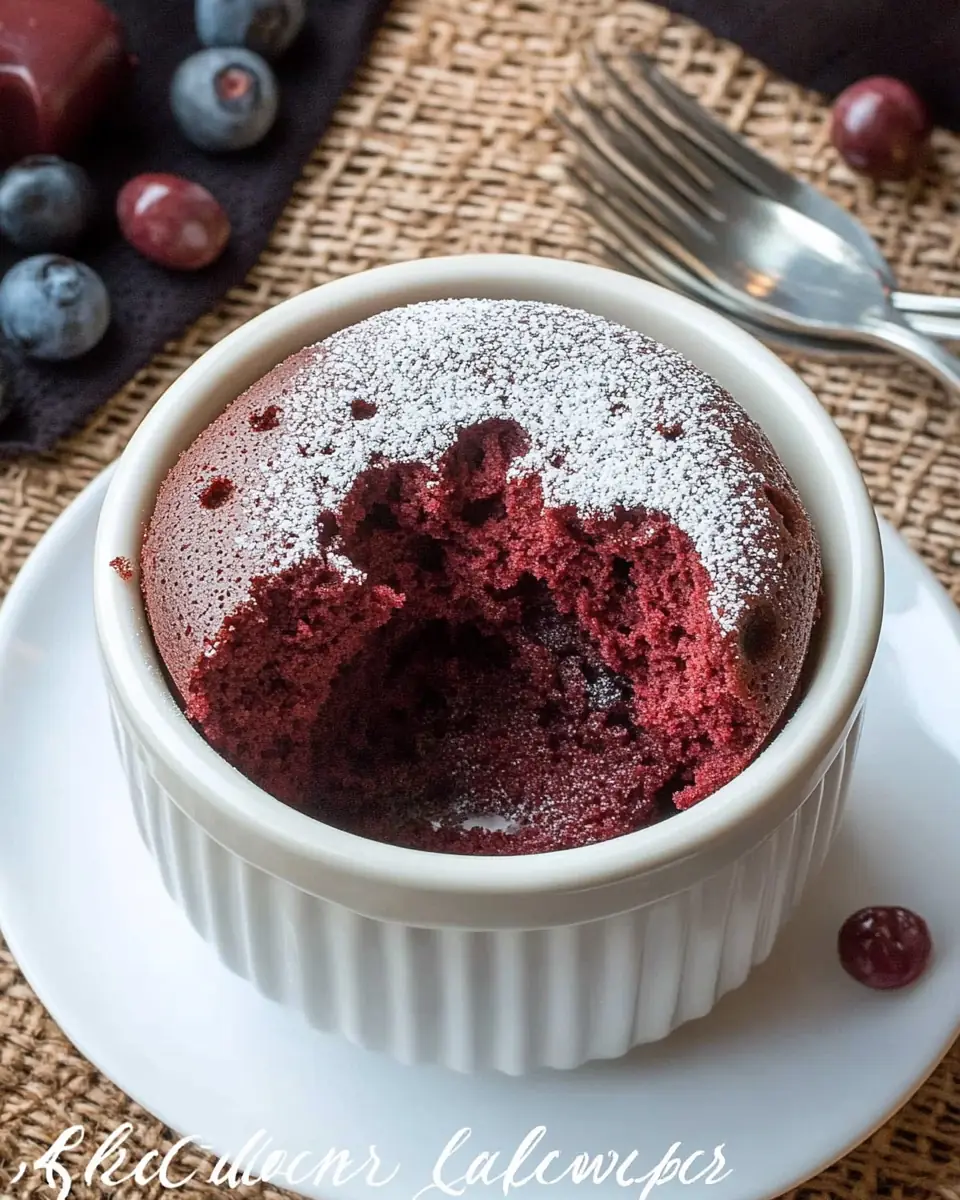
When I think about cozy evenings spent with family, there’s nothing quite like a warm, freshly-made dessert to wrap up the day. Imagine a dessert that combines the rich elegance of red velvet cake with the gooey surprise of molten lava. Yes, I’m talking about the Red Velvet Molten Lava Mug Cake! This treat has become a beloved favorite in my home, especially on those nights when we want something special but quick. Picture this: you’re gathered around the kitchen table, the smell of sweet cocoa filling the air, and the joy of sharing something delicious with loved ones. That’s the magic of this recipe, and I’m excited to share it with you.
Why You’ll Love This Recipe
- Quick and Easy: This Red Velvet Molten Lava Mug Cake comes together in just minutes. Whether you choose to microwave or bake it, you’ll have a decadent dessert ready in no time.
- Minimal Clean-Up: With everything mixed in one bowl and cooked in individual ramekins, you’ll spend less time cleaning and more time enjoying dessert with your family.
- Rich and Indulgent: The combination of coconut flour, heavy cream, and cannoli frosting ensures a rich texture that’s both satisfying and indulgent.
- Customizable: You can easily tweak the recipe to suit your taste, whether you prefer more or less chocolate or a different garnish.
- Perfect for Special Occasions or Everyday Delight: Whether it’s a celebration or a simple weekday treat, this recipe adds a touch of elegance to any occasion.
The Recipe
Red Velvet Molten Lava Mug Cake Ingredients
- 3 tbsp coconut flour
- 1 tbsp ground flaxseed
- 1/8 tsp salt
- 1/2 tsp baking powder
- 1/4 cup heavy cream
- 2 eggs
- 1/4 tsp almond extract
- 1 tsp vanilla liquid stevia
- 1 cup Cannoli frosting
- Garnish with chopped pistachios and chocolate chips
Instructions
- Mix the Ingredients: In a bowl, whisk together all ingredients except for the frosting. Make sure everything is well combined to ensure a smooth batter.
- Pour into Ramekins: Divide the batter evenly into two greased 7-ounce quiche ramekins.
- Microwave Option: Cook each ramekin separately in the microwave for 1 minute or until a toothpick inserted into the center comes out clean.
- Oven Option: Alternatively, place the ramekins in a preheated 350°F oven and bake for 10 minutes or until a toothpick comes out clean.
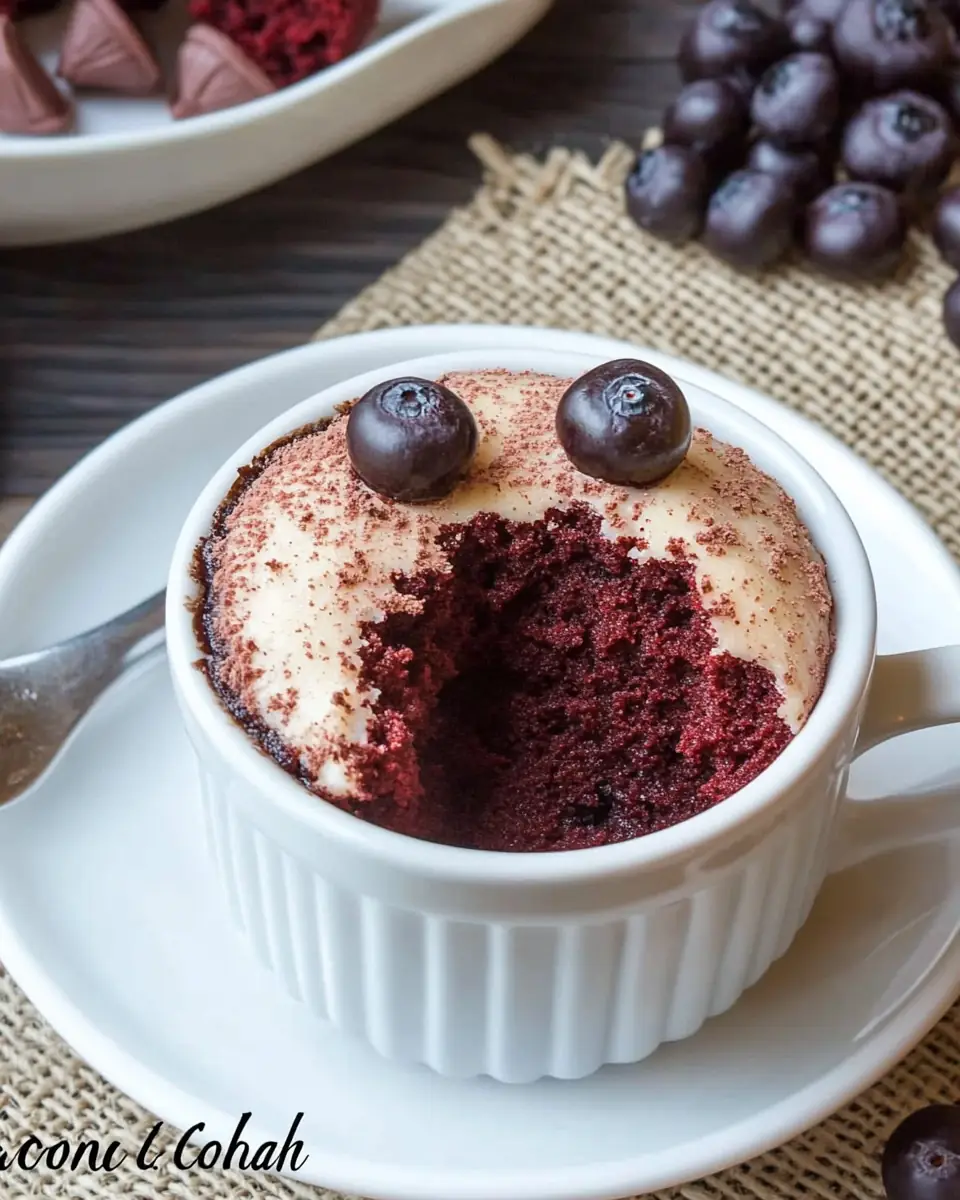
- Cool and Decorate: Allow the cakes to cool completely before frosting and decorating them with chopped pistachios and chocolate chips.
Notes: Net Carbs for 1/4 of the Cake: 3 grams. This recipe was first published in August 2015 and updated in June 2020.
Kitchen Tools You’ll Need
- Mixing Bowl: To combine all your ingredients smoothly.
- Whisk: For blending the batter to a perfect consistency.
- Measuring Spoons and Cups: Accurate measurements ensure a successful cake.
- 7-ounce Quiche Ramekins: For cooking the cakes, whether you’re using the microwave or oven.
- Microwave or Oven: Choose your preferred cooking method.
The Benefits of Each Ingredient
- Coconut Flour: A low-carb, gluten-free alternative that adds a subtle sweetness and fluffy texture to the cake. It’s a fantastic way to make desserts healthier without sacrificing taste. Additionally, it’s high in fiber, which aids in digestion and helps keep you full longer. Its mild flavor also allows the red velvet and chocolate flavors to shine.
- Ground Flaxseed: Provides a boost of fiber and omega-3 fatty acids, making your dessert a bit healthier. Flaxseeds are known for their numerous health benefits, including improving heart health and reducing inflammation. They also act as a binding agent, helping to hold the cake together while adding a slight nutty flavor.
- Heavy Cream: Adds richness and moisture, creating that irresistible melt-in-your-mouth experience. The high fat content in heavy cream contributes to the cake’s velvety texture, making each bite incredibly smooth and creamy.
- Eggs: Essential for binding the ingredients and adding structure to the cake. Eggs provide the necessary lift and volume, allowing the cake to rise beautifully. They also contribute to the cake’s golden color and rich taste.
- Almond Extract: Gives a hint of nutty flavor that complements the red velvet theme. Almond extract is strong yet subtle, adding an aromatic complexity to the cake that enhances the overall flavor profile.
- Vanilla Liquid Stevia: A sugar-free sweetener that keeps the cake low in carbs without sacrificing sweetness. Stevia is a natural sweetener with zero calories, making it a popular choice for those looking to reduce sugar intake without compromising on taste.
- Cannoli Frosting: Brings a creamy, decadent finish that makes the cake truly special. The frosting adds a delightful contrast to the cake’s slightly dense texture, offering a burst of flavor with every bite.
- Pistachios and Chocolate Chips: Offer a delightful crunch and additional flavor, rounding out the dessert beautifully. The pistachios add a nutty taste and a pop of color, while the chocolate chips provide an extra layer of sweetness and texture.
What to Serve With This Dish
This Red Velvet Molten Lava Mug Cake is delightful on its own, but pairing it with a scoop of vanilla ice cream can elevate it to another level of indulgence. A dollop of whipped cream also pairs beautifully, cutting through the richness with a light, airy texture. For a refreshing contrast, consider serving with a side of fresh berries, like strawberries or raspberries. The tartness of the berries complements the sweetness of the cake, providing a balanced flavor profile. If you’re enjoying this as part of a larger meal, try pairing it with a light, fruity wine for an elegant finish.
For more dessert ideas, you might want to check out my Classic Chocolate Chip Cookies or the Ultimate Brownie Sundae, both of which are crowd-pleasers in my home. These desserts offer different flavor profiles and textures, making them perfect companions to the Red Velvet Molten Lava Mug Cake.
Storage & Leftover Tips
If you have any leftovers (which is rare in my house), these mug cakes store beautifully. Simply cover them with plastic wrap or transfer to an airtight container and refrigerate for up to three days. To reheat, you can pop them back in the microwave for about 15-20 seconds, just until warmed through. This way, you can enjoy the gooey, molten center all over again. However, I recommend enjoying them fresh for the best lava effect. If you prefer a firmer texture, you can serve them chilled straight from the refrigerator, which offers a different yet equally delightful experience.
For those interested in more cake recipes, Baking Basics: Simple Vanilla Cake is another wonderful recipe to explore. This simple vanilla cake offers a classic flavor that’s versatile and can be paired with various frostings and toppings.
Tips for Making the Perfect Mug Cake
- Use Fresh Ingredients: Ensure your baking powder and eggs are fresh to get the best rise and texture.
- Don’t Overmix: Stir just until combined to avoid a dense cake.
- Monitor Cooking Time: Microwaves vary, so start with less time and add more if needed. Overcooking can result in a dry cake.
- Experiment with Flavors: Feel free to add a dash of cinnamon or nutmeg for a spice twist.
Variations to Try
- Chocolate Lovers: Add cocoa powder to the batter for a double chocolate version.
- Nutty Delight: Incorporate chopped walnuts or almonds for extra crunch.
- Citrus Twist: Add a teaspoon of orange or lemon zest to the batter for a refreshing flavor.
- Berry Burst: Mix in a few fresh or frozen raspberries before cooking for a fruity surprise.
The Joy of Baking Together
There’s something inherently joyful about baking with family or friends. The process of measuring, mixing, and waiting in anticipation for the final product is a bonding experience. It’s a chance to slow down, engage in a shared activity, and create lasting memories. The Red Velvet Molten Lava Mug Cake is not just a dessert; it’s an opportunity to connect with loved ones over the shared love of food.
Whether you’re an experienced baker or a novice in the kitchen, this recipe is approachable and rewarding. The simplicity of the ingredients and the straightforward method make it a perfect choice for a fun and stress-free baking session. Plus, the end result is a delightful treat that everyone will enjoy.
In conclusion, this Red Velvet Molten Lava Mug Cake is more than just a recipe—it’s an invitation to gather around with loved ones and share a moment of indulgence. The simplicity and speed of preparation make it a go-to for those busy evenings when you still want to create something special. I hope you enjoy making and eating this cake as much as I do. Happy cooking, my friend, and remember, every dish is an opportunity to bring joy to your table.
Feel free to leave a comment or share your own variations of this recipe. I love hearing how others make these dishes their own. Until next time, keep baking and sharing the love!
Red Velvet Molten Lava Mug Cake
Ingredients
Equipment
Method
- In a bowl whisk all ingredients together except frosting.
- Once combined well, pour mixture into two greased 7 ounce quiche ramekins.
- Microwave: Bake one at a time for 1 minute each or until toothpick in center comes out clean.
- Oven: Place cakes in a preheated 350 degree oven and bake for 10 minutes or until a toothpick in center comes out clean.
- Allow to cool completely before frosting and decorating.