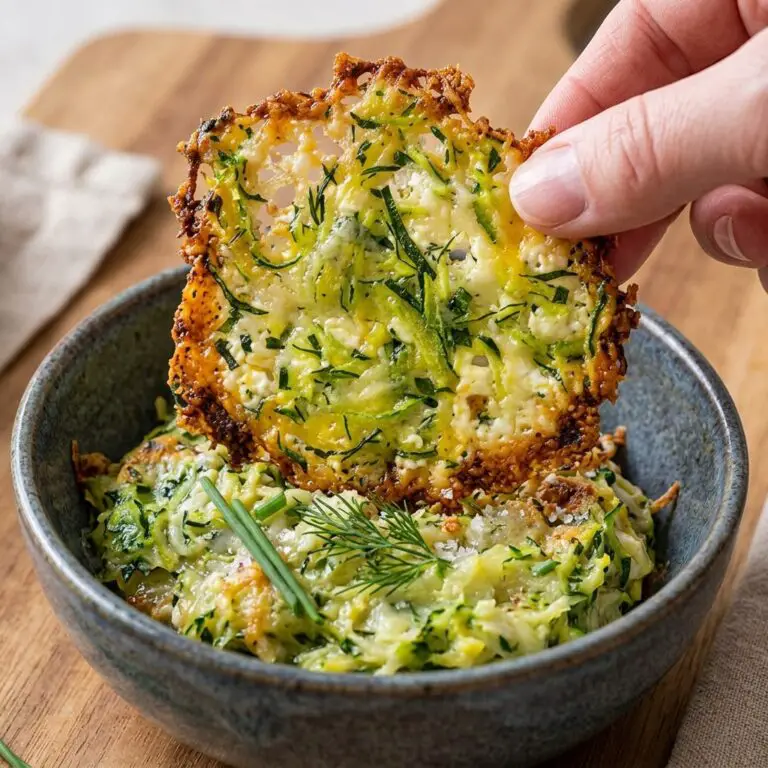
Ingredients
1. Grated Zucchini
You will need 1 cup of grated zucchini. Fresh zucchini works best because it has a mild flavor that pairs naturally with cheese.
After grating, the zucchini should be squeezed extremely well. Removing the excess liquid is essential for achieving a crisp texture instead of a soft or chewy one.
2. Melty Cheese
Use 1 cup of hard but melty cheese. Several varieties work beautifully, including:
- Gruyere
- Cheddar
- Parmesan
- Swiss cheese
- A combination of two or more cheeses
For a stronger flavor, use aged cheddar or Parmesan. For a richer and nuttier taste, Gruyere is an excellent choice. A mixture of cheddar and Parmesan can give you both sharpness and a crisp, savory finish.
Instructions
Step 1: Grate and Drain the Zucchini
Place a piece of cheesecloth inside a bowl. Grate the zucchini directly into the cheesecloth.
Gather the cheesecloth around the grated zucchini and press firmly to remove as much liquid as possible. Continue squeezing until the zucchini is noticeably dry.
Do not skip this step. Zucchini naturally contains a lot of water, and that moisture is the biggest obstacle to achieving crisp zucchini cheese crisps.
The drier the zucchini, the better the texture will be.
Step 2: Grate and Mix the Cheese
Finely grate your chosen cheese and add it to the thoroughly drained zucchini.
Mix the zucchini and cheese together until they are evenly distributed. Make sure there are no large clumps of zucchini or cheese so that each portion cooks evenly.
If you are using a cheese combination, distribute the different cheeses throughout the zucchini mixture.
Step 3: Form Small Portions
Line a baking sheet with parchment paper.
Scoop approximately 1 tablespoon of the zucchini-cheese mixture onto the baking sheet for each crisp. Form small, loose mounds or humps rather than large piles.
Leave plenty of space between each portion. The cheese will melt and spread as it cooks, so overcrowding the baking sheet can cause the crisps to run together.
For the crispiest results, keep the portions relatively small and evenly sized.
Step 4: Broil Until Golden
Place the baking sheet in the top third of the oven under the broiler on low.
Watch the crisps constantly while they cook. Broilers can brown food very quickly, and the difference between beautifully golden edges and burnt cheese can happen in a short amount of time.
When the edges become brown and the cheese is melted and golden, remove the baking sheet from the oven.
Do not walk away during this step. Keeping a close eye on the crisps is one of the most important parts of the recipe.
Step 5: Cool and Crisp
Immediately after removing the baking sheet from the oven, carefully lift the crisps by pulling up the parchment paper and transferring the parchment onto a cooling rack.
Allow the zucchini cheese crisps to cool for a couple of minutes.
Once they have cooled slightly, carefully remove them from the parchment paper and place them on a plate lined with paper towels. The paper towels can absorb excess fat released from the cheese, helping the crisps become even crunchier as they cool.
Let them cool completely before serving for the best texture.
Notes
The most important cooking note for this recipe is remove as much moisture from the zucchini as possible.
Zucchini is naturally water-rich, so simply grating it and mixing it with cheese is not enough for a reliably crispy result. Use cheesecloth and squeeze the zucchini thoroughly. You can even repeat the process if the zucchini still feels very wet.
The second important factor is spacing. Give each tablespoon-sized portion plenty of room on the baking sheet. As the cheese melts, it spreads outward. If the portions are too close together, they can merge into one large sheet.
Broiling also requires attention. The top third of the oven places the crisps close to the heat source, allowing the cheese to brown quickly. Keep the broiler on low and watch continuously.
Do not judge the texture immediately after removing the crisps from the oven. Melted cheese can initially appear soft, but it becomes firmer and crunchier as it cools.
If the crisps seem slightly soft when first removed, give them a few additional minutes to cool before deciding whether they need more cooking.
- Prep Time: 15 minutes
- Cook Time: 5–10 minutes, depending on the broiler and size of the crisps