
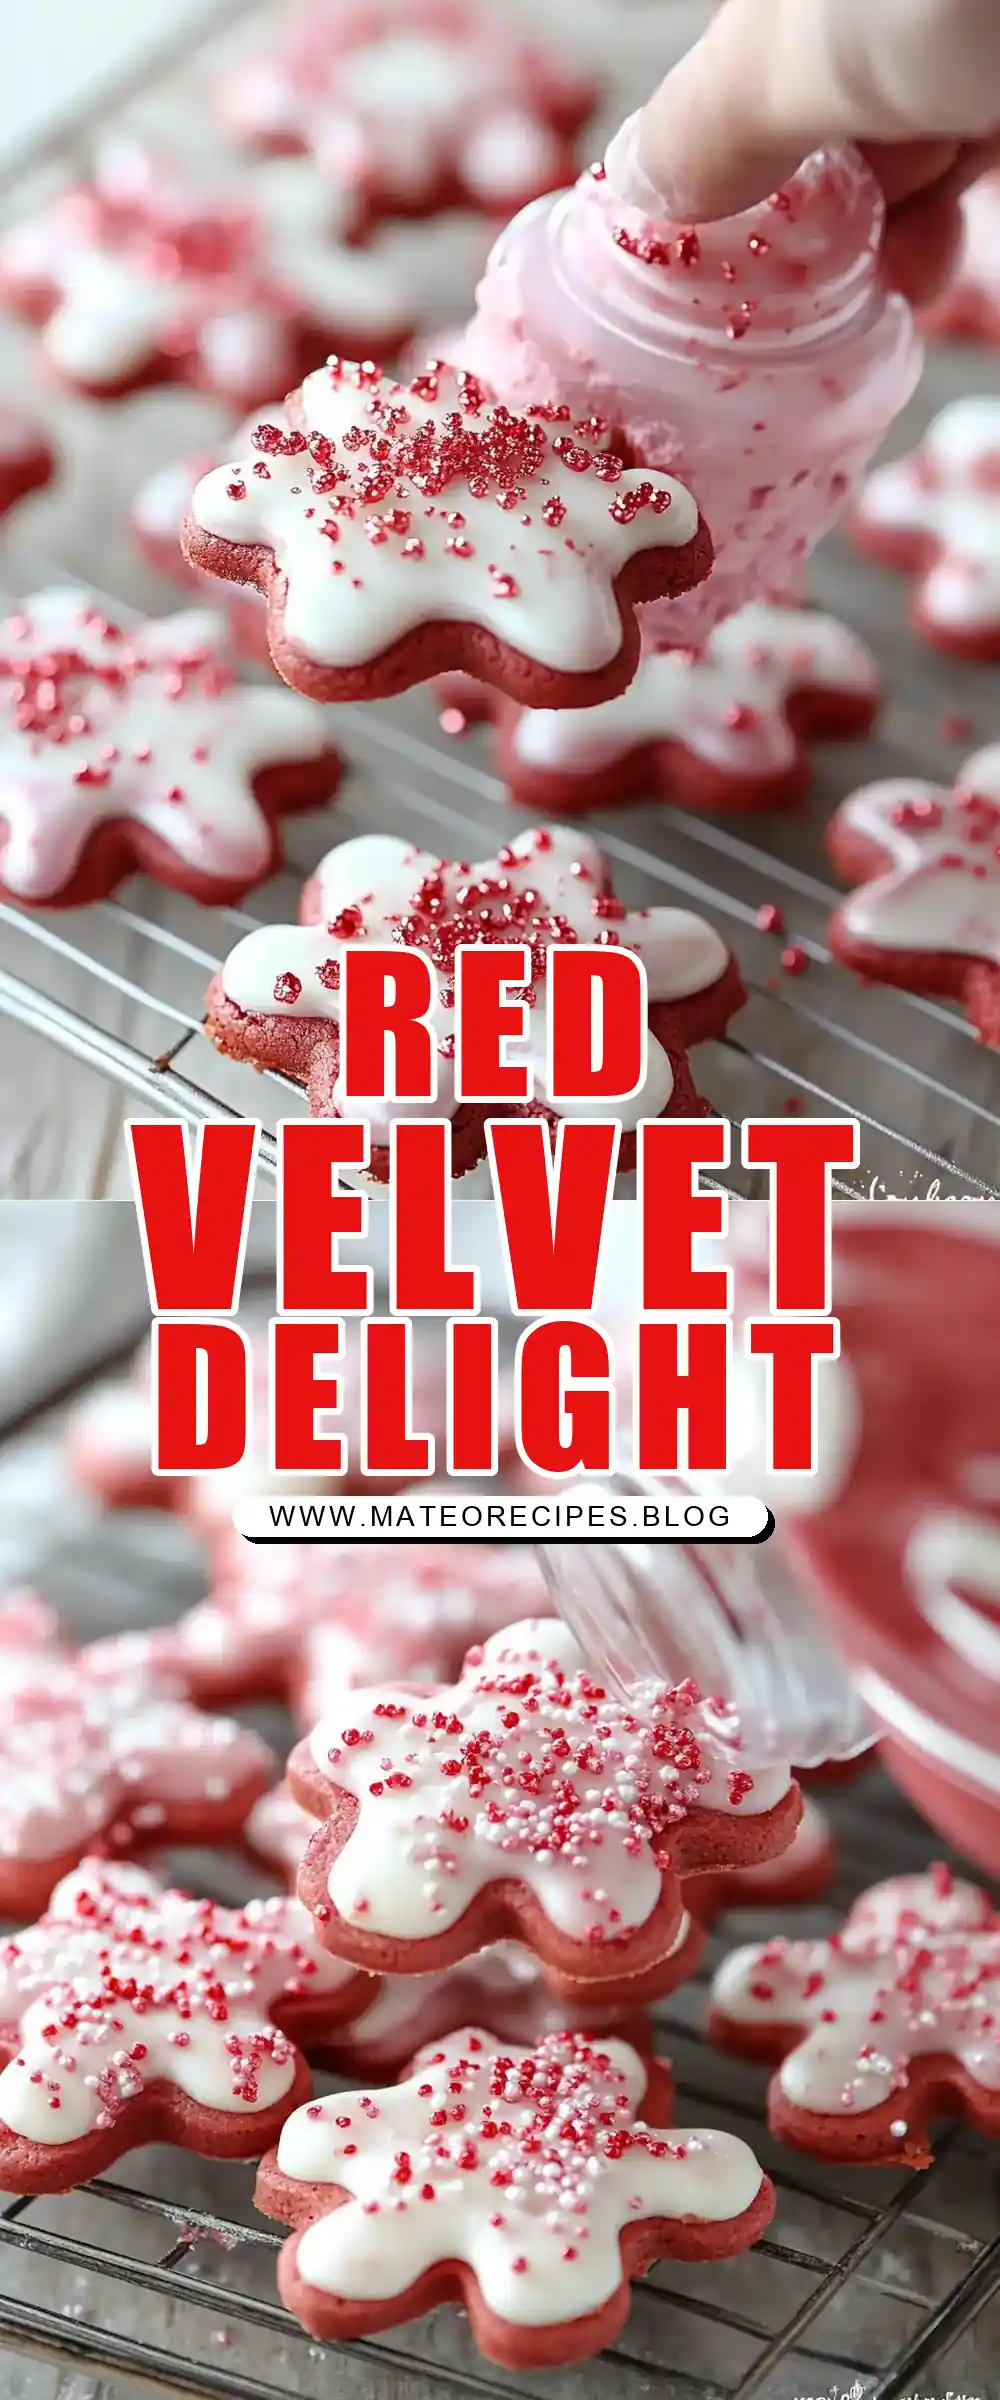
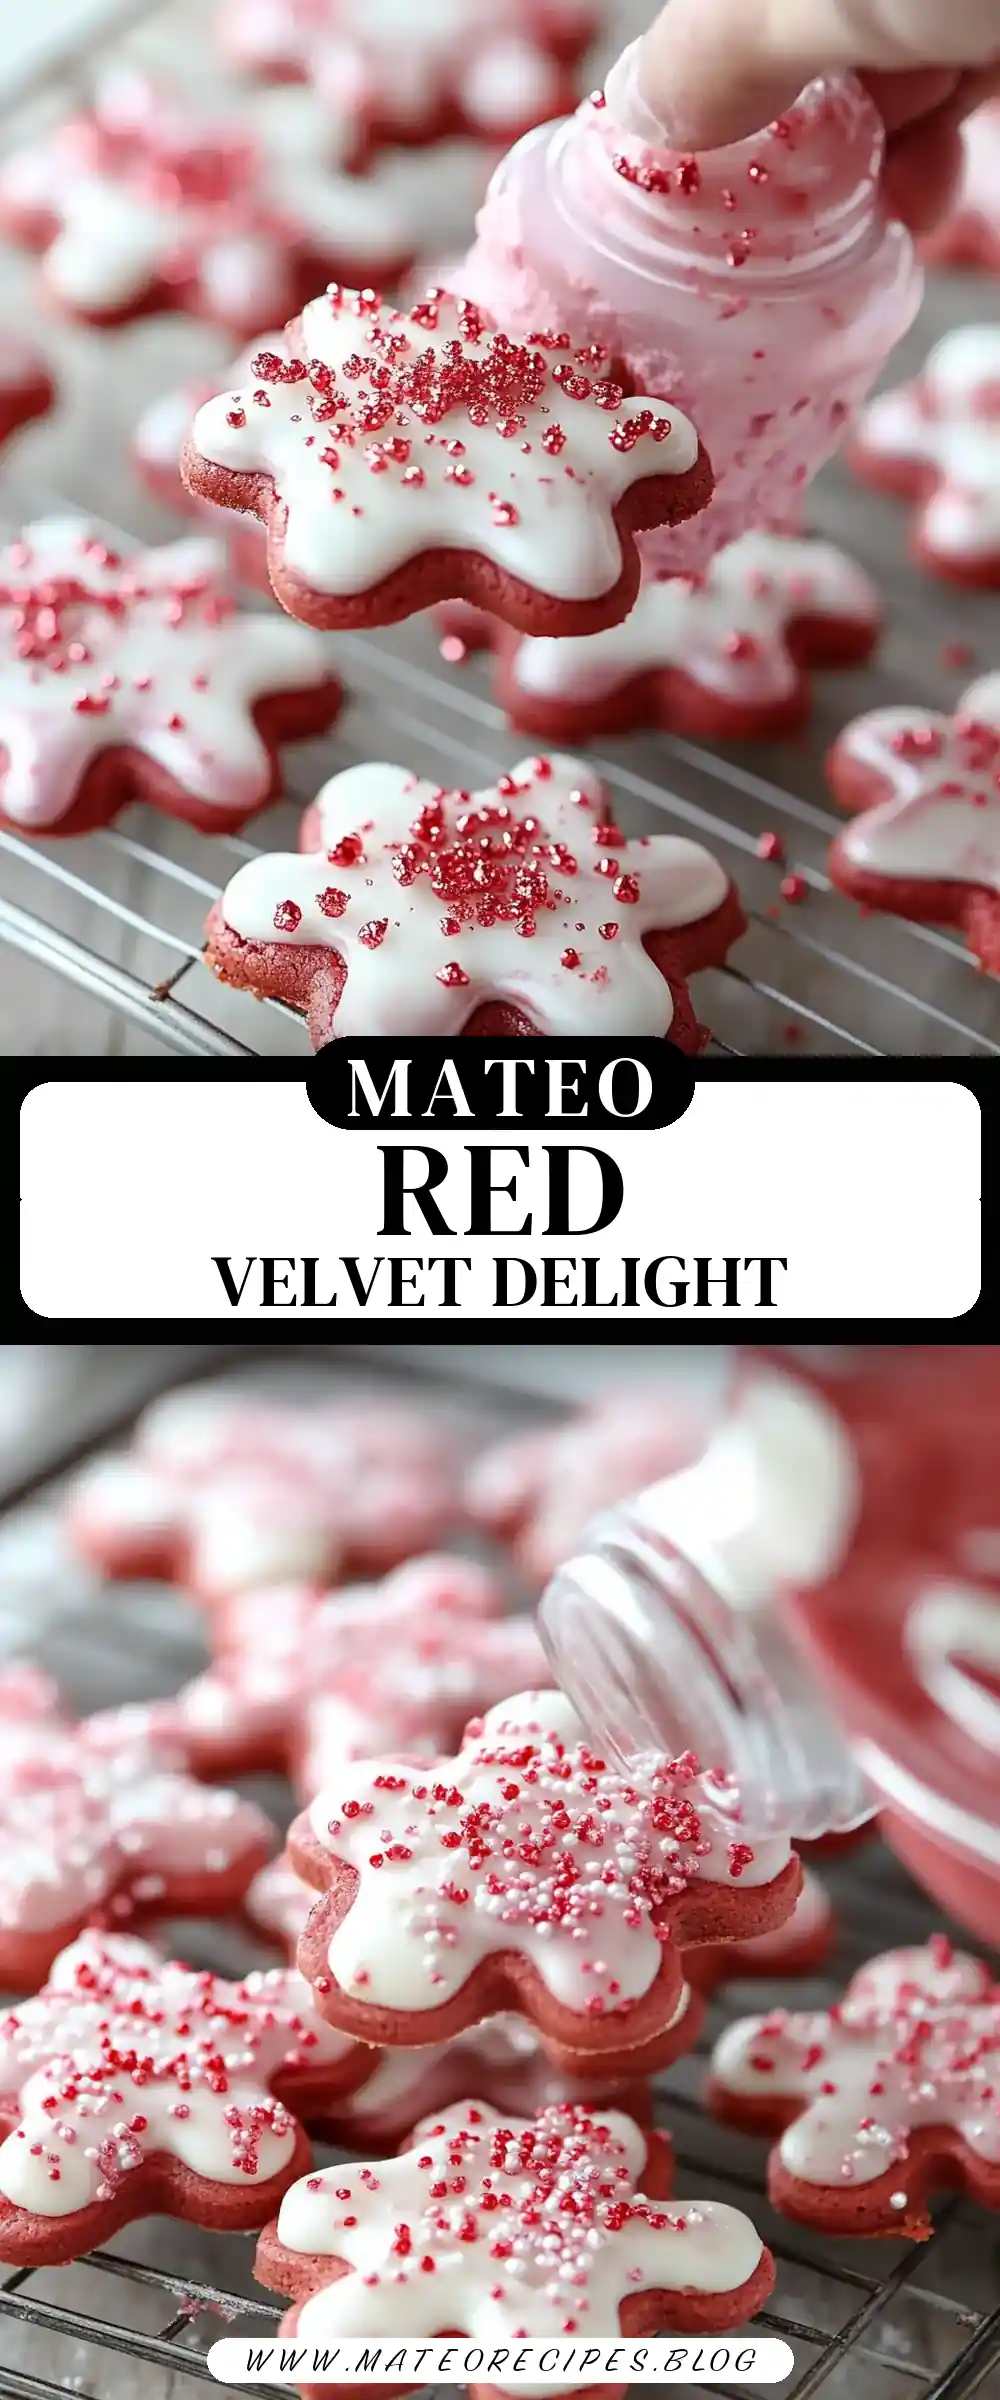
Red Velvet Waffle Cookies: A Sweet Tradition
There’s something magical about the aroma of freshly baked cookies mingling with the warmth of family gatherings. When I think of Red Velvet Waffle Cookies, I’m reminded of chilly evenings spent in the kitchen with my kids, their faces eagerly peering over the counter, waiting for that first batch. This recipe combines the best of both worlds: the classic, rich flavor of red velvet cake and the delightful texture of waffles. It’s the kind of treat that brings the family together, sparking laughter and creating memories, one delicious bite at a time.
Why You’ll Love This Recipe
Family-Friendly Fun: These Red Velvet Waffle Cookies are a delightful twist on a classic cookie, perfect for baking with the kids. The process is just as enjoyable as the result! Baking together provides a fantastic opportunity to bond, share stories, and even teach younger ones the basics of baking in a fun, interactive way.
Quick and Easy: With a prep time of just 15 minutes and a cook time of 20, you can whip these up in under an hour. Perfect for those impromptu family gatherings. This means less time in the kitchen and more time enjoying the company of family and friends.
Comfort Food at Its Best: The combination of cocoa and cream cheese glaze is like a warm hug on a plate, making these cookies ideal for cozy nights in. Nothing beats unwinding with a delightful snack that feels comforting and indulgent at the same time.
Everyday Ingredients: You probably have most of the ingredients in your pantry already, which means no last-minute grocery runs. This makes it easier to decide on a whim to bake a batch, ensuring that sweet cravings are satisfied without hassle.
Versatile Treat: Whether you’re hosting a brunch or a casual family dinner, these waffle cookies fit right in, offering a touch of sweetness that everyone will appreciate. Their versatility makes them suitable for a variety of occasions, from festive gatherings to quiet evenings at home.
The Recipe
Prep Time: 15 minutes
Cook Time: 20 minutes
Servings: 24 cookies
Calories: 124 per cookie
Ingredients
- 2 cups all-purpose flour
- 1 tablespoon unsweetened cocoa powder
- 1 cup unsalted butter, softened
- 1 cup sugar
- 1/4 teaspoon salt
- 3 eggs
- 1 teaspoon vanilla extract
- 1 1/2 teaspoons red food coloring
- Cooking spray
Cream Cheese Glaze:
- 4 ounces cream cheese, softened
- 1 cup powdered sugar
- 1/2 cup milk
- Pinch of salt
- Red and pink sprinkles (optional)
- Whipped cream for garnish (optional)
Instructions
Mix Dry Ingredients: In a medium bowl, whisk together the flour and cocoa powder. Set aside. Combining these two ensures that the cocoa flavor is evenly distributed throughout the cookies, giving them their characteristic red velvet taste.
Cream Butter and Sugar: In the bowl of a stand mixer, cream together the butter, sugar, and salt until smooth, about 4 or 5 minutes. This step is crucial as it helps to incorporate air into the mixture, ensuring your cookies are light and fluffy.
Add Eggs and Flavoring: Turn the mixer to medium and add the eggs one at a time until incorporated. Mix in the vanilla extract and red food coloring. The red food coloring is what gives the cookies their vibrant hue, making them visually appealing and irresistible.
Combine Wet and Dry Mixtures: Set the mixer on low speed and slowly add the flour mixture. The batter will be sticky. This stickiness is essential for creating the right texture after cooking in the waffle iron.
Preheat and Prepare Waffle Iron: Preheat your waffle iron to medium-high (400°F) and lightly spray with cooking spray. The right temperature ensures that your cookies cook evenly and have a crisp exterior.
Cook the Cookies: Add about a tablespoon of dough to each section of the waffle iron. Cook for 2-4 minutes, or until the cookies are golden brown. Let them cool on a wire rack. Cooling them on a wire rack prevents them from becoming soggy by allowing air to circulate around them.
Prepare the Glaze: For the glaze, beat together the cream cheese, powdered sugar, and salt until smooth. Slowly incorporate the milk until you achieve the desired consistency. You may not need all the milk. This glaze adds a luscious, tangy sweetness that complements the cookies perfectly.
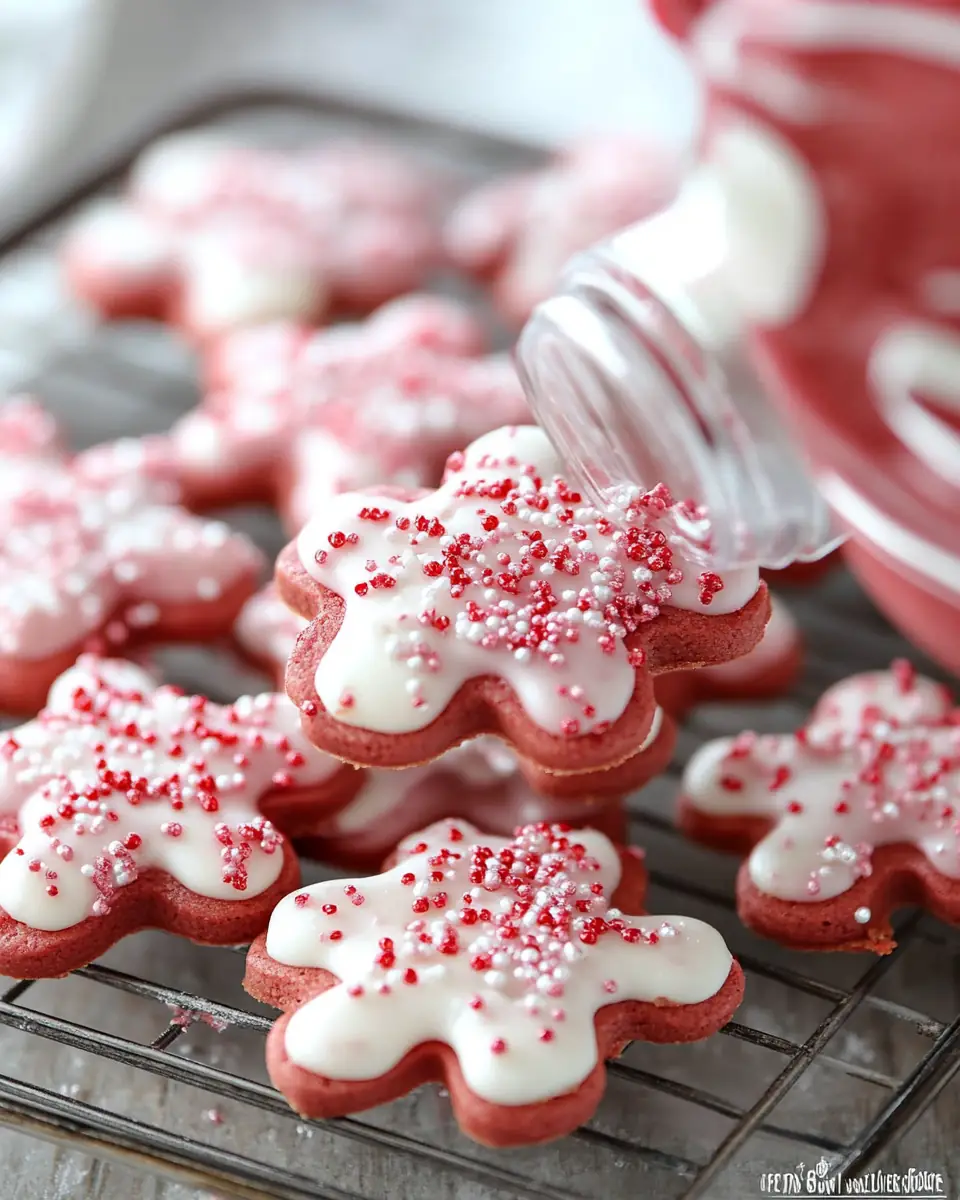
Decorate and Serve: Dip the tops of each cookie into the glaze and return them to the cooling rack. Decorate with sprinkles and serve with whipped cream. The sprinkles add a festive touch, making them perfect for celebrations.
Kitchen Tools You’ll Need
- Stand Mixer or Hand Mixer: Essential for creaming the butter and sugar and for mixing the dough thoroughly.
- Medium Mixing Bowl: For whisking the dry ingredients together.
- Waffle Iron: Provides the unique texture that sets these cookies apart from traditional ones.
- Wire Cooling Rack: Allows the cookies to cool evenly without becoming soggy.
- Whisk & Spatula: Useful for mixing and ensuring every last bit of batter is used.
The Benefits of Each Ingredient
All-Purpose Flour: Provides structure to your cookies, ensuring they hold their shape and have the perfect texture. It balances the wet ingredients and is crucial for the cookie’s consistency.
Unsweetened Cocoa Powder: Adds a depth of flavor and richness to the red velvet base. Cocoa’s subtle bitterness is a perfect counterbalance to the sweet glaze.
Unsalted Butter: Gives the cookies a rich, creamy texture that melts in your mouth. Using unsalted butter allows you to control the saltiness of the cookies.
Sugar: Sweetens the cookies and helps to balance the cocoa’s richness. It also aids in achieving that delightful golden brown color when cooked.
Eggs: Act as a binding agent, giving the cookies their chewy texture. They also contribute to the leavening process, helping the cookies rise slightly.
Vanilla Extract: Enhances the overall flavor, adding a hint of warmth. It complements the cocoa and adds depth to the cookie’s taste profile.
Red Food Coloring: Gives the cookies their classic red velvet appearance, making them visually irresistible. It’s a hallmark of the red velvet tradition.
Cream Cheese: The star of the glaze, providing a tangy contrast to the sweet cookies. It adds creaminess and richness to the glaze.
Powdered Sugar: Sweetens the glaze without adding graininess. It dissolves easily, ensuring a smooth finish.
What to Serve With This Dish
These Red Velvet Waffle Cookies are incredibly versatile. Here’s how I like to serve them:
With Coffee or Hot Chocolate: The rich flavors of the cookies pair beautifully with a hot cup of coffee or a cozy mug of hot chocolate. The warmth of the beverage enhances the cookie’s flavors.
As a Dessert Topping: Crumble them over vanilla ice cream for an indulgent treat. The combination of warm cookies and cold ice cream is a delightful contrast.
Alongside Fresh Fruit: Serve with a side of strawberries or raspberries to add a fresh, fruity contrast. The tartness of the berries complements the sweetness of the cookies.
With a Dollop of Whipped Cream: For a truly decadent finish, top each cookie with a swirl of whipped cream. It adds a light, airy texture to the dessert.
Looking for more sweet treats? Check out my Chocolate Chip Banana Bread and Classic Cinnamon Rolls for more comforting dessert ideas!
Storage & Leftover Tips
Room Temperature: Store these cookies in an airtight container at room temperature for up to 3 days. They’ll stay soft and flavorful, ready for whenever the craving hits. Keeping them sealed ensures they remain fresh and moist.
Refrigeration: If you prefer them chilled or want to extend their shelf life, refrigerate them in an airtight container for up to a week. The cooler temperature can enhance the texture of the cream cheese glaze.
Freezing: For longer storage, these cookies freeze well. Place them in a single layer in a freezer-safe container and enjoy them for up to 2 months. When you’re ready to enjoy, let them thaw at room temperature or warm them slightly in the oven.
Creating recipes that bring families together is what I love most about cooking. These Red Velvet Waffle Cookies are more than just a treat; they’re a testament to the joy of sharing good food with loved ones. Whether you’re baking with your kids, hosting a brunch, or simply indulging in a quiet moment with your favorite book, I hope this recipe becomes a beloved part of your family’s culinary traditions. Happy baking, my friends!
The Joy of Baking Together
Baking is more than just mixing ingredients; it’s about the moments shared and the lessons learned along the way. When you bake these cookies with your family, you’re not just creating a delicious treat; you’re making memories. Each step in the process, from measuring flour to cracking eggs, becomes a moment for connection and learning.
Involving children in baking can be especially rewarding. It teaches them patience, precision, and the joy of creating something with their own hands. Plus, the anticipation of waiting for the cookies to cook and the excitement of decorating them with glaze and sprinkles are moments of pure joy.
These Red Velvet Waffle Cookies have become a staple in our home, not just because they taste amazing, but because of the laughter and love they bring into our kitchen. Whether it’s the satisfaction of mastering new skills or the simple pleasure of enjoying a sweet treat together, these cookies are a perfect way to celebrate the joy of family and the warmth of home.
So, gather your loved ones, roll up your sleeves, and get ready to create something truly special. Because in the end, the best recipes are those shared with the people we love. Happy baking!
Red Velvet Waffle Cookies
Ingredients
Equipment
Method
- In a medium bowl, whisk together the flour and cocoa powder. Set aside.
- In the bowl of a stand mixer, cream together the butter, sugar, and salt until smooth (about 4 or 5 minutes). Mix to combine.
- Turn the mixer to medium and add the eggs one at a time until incorporated. Then mix in the vanilla and red food coloring. Finally, set the mixer on low speed and slowly add the flour. The batter will be sticky.
- Next, turn on your waffle iron, lightly spray with cooking spray, and set the temperature to medium-high (400 degrees F). Add about a tablespoon of dough to each section of the waffle iron. “Bake” for 2-4 minutes or until the cookies are golden brown. Let the cookies cool and crisp up on a wire rack.
- For the glaze, beat together the cream cheese and powdered sugar and salt until smooth. Slowly begin to incorporate the milk until you achieve the desired consistency. You may not need all of the milk.
- Dip the tops of each cookie into the glaze and return them to the cooling rack.
- Decorate with sprinkles and serve with whipped cream.