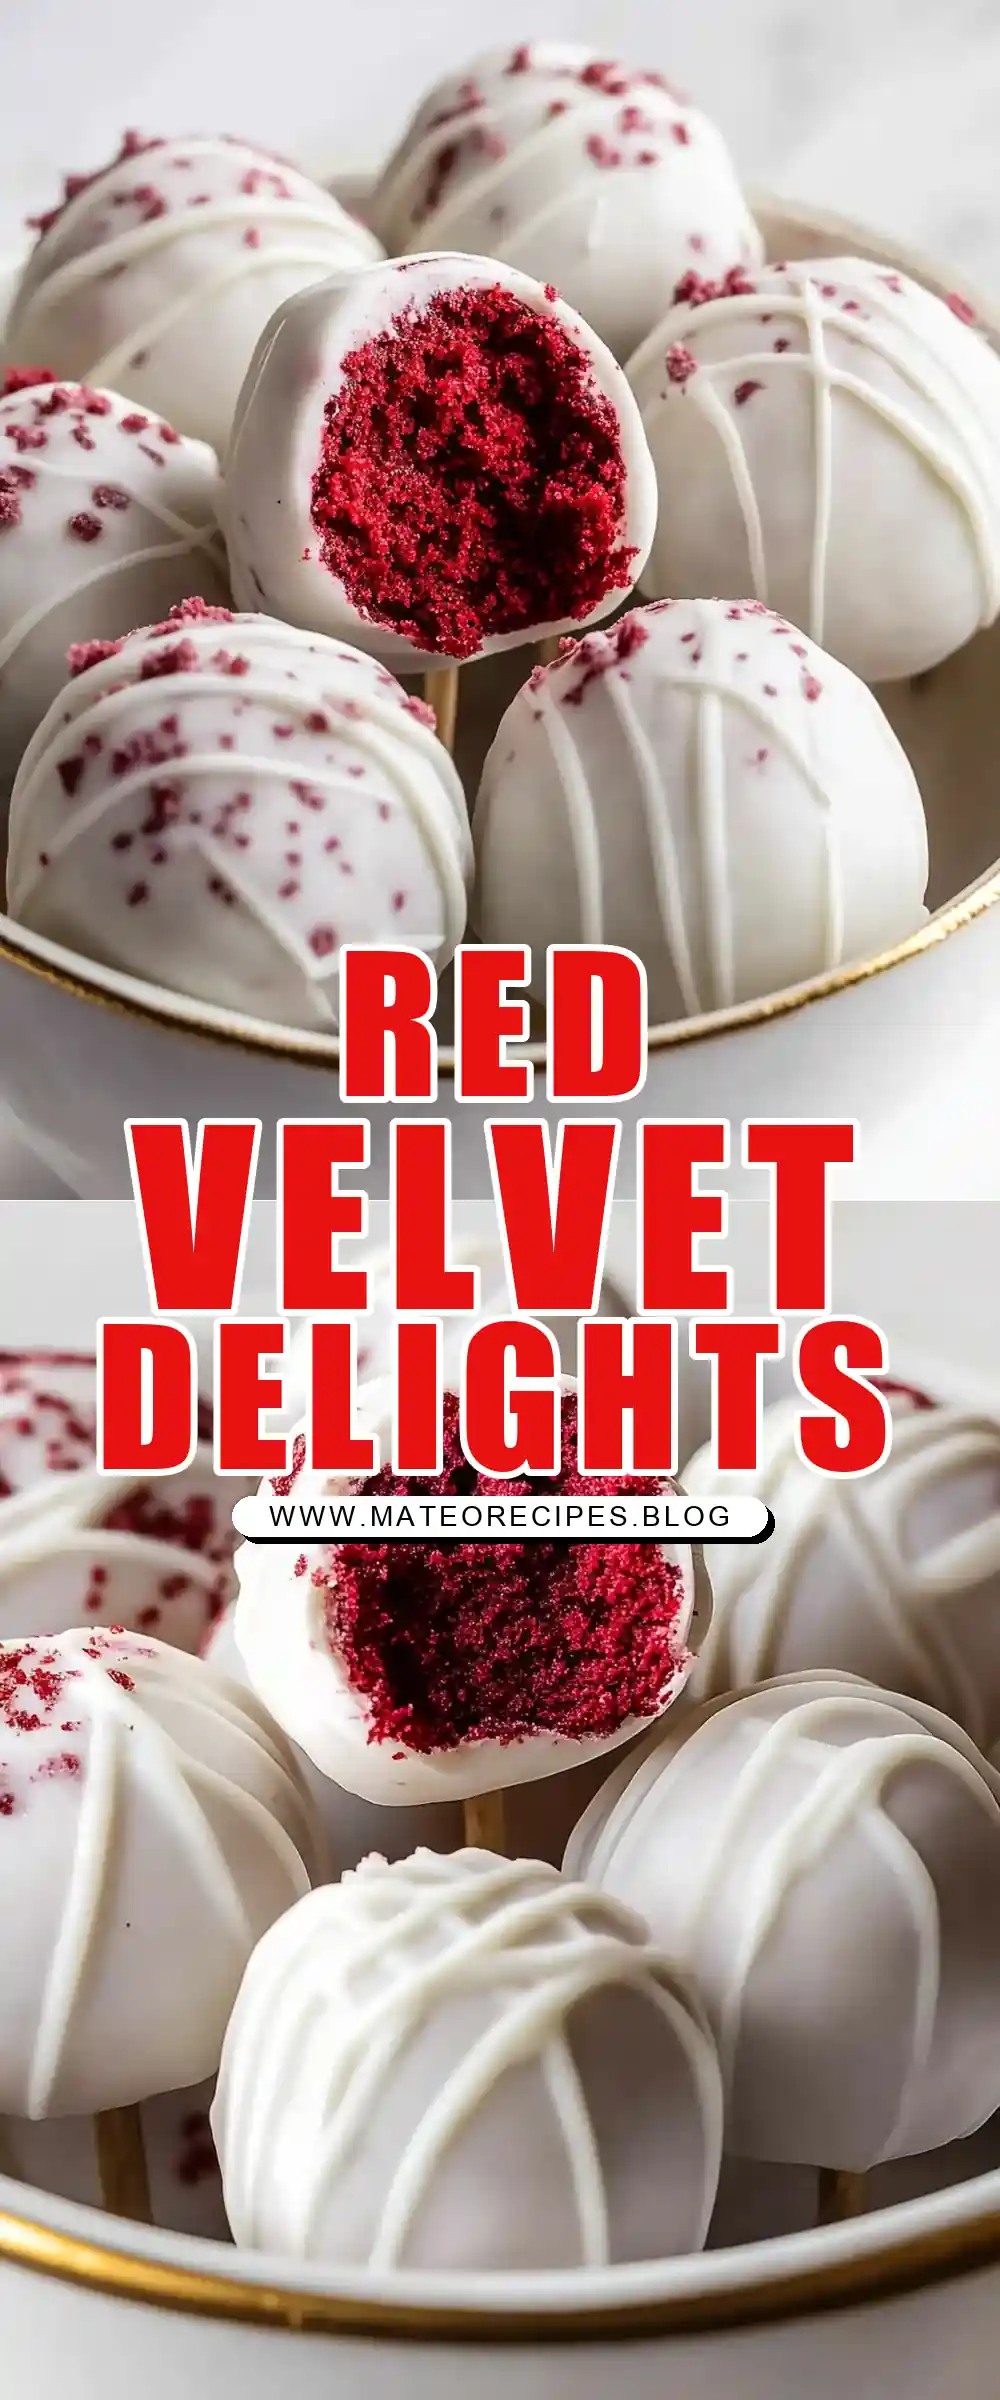
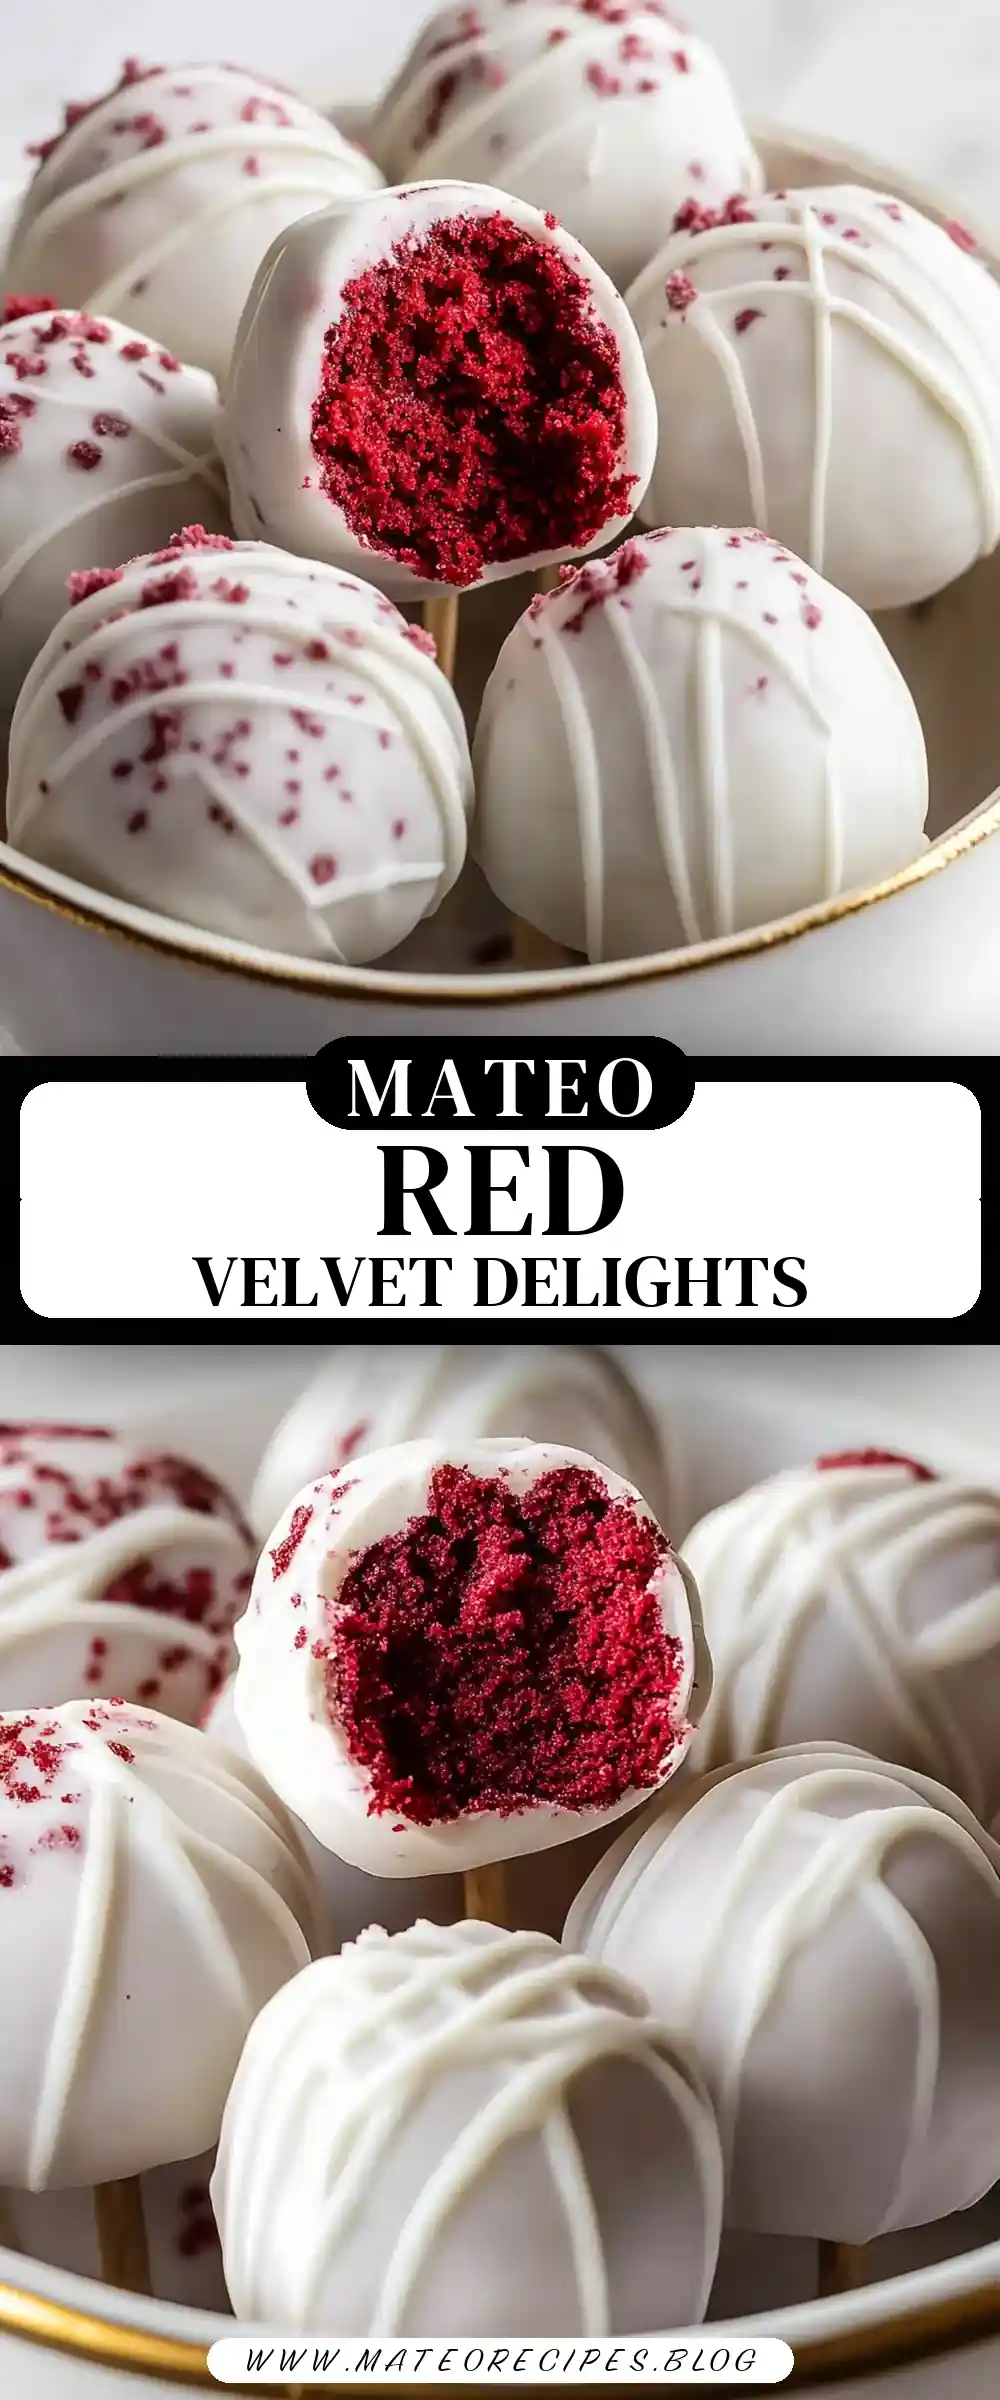
Red Velvet Cake Pops: A Delectable Treat for Every Occasion
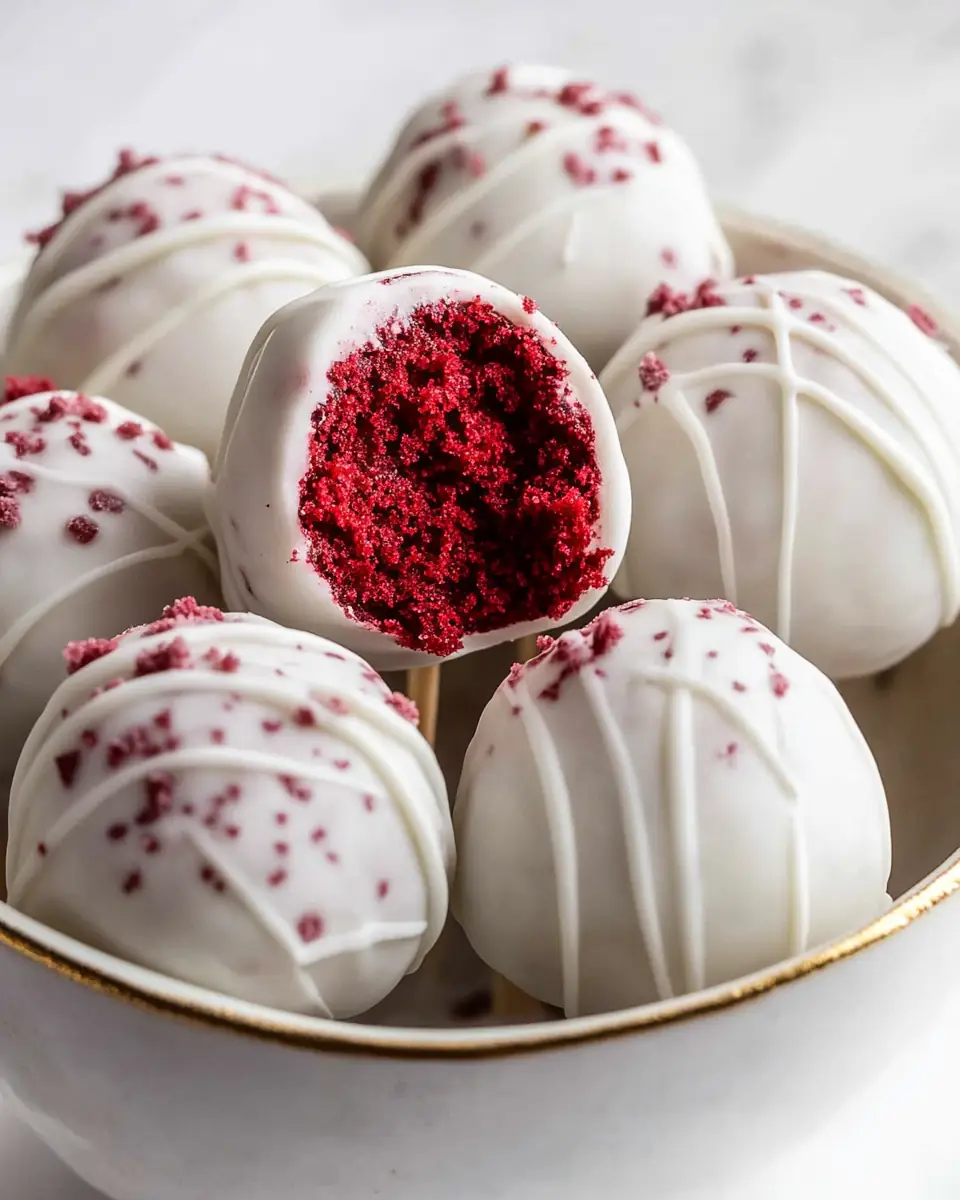
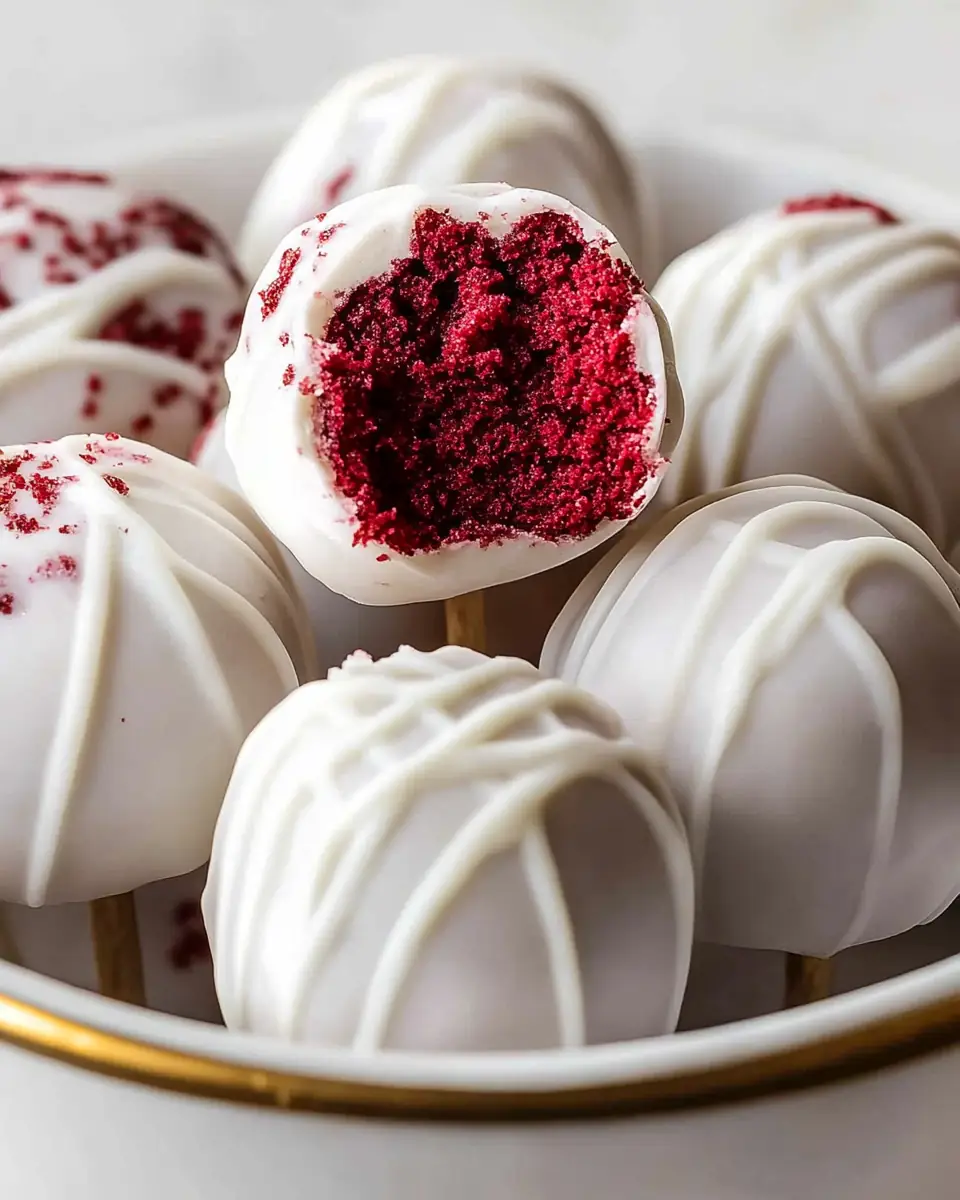
As a home cook who loves sharing meals and treats with family and friends, I find there’s something truly magical about making desserts that bring smiles to everyone’s faces. One such delight is my Red Velvet Cake Pops. These bite-sized treats are not just a dessert; they’re an experience. I remember the first time I made them for my daughter’s birthday party. The kids were thrilled, and even the adults couldn’t resist their charm. It reminded me of how food can unite us, creating moments of joy and laughter. These cake pops, with their vibrant red hue and creamy coating, are perfect for any occasion where you want to add a touch of sweetness.
Why You’ll Love This Recipe
- Family-Friendly Fun: These Red Velvet Cake Pops are perfect for involving the whole family in the kitchen. Kids will love helping roll the cake into balls, making it a fun and interactive activity that everyone can enjoy. It’s a great way to introduce children to baking, teaching them basic skills and fostering a love for cooking.
- Comfort in a Bite: Each pop is like a little hug, combining the classic flavors of red velvet with a creamy coating that feels like home. The soft, moist cake combined with the rich coating provides a comforting and satisfying bite that can make any moment feel special.
- Easy & Accessible: Made with ingredients you probably already have in your pantry, this recipe is straightforward and doesn’t require any fancy techniques. This makes it ideal for spontaneous baking sessions or when you’re in the mood for a quick and delightful treat.
- Impressive Yet Simple: They look like they’ve come straight from a bakery, but they’re simple enough for even beginner bakers to tackle with confidence. Their elegant appearance makes them suitable for more formal occasions, while their simplicity ensures you won’t be stressed in the kitchen.
- Great for Any Occasion: Whether it’s a birthday party, holiday gathering, or just a treat for yourself, these cake pops are a crowd-pleaser. They’re portable and easy to serve, making them ideal for both large and small gatherings.
The Recipe
Prep Time: 30 minutes
Cook Time: 20-22 minutes
Servings: 10 cake pops
Calories: 330 per serving
Ingredients
For the Cake:
- 1/3 cup plus 1 tablespoon flour
- 2 teaspoons unsweetened cocoa powder
- 1/8 teaspoon baking soda
- 1/8 teaspoon salt
- 1/4 cup canola oil
- 1/4 cup sugar
- 2 tablespoons buttermilk
- 1 egg white
- 1 teaspoon red food coloring
- 1/4 teaspoon vanilla extract
- 1/8 teaspoon white vinegar
For the Coating:
- 3 ounces cream cheese, softened
- 1/2 cup powdered sugar
- 12 oz. almond bark (or white chocolate), for coating
Instructions
Prepare the Cake:
- Preheat your oven to 350°F (175°C). Line four cupcake liners on the edge of a cupcake tin. This step is crucial in ensuring that your cake bakes evenly and remains moist.
- Mix Dry Ingredients: In a small bowl, sift together the flour, cocoa powder, baking soda, and salt. Sifting helps to aerate the mixture, ensuring a light and fluffy cake texture.
- Combine Wet Ingredients: In another bowl, mix canola oil, sugar, buttermilk, egg white, red food coloring, vinegar, and vanilla extract using an electric mixer. The use of an electric mixer helps achieve a smooth and homogenous mixture, which is essential for an even bake.
- Mix Together: Gradually add the dry ingredients to the wet mix until well combined. This gradual mixing helps prevent clumps and ensures a smooth batter.
- Bake the Cake: Divide the batter among the cupcake liners and bake for 20-22 minutes. Use a toothpick to check for doneness. If it comes out clean, your cake is ready.
- Cool the Cake: Let the cupcakes cool completely on a wire rack. Cooling is essential as it prevents the cake from becoming gummy or overly dense when crumbled.
Form the Cake Balls:
- Crumble the Cake: Once cooled, crumble the cupcakes into a bowl. Make sure the crumbs are fine to ensure a smooth texture for your cake balls.
- Make the Mixture: Mix softened cream cheese and powdered sugar until smooth. The cream cheese acts as a binder and adds a rich flavor that enhances the cake.
- Combine: Add crumbled cake to the cream cheese mixture, stirring until well combined. This step is crucial for ensuring that the cake balls hold together well.
- Roll into Balls: Roll the mixture into balls, about a heaping tablespoon each, and place on a plate. Consistent sizing ensures even coating and uniform appearance.
- Chill: Refrigerate for at least 4 hours to firm up. Chilling helps the balls maintain their shape during the coating process.
Coat the Cake Pops:
- Melt the Coating: Chop almond bark into chunks and melt in the microwave at 30-second intervals, stirring in between until smooth. Melting gradually prevents burning and ensures a smooth, even coating.
- Dip the Cake Balls: Dip each cake ball into the melted coating, using a fork to turn them, and place on wax paper to dry. This step requires patience and precision to achieve a smooth finish.
- Store: These can be prepared up to 3 days in advance and stored in the fridge. Storing them properly ensures they remain fresh and delicious.
Kitchen Tools You’ll Need
- Electric Mixer: Essential for combining the wet ingredients smoothly, ensuring a uniform batter that bakes evenly.
- Cupcake Tin & Liners: For baking the cake base. Liners help in easy removal and even baking of the cake.
- Mixing Bowls: At least two, for dry and wet ingredients. Having separate bowls makes the process more efficient and organized.
- Wire Rack: For cooling the cupcakes evenly. Proper cooling prevents the cake from becoming soggy or overly dense.
- Microwave-Safe Bowl: To melt the almond bark or chocolate. Ensures safety and efficiency during the melting process.
- Fork & Spoon: For coating and handling the cake pops. These tools ensure a smooth and even coating, enhancing the presentation.
The Benefits of Each Ingredient
Understanding the role of each ingredient can help you appreciate the intricacies of creating these delightful treats and perhaps inspire you to experiment and adapt recipes to your taste.
- Flour & Cocoa Powder: These form the structure and give the cake its classic red velvet texture. The cocoa powder adds a subtle chocolate flavor that is characteristic of red velvet cakes.
- Canola Oil: Adds moisture, ensuring the cake pops are tender and not dry. Oil-based cakes tend to stay moist longer than butter-based ones, making them ideal for make-ahead treats.
- Buttermilk: Enhances the flavor with a slight tang and helps with the cake’s leavening. It also reacts with the baking soda to help the cake rise, contributing to the light and airy texture.
- Red Food Coloring: Gives the cake its iconic red hue, making it visually appealing. You can use natural food coloring or beet juice for a natural alternative, which offers a more subtle shade and a healthier option.
- Cream Cheese: Provides a creamy consistency that binds the cake crumbs together. It also adds a slight tanginess that complements the sweetness of the coating, balancing the overall flavor profile.
- Almond Bark/White Chocolate: Offers a smooth coating, adding sweetness and a bit of crunch. White chocolate provides a rich flavor, while almond bark is easier to work with and sets quickly, making it the perfect choice for beginners.
What to Serve With This Dish
Red Velvet Cake Pops are versatile treats that pair beautifully with a variety of beverages. Consider serving them with:
- Coffee or Espresso: The richness of coffee complements the sweetness of the cake pops, making it a perfect pairing for adults. The bitter notes of coffee enhance the chocolate undertones of the red velvet, creating a harmonious balance.
- Hot Chocolate: A delightful choice for a cozy, comforting experience, especially during the colder months. The warmth of the hot chocolate pairs wonderfully with the creamy cake pops, making for a comforting and indulgent treat.
- Chilled Milk: Especially enjoyable for kids, enhancing the creamy flavors of the pops. It’s a classic combination that never fails, providing a refreshing contrast to the rich cake.
For a complete gathering, you might also want to try pairing these with my Homemade Vanilla Ice Cream for an indulgent dessert duo or Classic Chicken Pot Pie for a comforting dinner followed by a sweet treat. These complementary dishes enhance the overall dining experience, offering a balance of savory and sweet flavors.
Storage & Leftover Tips
Proper storage is key to maintaining the freshness and flavor of your Red Velvet Cake Pops.
- Refrigeration: Keep cake pops in an airtight container in the fridge for up to 5 days. This helps maintain their freshness and flavor, ensuring they are as delightful as the day they were made. Proper storage also prevents the coating from becoming sticky or losing its shine.
- Freezing: If you want to make them ahead of time, freeze the uncoated cake balls for up to a month. Just thaw in the fridge before coating. This is a great way to prepare for parties or events in advance, allowing you to focus on other preparations closer to the date.
- Serving: Let them sit at room temperature for about 10 minutes before serving for the best texture. This allows the coating to soften slightly, making them even more enjoyable and ensuring a perfect bite every time.
Tips for Success
- Even Crumbs: Make sure to crumble the cake evenly to avoid lumps in the cake pops. This ensures a smooth texture and a professional finish.
- Firm Balls: Ensure the balls are firm before dipping them in the coating. Chilling them helps them hold their shape while being coated, preventing them from falling apart.
- Smooth Coating: If your coating is too thick, add a teaspoon of vegetable shortening to thin it out. This will make it easier to dip and ensure a smooth finish, enhancing the visual appeal of your cake pops.
Making Red Velvet Cake Pops is a delightful way to engage with your loved ones in the kitchen. Each step, from mixing to rolling, is an opportunity to create memories together. And, of course, the reward is a sweet treat that everyone will love. Feel free to share your creations with me, as I always enjoy seeing how my recipes bring joy to your homes. Remember, cooking is not just about the ingredients; it’s about the love and care you put into every dish. Happy baking, my friends!
A Few Variations to Try
For those who love to experiment in the kitchen, here are some variations you can try with your Red Velvet Cake Pops:
- Flavor Twist: Add a hint of orange zest to the cake batter for a refreshing citrus note that pairs well with the chocolatey undertones of the red velvet.
- Nutty Delight: Roll the coated cake pops in crushed nuts, like pistachios or almonds, for an added crunch and flavor dimension.
- Festive Sprinkles: After coating, sprinkle the cake pops with festive sprinkles to match the occasion, whether it’s a holiday, birthday, or themed party.
- Dark Chocolate Drizzle: Once the coating has set, drizzle the cake pops with melted dark chocolate for a sophisticated touch and an added layer of flavor.
These variations allow you to customize the cake pops to suit your taste preferences or the theme of your event, making each batch unique and special.
Conclusion
Red Velvet Cake Pops are more than just a dessert; they’re a celebration of flavors and a testament to the joy of baking. Whether you’re making them for a special occasion or just because, these delightful treats are sure to bring happiness to those who indulge in them. So gather your loved ones, roll up your sleeves, and enjoy the process of creating these charming cake pops together. As you share these treats, you’ll be creating memories that will last a lifetime. Happy baking!
Red Velvet Cake Pops
Ingredients
Equipment
Method
- In a cupcake tin, place 4 cupcake liners on the outside edge. Preheat the oven to 350-degrees F, and gather all ingredients.
- In a small bowl, sift together the flour, baking soda, salt and cocoa powder. In another bowl, beat together the canola oil, sugar, buttermilk, egg white, red dye, vinegar, and vanilla using an electric mixer. Slowly add the dry ingredients to the wet ingredients.
- Divide the batter between the four cupcake liners and bake at 350° for 20-22 minutes until a cake tester comes out clean. Let cool completely on a wire rack.
- When cool, crumble the cupcakes into crumbs. In a bowl, mix the softened cream cheese and powdered sugar. Add the crumbs and stir very well.
- Scoop a heaping tablespoon of the mixture into your hands and then roll into balls. Place the balls on a plate and refrigerate at least 4 hours.
- To make the coating, chop the almond bark into 1″ chunks and place in a bowl. Heat on medium power in the microwave in 30-second intervals, stirring in between until melted. Dip each ball into the coating quickly, using a fork to turn, then let them dry on a piece of wax paper.