The Allure of Baking: Creating Memories with Red Velvet Cake Mix Crinkle Cookies
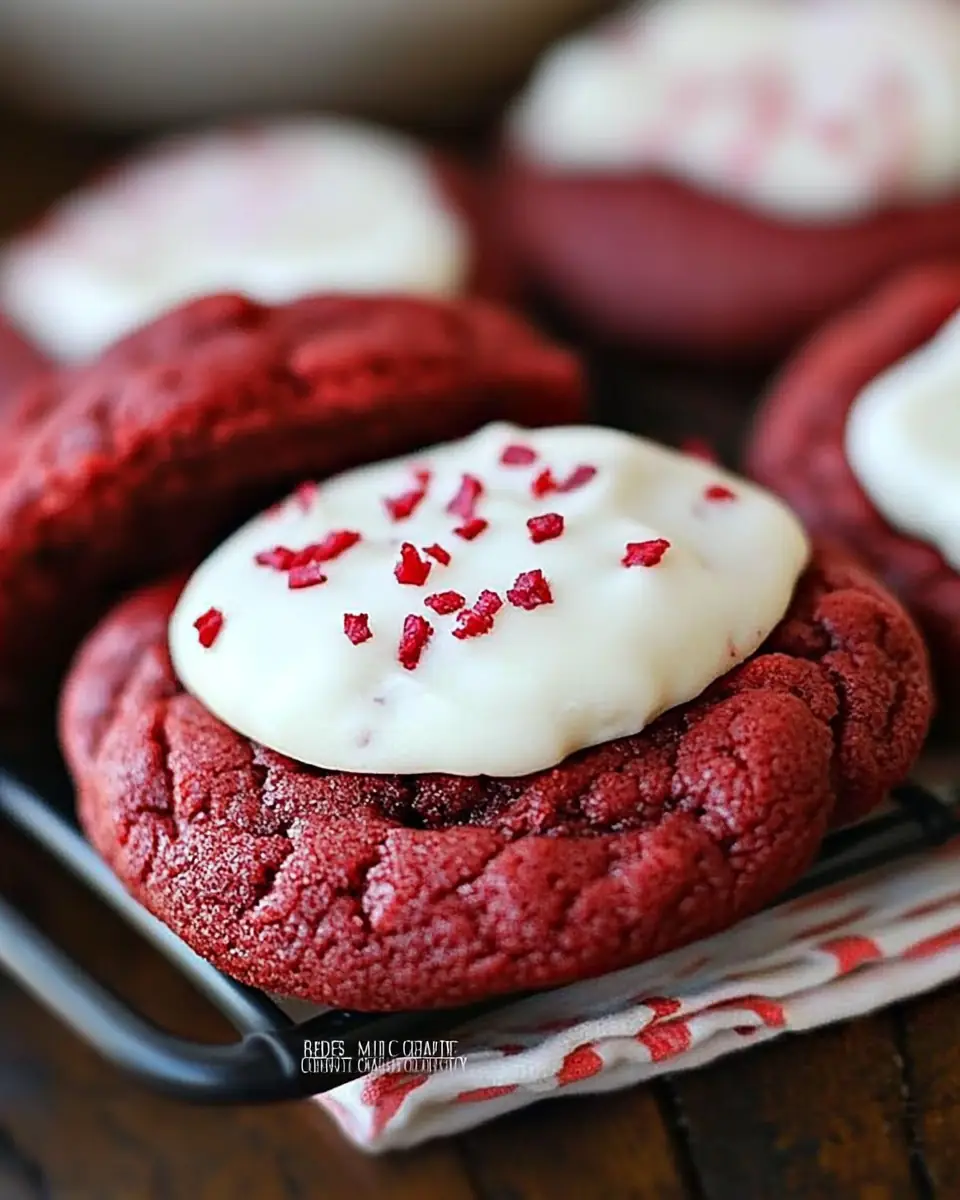
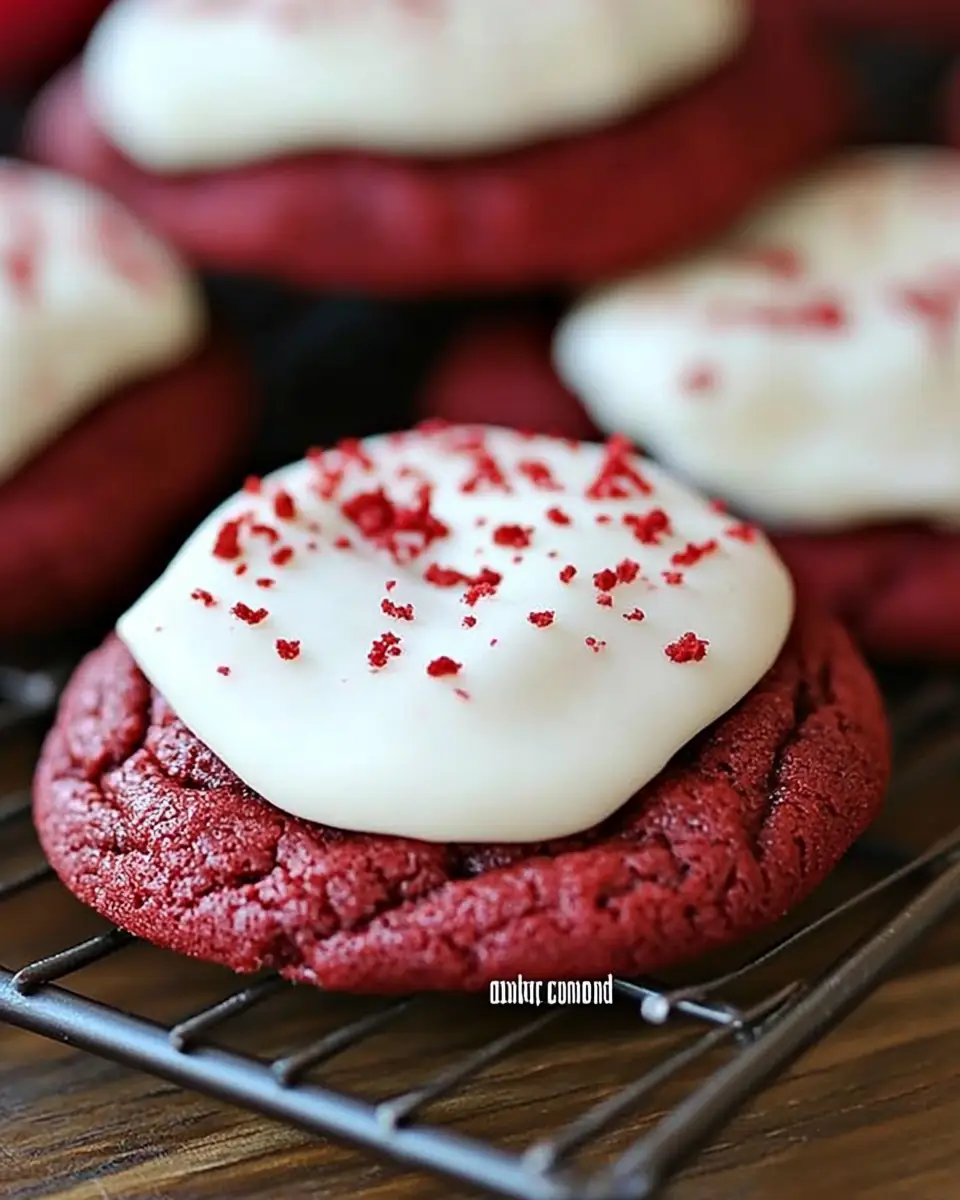
Baking is not just about combining ingredients to create something delicious; it’s a journey filled with nostalgia, family bonding, and the sheer joy of creation. There’s something truly magical about the aroma of freshly baked cookies wafting through the house. It brings back memories of my childhood, when I’d eagerly wait by the kitchen counter, watching my mom pull out trays of delicious treats from the oven. Now, as a dad, I love recreating those same cherished moments with my own family. One of our absolute favorites is Red Velvet Cake Mix Crinkle Cookies. These cookies are wonderfully soft, with a striking red hue and a delightful crinkle effect that makes them as beautiful as they are delicious. And the best part? They start with a simple box of cake mix, making them perfect for busy families who still want to enjoy a homemade treat together.
Why You’ll Love This Recipe
Creating a perfect cookie is an art, and this recipe is a masterpiece in simplicity and flavor. Here’s why this Red Velvet Cake Mix Crinkle Cookies recipe will soon become a staple in your household:
Quick and Easy: Using a cake mix as the base means you save time on measuring and mixing multiple ingredients, making this a perfect recipe for those busy weeknights. The convenience of a cake mix does not compromise the quality or taste of the cookies, but rather enhances the ease and speed with which you can whip up a batch.
Family-Friendly: This recipe is a great one to make with kids. They’ll love helping roll the dough and watching the cookies puff up in the oven. It’s a wonderful way to introduce them to the joy of baking, teaching them the basics while creating lasting memories.
Versatile: While these cookies are delicious on their own, you can dress them up with frosting, sprinkles, or even a dusting of powdered sugar. You can also experiment with different types of frosting or toppings to suit your taste or the occasion.
Deliciously Decadent: The combination of red velvet flavor and cream cheese frosting is a classic pairing that’s sure to satisfy any sweet tooth. The tanginess of the cream cheese perfectly complements the rich, cocoa-infused red velvet base, creating a balanced and indulgent treat.
Perfect for Any Occasion: Whether it’s a family gathering, a holiday party, or just a cozy night in, these cookies are always a hit. Their festive appearance makes them particularly fitting for Valentine’s Day or Christmas, but they’re delightful any time of the year.
The Recipe
Prep Time: 15 minutes
Cook Time: 10-12 minutes
Servings: About 24 cookies
Calories: Approximately 150 per cookie
Ingredients
Cookies
- 1 box Red Velvet Cake Mix (15.25 ounces)
- 1/2 cup canola or vegetable oil
- 2 eggs
- 1/3 cup all-purpose flour
Frosting
- 8 ounces cream cheese, room temperature
- 1/2 cup butter, room temperature
- 3 1/2 cups confectioner’s sugar
- 1 tsp vanilla extract
Instructions
Prepare the Oven: Preheat your oven to 350°F and line 1-2 baking sheets with parchment paper or a silicone mat. This ensures your cookies bake evenly and don’t stick to the pan.
Mix the Dough: In a large mixing bowl, combine the cake mix, oil, eggs, and flour. If you’re using a chocolate cake mix and want to recreate the red velvet magic, add 2 tablespoons of flavorless gel food color. Mix until just combined. The dough should be thick yet pliable, perfect for rolling.
Portion the Cookies: Use a medium cookie scoop to drop dough portions onto your prepared baking sheets. This step ensures uniformity in size, which helps the cookies bake evenly.
Bake: Pop them in the oven for 10-12 minutes. They’ll look slightly puffed and will firm up as they cool. The key is to not overbake them, as they will continue to cook on the baking sheet once removed from the oven.
Cool Completely: Let the cookies cool on the baking sheet for several minutes before transferring them to a wire rack. Ensure they’re completely cool before frosting. This step is crucial to prevent the frosting from melting and sliding off the cookies.
Make the Frosting: In a large mixing bowl, beat together the room-temperature cream cheese and butter until whipped. Gradually add in the confectioner’s sugar and vanilla. Once the mixture is no longer powdery, increase the speed and continue to beat until light and fluffy. The frosting should be smooth and creamy, with a slight sheen.
Decorate: Spread or pipe the cream cheese frosting over the cooled cookies. Feel free to add sprinkles or chopped nuts for extra flair. This is a fun step to do with kids, as they can personalize each cookie.
Kitchen Tools You’ll Need
To make the baking process seamless, having the right tools is essential:
- Mixing Bowls: One large for the cookie dough, another for the frosting. Stainless steel or glass bowls are preferable as they’re stable and easy to clean.
- Electric Mixer: A hand mixer or stand mixer will help whip up that creamy frosting. It ensures that the ingredients are well combined and the frosting is airy.
- Cookie Scoop: Ensures uniform cookie sizes. This tool is a small investment that greatly aids in portioning dough.
- Baking Sheets: Line with parchment paper or silicone mats for easy cleanup. This not only helps with even baking but also makes it easier to remove the cookies once baked.
- Wire Rack: Essential for cooling the cookies completely. Proper cooling is crucial for maintaining texture and preventing the frosting from melting.
The Benefits of Each Ingredient
Understanding the role each ingredient plays can deepen your appreciation for the baking process:
- Red Velvet Cake Mix: Provides a rich, chocolatey base with a vibrant color that’s both festive and visually appealing. The mix includes all the dry ingredients needed for a consistent flavor and texture.
- Oil: Keeps the cookies moist and tender. Unlike butter, oil remains liquid at room temperature, ensuring a softer cookie.
- Eggs: Add structure and richness to the cookies. They act as a binding agent, helping to hold the dough together.
- All-Purpose Flour: Helps thicken the dough slightly for the perfect consistency. It provides the gluten needed for structure.
- Cream Cheese: Adds a tangy creaminess to the frosting, balancing the sweetness. It’s also what gives the frosting its smooth texture.
- Butter: Adds richness and flavor to the frosting. It complements the cream cheese and helps create a stable frosting.
- Confectioner’s Sugar: Sweetens the frosting to perfection. It dissolves easily, ensuring a smooth frosting without any grittiness.
- Vanilla Extract: Enhances the flavors and adds warmth to the frosting. It rounds out the sweetness and ties the flavors together.
What to Serve With This Dish
These cookies are delightful on their own, but if you’re looking to create a cozy dessert spread, consider pairing them with a warm cup of coffee or a frothy hot chocolate. The richness of the cookies pairs well with the bitterness of coffee or the creaminess of hot chocolate, creating a balanced flavor profile.
They also make a great addition to a dessert platter alongside my Lemon Blueberry Muffins or Classic Chocolate Chip Cookies for a variety of flavors and textures. This medley of treats is perfect for entertaining guests or indulging in a personal dessert buffet.
Storage & Leftover Tips
To keep these cookies fresh, store them in an airtight container in the refrigerator. They’ll stay delicious for up to a week. If you want to make a big batch, these cookies freeze beautifully. Simply place them in a single layer on a baking sheet to freeze initially, then transfer them to a freezer-safe container or bag. They’ll keep in the freezer for up to 3 months. Just be sure to let them come to room temperature before serving.
When freezing, it’s a good idea to separate layers of cookies with parchment paper to prevent them from sticking together. This makes it easier to take out just a few at a time without disturbing the rest.
Baking as a Tradition
There’s something incredibly satisfying about baking a batch of cookies, especially when the recipe is as foolproof as this one. These Red Velvet Cake Mix Crinkle Cookies are more than just a sweet treat; they’re a way to connect with loved ones and create joyful memories in the kitchen.
I hope these cookies become a beloved tradition in your home, just as they have in mine. Whether you’re sharing them with family, bringing them to a potluck, or enjoying them on a quiet afternoon, they’re sure to bring smiles all around. Happy baking, and remember, the kitchen is always a warmer place when we’re cooking together.


Red Velvet Cake Mix Crinkle Cookies
Ingredients
Equipment
Method
- Preheat the oven to 350°F and line 1-2 baking sheets with parchment paper or a silicone mat.
- In a large mixing bowl, combine cake mix, oil, eggs, and flour. If using chocolate cake mix, add the food coloring now. Mix until just combined.
- Use a medium cookie scoop to portion the dough onto the prepared baking sheets.
- Bake for 10-12 minutes until puffed. Cool on the baking sheet for several minutes before transferring to a wire rack.
- Ensure cookies are completely cooled before adding the frosting.
- Place room-temperature cream cheese and butter in a large mixing bowl. Beat until whipped together.
- Slowly mix in the confectioner’s sugar and vanilla. Beat well until light and fluffy.
- Spread or pipe the cream cheese frosting over the cooled cookies. Add sprinkles or chopped nuts if desired.