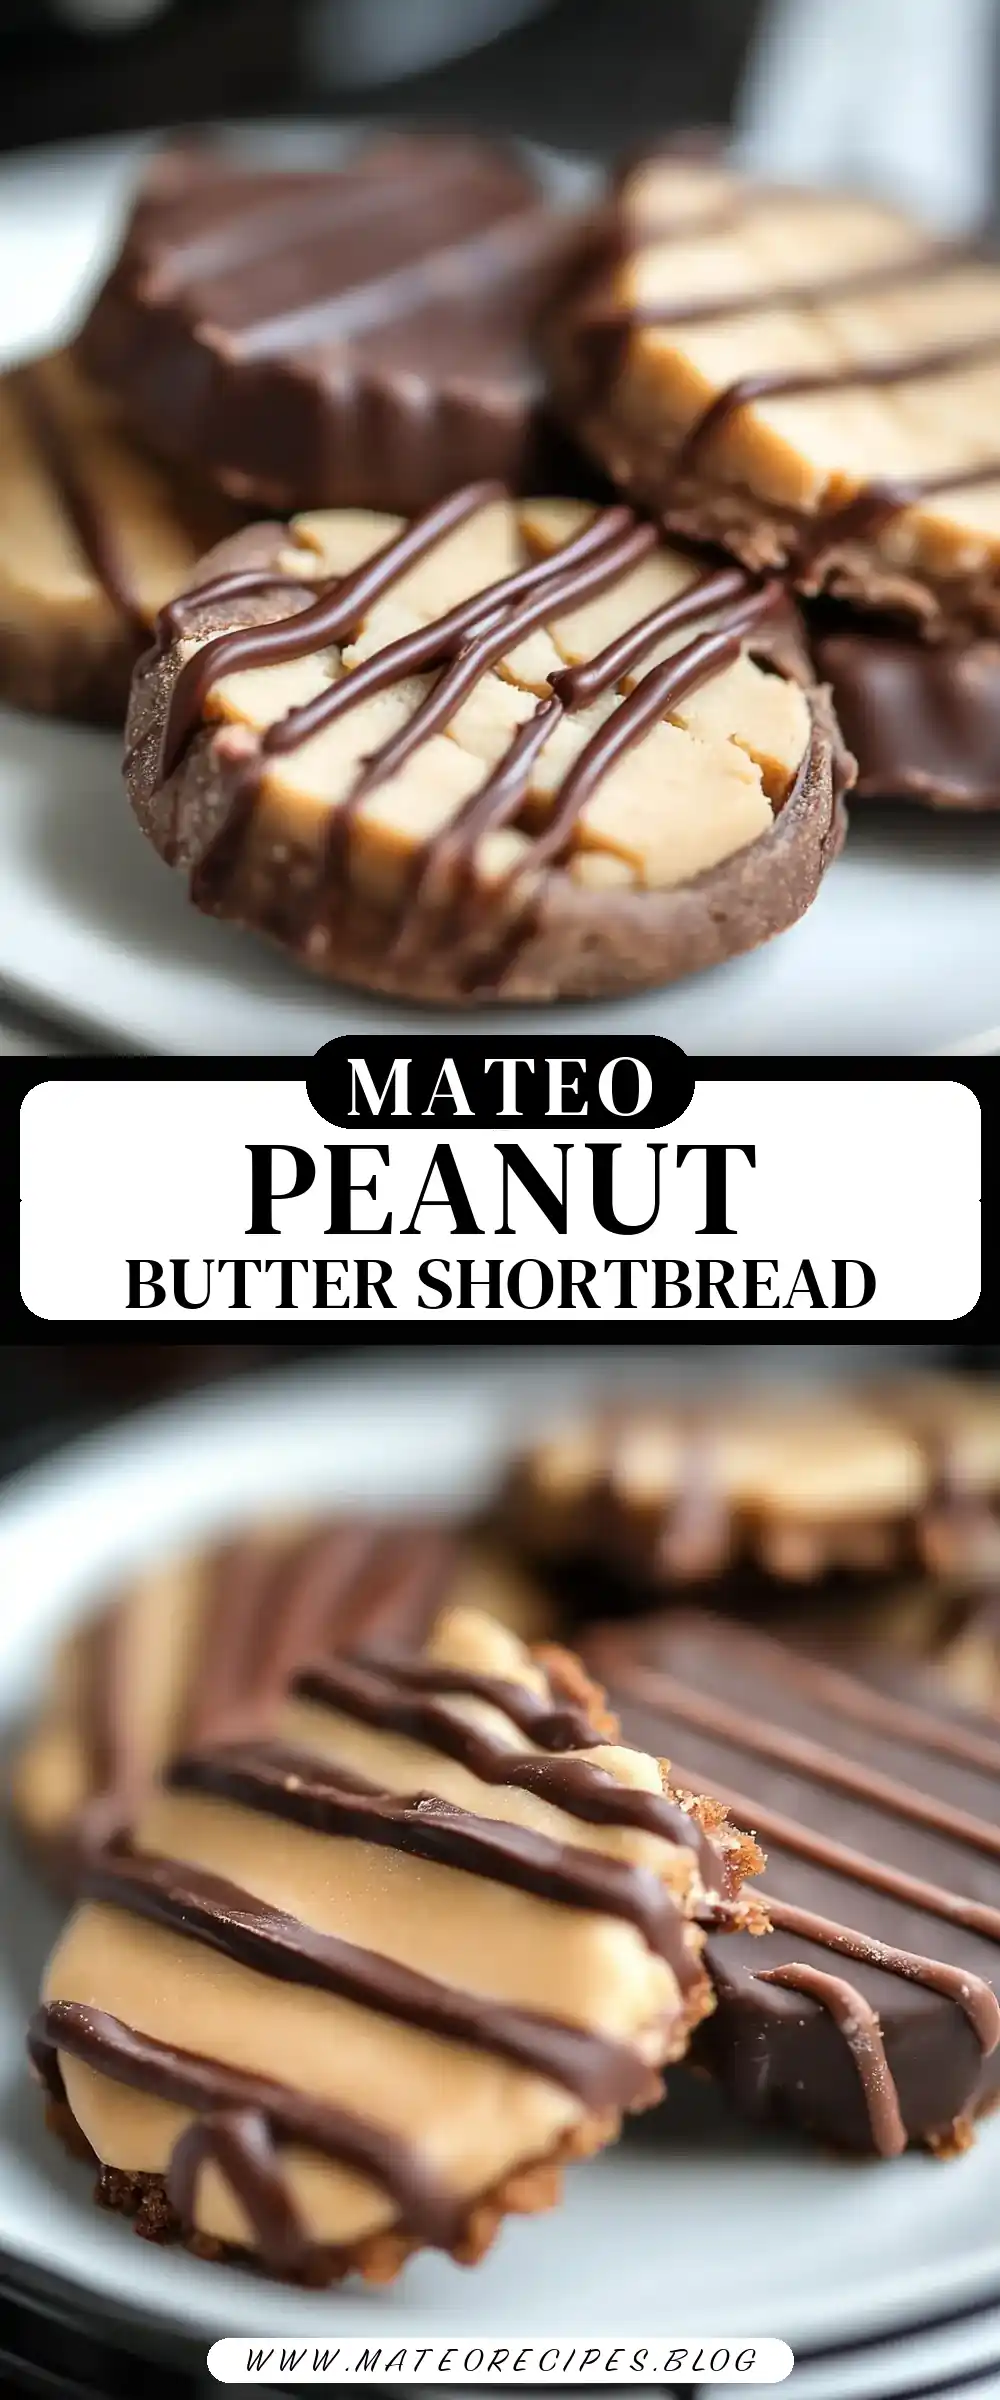
A Nostalgic Journey with Peanut Butter Chocolate Shortbread Cookies
Growing up, the aroma of freshly baked cookies was a staple in my childhood home, especially during the cozy winter months. My mom had a knack for whipping up treats that seemed to draw the whole family into the kitchen, as if on cue. One of my fondest memories is of her Peanut Butter Chocolate Shortbread Cookies, a delightful fusion of creamy peanut butter and rich chocolate, encased in buttery shortbread. These cookies were more than just a treat; they were an event. The kind of event that made you forget the cold outside and made you feel right at home. Now, as a dad and home cook, I’ve taken up the mantle, tweaking her recipe slightly over the years, and I’m thrilled to share this family gem with you.
Why You’ll Love This Recipe
Family-Focused Delight
These cookies are perfect for baking with your kids. The straightforward steps make it easy to involve the little ones, turning baking into a family bonding experience. The joy on their faces as they help mix the dough or cut out shapes is priceless, and the time spent together is an added bonus. It’s more than just baking; it’s about teaching them the joy and love that comes from creating something with your own hands.
Comfort Food at Its Best
There’s something incredibly comforting about the combination of peanut butter and chocolate. It’s a classic pairing that evokes a sense of nostalgia and warmth. These cookies bring that comfort to your home with each bite, allowing you to savor the simple pleasures of life. The buttery shortbread crust is like a warm hug, while the peanut butter and chocolate duo is a timeless reminder of childhood delights.
Everyday Ingredients
You likely have most, if not all, of the ingredients in your pantry right now, making this a convenient go-to recipe whenever the craving hits. This accessibility ensures that you can whip up a batch without the need for a special trip to the store. Whether it’s a spontaneous baking session or a planned family activity, these cookies are always within reach.
Simple and Delicious
Despite being simple to make, these cookies deliver on flavor and texture, satisfying even the most discerning sweet tooth. The rich, buttery shortbread provides a perfect base, while the peanut butter and chocolate create a harmony of flavors that lingers long after the last crumb is gone. It’s the perfect example of how uncomplicated recipes can still be incredibly rewarding.
Make-Ahead Magic
These cookies can be prepared in advance and stored, ensuring you always have a homemade treat ready for unexpected guests or a cozy family night. This make-ahead magic means you can enjoy fresh-tasting cookies without the rush of last-minute baking. Imagine the luxury of pulling out a batch of cookies from the freezer, ready to be warmed and served in no time.
The Recipe
Ingredients
- 1 1/2 cups all-purpose flour
- 1/3 cup sugar
- 1/4 cup unsweetened cocoa powder
- 1/2 teaspoon salt
- 2/3 cup butter (cubed)
- 1/4 cup creamy peanut butter
- 1/2 teaspoon vanilla
- 1/2 cup peanut butter chips
- 1/2 cup semi-sweet chocolate chips
- 1 tablespoon shortening (divided)
Directions
Preheat and Mix Dry Ingredients: Preheat your oven to 325 degrees F. In a large bowl, whisk together the flour, sugar, cocoa powder, and salt. This forms the dry base that gives our cookies their structure. The whisking process ensures that all the dry ingredients are evenly distributed, which is crucial for the consistency of the dough.
Combine Wet and Dry Ingredients: Add the cubed butter, creamy peanut butter, and vanilla to the dry ingredients. Use a pastry blender to mix until the dough starts to form. This step can be quite therapeutic, watching the ingredients morph into a smooth dough. The blending process is where the magic begins, as the fats meld with the dry components to create a cohesive mixture.
Form and Knead the Dough: Once formed, use your hands to knead the dough into a smooth ball. If you prefer, you can use a food processor for this step, which might save some time and give your arms a break. Kneading by hand, however, allows you to feel the texture and adjust as needed, ensuring the perfect consistency.
Roll Out and Cut Dough: On a lightly floured surface, roll the dough to about 1/3-inch thick. Use cookie cutters to cut out your desired shapes. This is a great step for kids to help with, choosing and cutting out shapes. The rolling and cutting process is where creativity comes into play, as you can shape the cookies to fit any occasion or theme.
Bake to Perfection: Place the cutouts on an ungreased cookie sheet, about 1/2-inch apart. Bake for 15-20 minutes, or until the centers are set. Let them cool on the sheets for about 5 minutes before transferring to a wire rack. Baking is where the transformation happens, filling your home with the irresistible aroma of fresh cookies.
Prepare the Icing: In a small microwave-safe bowl, combine the chocolate chips and half the shortening. Microwave in 30-second intervals, stirring in between, until smooth. Repeat with the peanut butter chips and remaining shortening. The melting process is simple yet rewarding, resulting in a glossy, smooth icing that adds the final touch to your cookies.
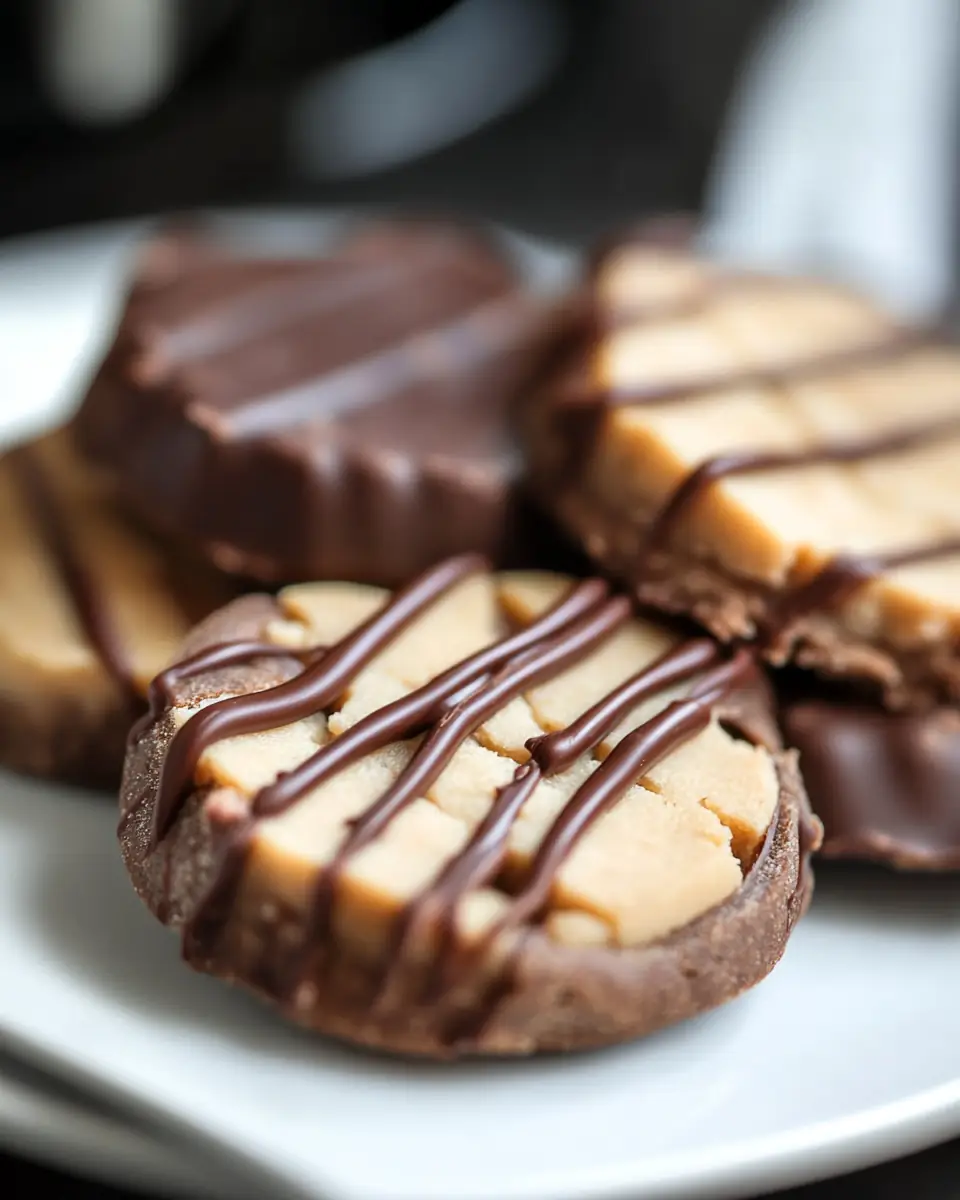
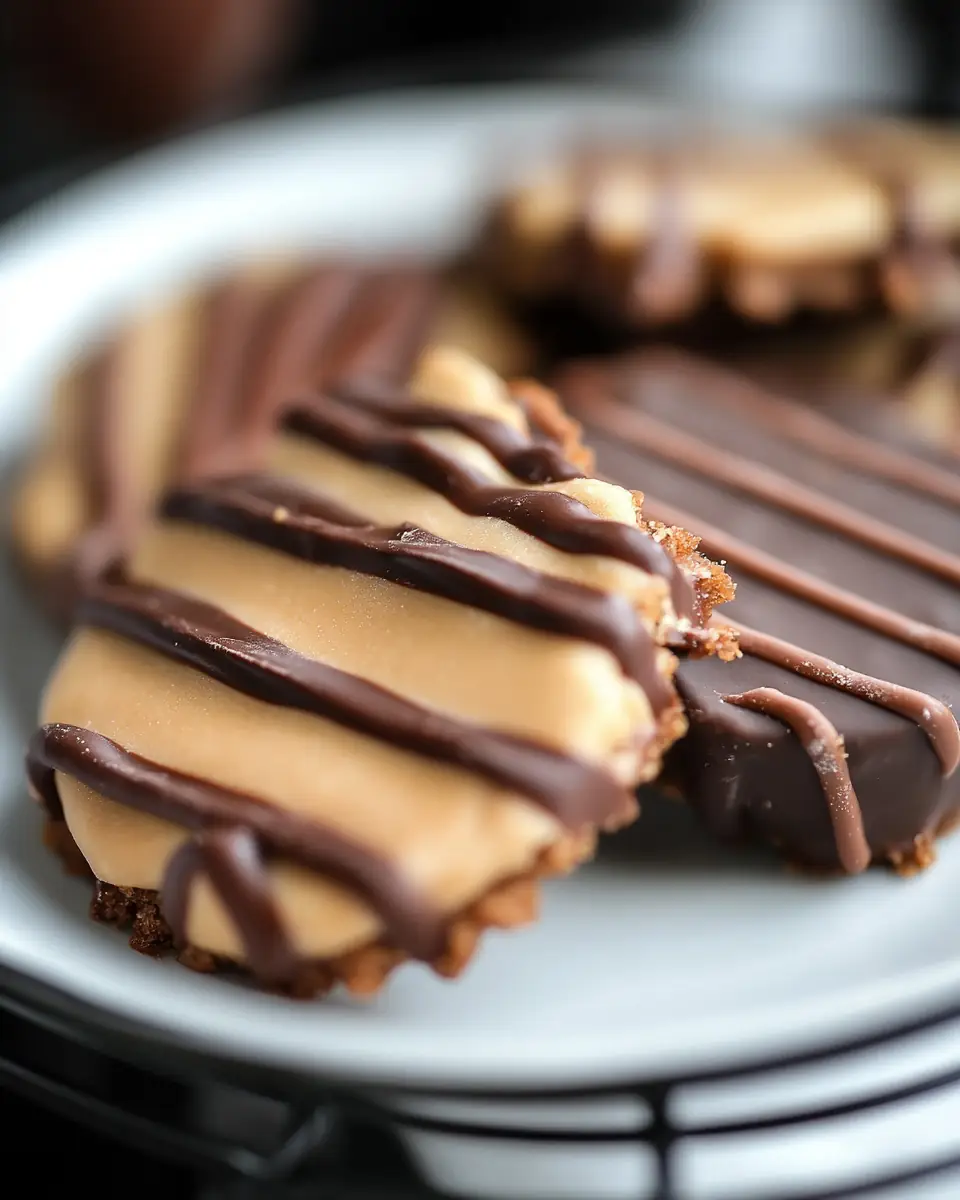
Decorate: Spread half of the cookies with the chocolate mixture and the other half with the peanut butter mixture. Drizzle the remaining icing over all cookies. This step is where your creativity can shine! Decorating is the fun part, where you can personalize each cookie with different patterns or sprinkles.
Kitchen Tools You’ll Need
Pastry Blender
A pastry blender is essential for blending the butter and peanut butter into the dry ingredients, ensuring a uniform mixture that leads to a smooth dough. This tool makes the process efficient and helps achieve the right consistency without overworking the dough.
Rolling Pin
To roll out the dough evenly, a rolling pin is indispensable. It helps achieve the desired thickness, which is crucial for even baking. A good rolling pin ensures that the dough is spread consistently, which is key to uniform cookies.
Cookie Cutters
Cookie cutters add a fun element to the baking process, especially for kids. Choosing different shapes can make the cookies more personalized and festive. Whether it’s stars, hearts, or seasonal shapes, cookie cutters allow for endless creativity.
Baking Sheets and Wire Rack
These are necessary for baking and cooling the cookies. The wire rack allows for even cooling, preventing the cookies from becoming soggy. Proper cooling is essential to maintain the texture and prevent the cookies from becoming too soft.
Microwave-Safe Bowls
Used for melting the chips and shortening, microwave-safe bowls ensure safety and convenience during the icing preparation. These bowls are designed to withstand the heat of the microwave, making the melting process easy and safe.
The Benefits of Each Ingredient
All-Purpose Flour
Provides the structure for our cookies, ensuring they hold their shape and have the right texture. The flour is the foundation of the dough, giving it the strength needed to support the other ingredients.
Sugar
Adds sweetness and helps create a tender texture, which is essential for a delicious cookie. Sugar also aids in the browning process during baking, giving the cookies their appealing color.
Unsweetened Cocoa Powder
Gives a rich chocolate flavor without additional sweetness, providing depth to the cookies. The cocoa powder adds complexity and intensity to the flavor profile, balancing the sweetness.
Salt
Enhances all the other flavors, ensuring each bite is perfectly balanced and flavorful. A small amount of salt goes a long way in elevating the overall taste of the cookies.
Butter and Peanut Butter
These fats add richness and flavor, creating a melt-in-your-mouth texture that is the hallmark of good shortbread. They contribute to the cookies’ tender crumb and enhance the flavor with their creamy texture.
Vanilla
Adds a warm, aromatic note that complements both the peanut butter and chocolate, enhancing the overall flavor profile. Vanilla is a subtle yet important ingredient that ties all the flavors together.
Peanut Butter and Chocolate Chips
These are the stars of the show, providing bursts of flavor and a delightful texture contrast that makes each cookie a joy to eat. The chips add excitement and a satisfying bite to the cookies.
What to Serve With This Dish
These cookies are quite the versatile treat. Here are some serving suggestions:
With a Warm Beverage
Serve alongside a hot cup of coffee or cocoa for a cozy afternoon snack. The warmth of the drink complements the rich flavors of the cookies, creating a comforting experience. This pairing is perfect for chilly days or as a comforting treat after a long day.
Ice Cream Sandwiches
Use these cookies as the base for homemade ice cream sandwiches. The combination of creamy ice cream and the rich, buttery cookies is irresistible. This twist transforms the cookies into a delightful summer treat.
Family Dessert Plate
Pair with a selection of fresh fruits and nuts for a balanced dessert platter. This combination offers a delightful mix of flavors and textures, perfect for entertaining. The fruits and nuts provide a refreshing contrast to the richness of the cookies.
Storage & Leftover Tips
Storage
Store these cookies in an airtight container at room temperature for up to a week. This keeps them fresh and ready to enjoy at any time. Proper storage ensures that the cookies maintain their texture and flavor.
Freezing
These cookies freeze beautifully. Simply layer them between sheets of parchment paper in an airtight container, and they’ll keep for up to three months. This is especially useful for those who like to plan ahead or have treats ready for unexpected occasions. Freezing allows you to enjoy the cookies at your convenience, without any loss of quality.
Reheating
If you love that fresh-baked taste, warm them in the oven at a low temperature for a few minutes. This brings back the just-baked aroma and texture, making them taste as if they just came out of the oven. Reheating is a simple way to refresh the cookies, enhancing their scent and flavor.
Baking these Peanut Butter Chocolate Shortbread Cookies is more than just making dessert—it’s about creating moments with the ones you love. Whether you’re baking with your kids, hosting a family gathering, or simply indulging in some “me-time,” these cookies are sure to bring warmth and joy to your kitchen. Remember, cooking is about sharing, love, and a bit of creativity. So, gather your family and make some sweet memories.
For more comforting recipes, check out my Classic Vanilla Cake and Homemade Lasagna on Mateo Recipes Blog. You’ll find each recipe is crafted with the same love and attention to detail, perfect for creating special moments around the dinner table.
For additional tips and inspiration on baking, you might find resources like Food Network’s Baking Tips helpful. Happy baking, my friends!

Peanut Butter Chocolate Shortbread Cookies
Ingredients
Equipment
Method
- Preheat oven to 325 degrees F. In a large bowl, whisk together flour, sugar, cocoa powder, and salt.
- Add butter, peanut butter, and vanilla. Use a pastry blender to incorporate. Form the dough into a ball and knead until smooth.
- Roll dough to 1/3-inch thick on a floured surface. Cut out cookies and place on an ungreased cookie sheet.
- Bake for 15-20 minutes or until centers are set. Cool on sheets for 5 minutes, then transfer to a wire rack.
- For icing, microwave chocolate chips with half shortening in intervals, stirring until melted. Repeat with peanut butter chips and remaining shortening.
- Spread half of the cookies with chocolate icing and the other half with peanut butter icing. Drizzle with leftover icing.
- Store in an airtight container. Can be frozen for up to three months.