There’s something truly magical about baking cookies, especially when the sweet aroma of vanilla and cocoa fills your kitchen. Every time I make these Heart Shaped Red Velvet Frosted Cookies, I’m reminded of those cozy afternoons spent baking with my kids. The kitchen becomes a hub of laughter and flour dust, and before we know it, we’re nibbling on cookies fresh from the oven. These cookies aren’t just a treat; they’re a little love letter to my family, and I’m thrilled to share them with you today.
Why You’ll Love This Recipe
Family-Friendly Fun
Baking is one of the best activities to engage the entire family, and these cookies are perfect for getting everyone involved. Little hands can help shape the hearts and sprinkle the sugar, turning it into a delightful activity for everyone. Cooking together creates lasting memories and strengthens family bonds, providing a wonderful opportunity to teach children about the joys of homemade treats and the value of working together.
Simple Ingredients
These cookies are as convenient as they are delicious, using items you probably already have in your pantry, like flour, sugar, and cocoa powder. The simplicity of the ingredients doesn’t compromise their taste, and there’s something incredibly satisfying about creating something so delightful from such basic components. It reminds us that sometimes, the most extraordinary things in life are created from the simplest beginnings.
Rich and Decadent Flavor
The combination of red velvet with luscious frosting is a match made in heaven. The touch of espresso powder deepens the chocolate flavor, taking these cookies to a new level of indulgence. Red velvet is known for its subtle cocoa flavor and vibrant color, while the frosting adds a creamy sweetness that balances the cookie’s richness. Every bite is a delightful experience, delivering a perfect blend of flavors and textures.
Perfect for Any Occasion
Whether it’s a birthday, a holiday, or just because, these heart-shaped delights are sure to impress and bring smiles all around. Their charming shape and vibrant color make them a wonderful addition to any celebration, and their delicious flavor ensures they will be a hit with guests of all ages. They also make a thoughtful homemade gift, conveying love and care with every bite.
Make-Ahead and Shareable
You can prepare these cookies in advance and store them, making them ideal for gifting or taking to gatherings. Their ability to be made ahead of time takes the stress out of entertaining, allowing you to focus on enjoying the event rather than worrying about last-minute baking. Sharing these cookies is a way to spread joy and show appreciation to those you care about.
The Recipe
Ingredients and Their Roles
- Butter: Adds richness and a tender crumb to cookies and frosting. It is the foundation of any good cookie, providing flavor and moisture.
- Brown Sugar: Provides moisture and a deep caramel flavor, enhancing the cookie’s sweetness and texture.
- Granulated Sugar: Ensures sweetness and contributes to the cookie’s structure, helping them achieve the perfect balance of chewy and crisp.
- Cocoa Powder: Delivers the classic chocolate flavor of red velvet, adding depth and complexity to the cookies.
- Espresso Powder: Intensifies the cocoa flavor, making it more robust and pronounced, while also adding a subtle hint of coffee.
- Molasses: Adds depth and complexity to the cookie’s flavor, though optional, it enriches the overall taste.
- Red Food Coloring: Gives the cookies their signature red hue, making them visually striking and appealing.
Directions
Preheat Your Oven: Set your oven to 350°F (convection). This is the perfect temperature to ensure your cookies bake evenly, achieving a golden-brown exterior while staying soft and chewy inside.
Cream the Butter: Beat room-temperature butter in a stand mixer or by hand for 3–5 minutes until it turns pale and off-white. This step ensures your cookies are light and fluffy, as properly creamed butter incorporates air into the dough.
Mix Sugars and Egg: Add the brown sugar and granulated sugar, beating until light and fluffy, about 2 minutes. Mix in the egg until combined, then add vanilla extract and molasses (if using). This combination creates a rich, flavorful base for your cookies.
Combine Dry Ingredients: Mix in flour, baking soda, baking powder, espresso powder, cocoa powder, and salt. Use low speed on a mixer or gently fold with a spatula until a dough forms. This step is crucial for achieving the right texture and consistency in your cookies.
Test Bake: Scoop 1/3 cup (56 g) of dough and place one ball on a baking tray. Bake this test cookie to check oven temperature, spread, and flavor. This allows you to make any necessary adjustments before baking the entire batch.
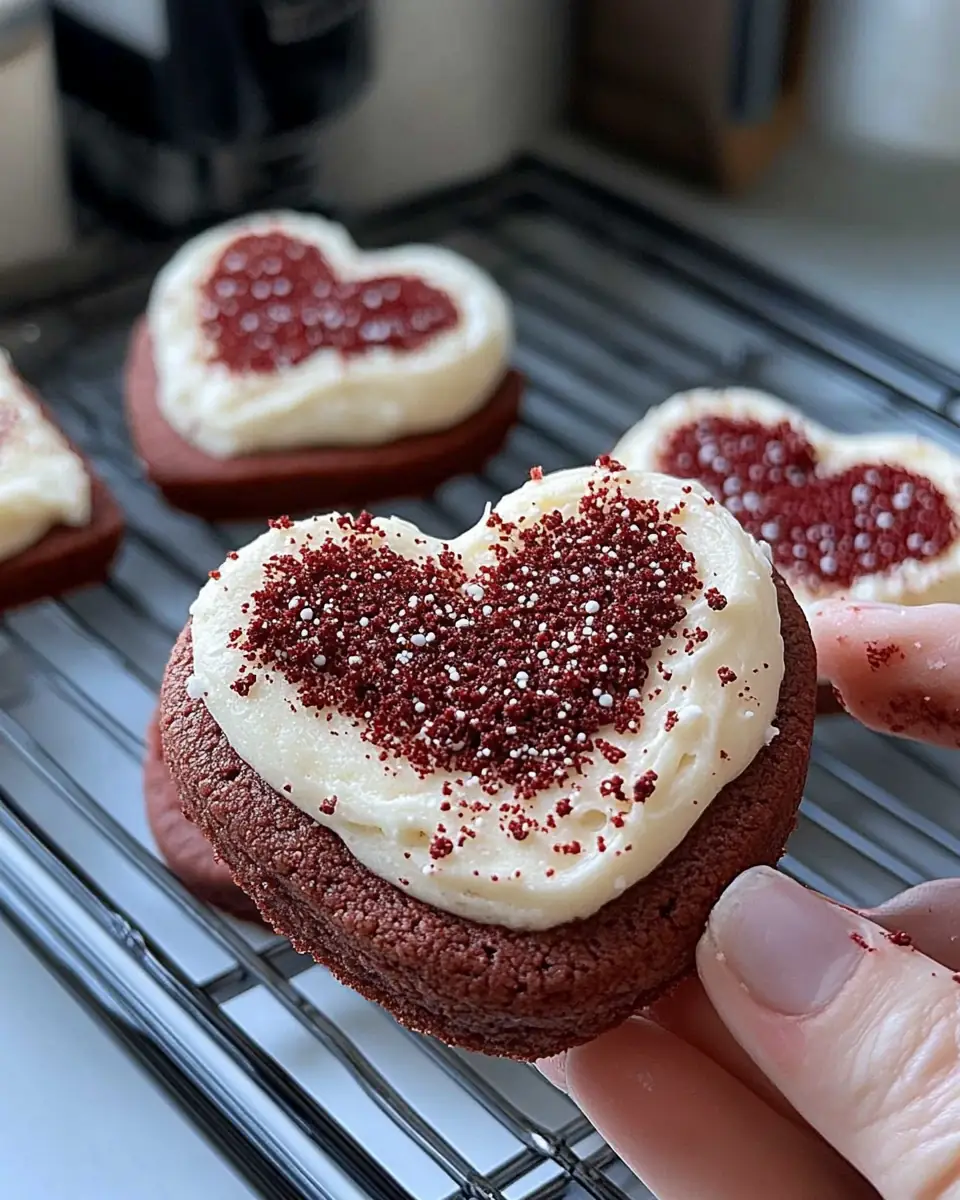
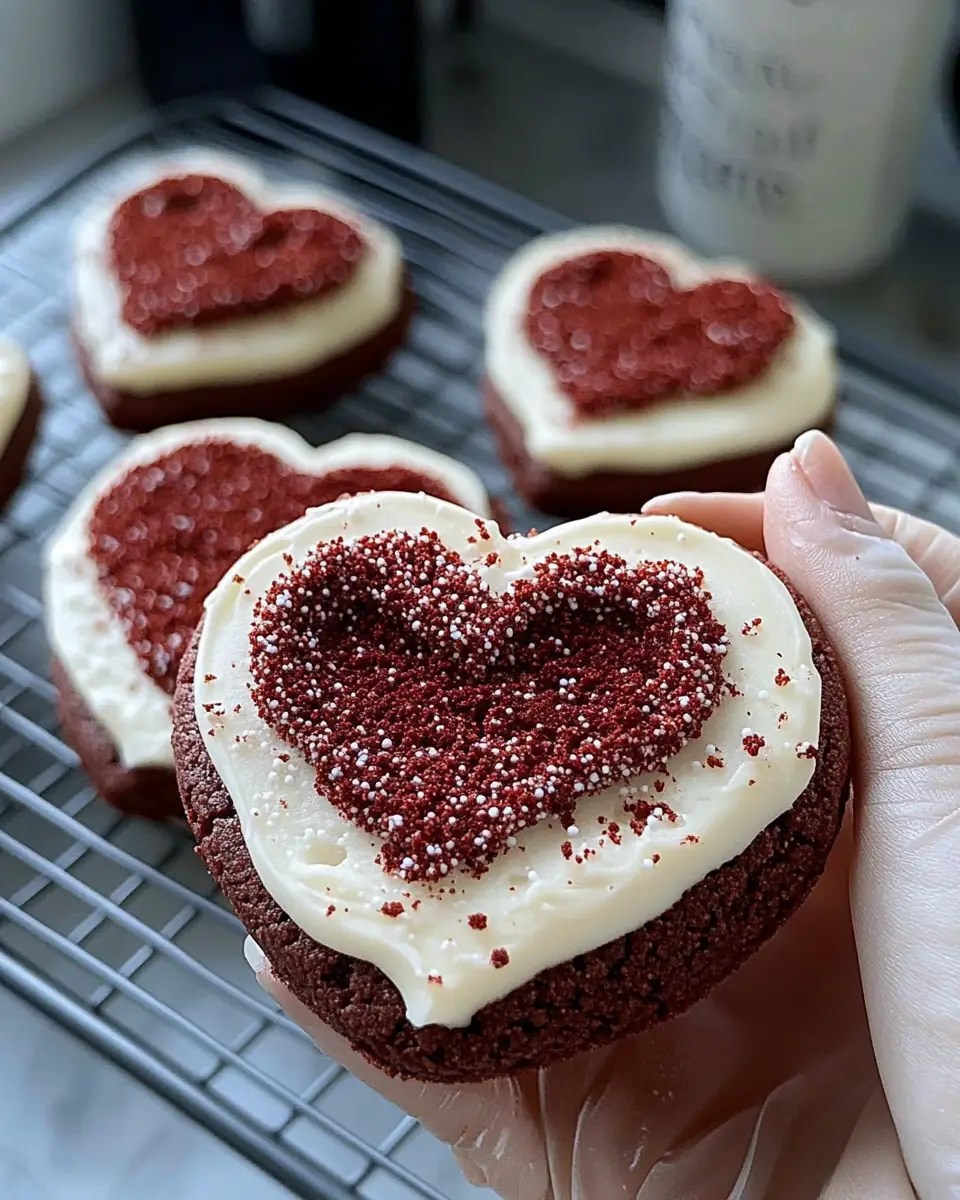
Shape and Bake: Once satisfied, scoop the remaining dough onto the tray, molding into heart shapes. Roll in granulated sugar if desired. Bake for 9–10 minutes. The sugar adds a delightful crunch and extra sweetness to the cookies.
Cool and Chill: Let cookies cool on the tray for 10 minutes, then transfer to cool completely. Chilling in the fridge before frosting helps the cookies set, ensuring they hold their shape and texture.
Prepare Frosting: Beat butter and shortening until pale. Add powdered sugar and mix until smooth, then pour in heavy cream and extracts. Whip until light and fluffy. Pipe or spread onto chilled cookies and sprinkle with crumbled cookie. The frosting adds a creamy, sweet contrast to the rich, chocolatey cookies.
Kitchen Tools You’ll Need
- Stand Mixer or Hand Mixer: For creaming butter and mixing ingredients efficiently, ensuring a smooth, well-incorporated dough.
- Baking Tray: A sturdy tray is essential for baking cookies evenly, providing a stable surface for the dough to spread and bake.
- Cooling Rack: Helps cool the cookies completely before frosting, preventing the frosting from melting and ensuring a neat, professional finish.
- Piping Bag (optional): For a neat and professional frosting finish, allowing you to create beautifully decorated cookies.
The Benefits of Each Ingredient
Each ingredient in this recipe serves a specific purpose, contributing to the overall flavor, texture, and appearance of the cookies. Understanding the role of each component helps you appreciate the complexity and thought behind creating a perfect cookie.
- Butter: Provides richness, flavor, and a tender crumb, making the cookies melt-in-your-mouth delicious.
- Brown Sugar: Adds moisture and a deep caramel flavor, enhancing the sweetness and texture of the cookies.
- Granulated Sugar: Provides sweetness and contributes to the cookie’s structure, helping them achieve a perfect balance of chewy and crisp.
- Cocoa Powder: Delivers the classic chocolate flavor of red velvet, adding depth and complexity to the cookies.
- Espresso Powder: Intensifies the cocoa flavor, making it more robust and pronounced, while also adding a subtle hint of coffee.
- Molasses: Adds depth and complexity to the cookie’s flavor, enriching the overall taste and contributing to the cookies’ moist texture.
What to Serve With This Dish
These Heart Shaped Red Velvet Frosted Cookies pair wonderfully with a glass of cold milk or a hot cup of coffee, providing a comforting contrast to the rich, sweet cookies. For a festive touch, serve them alongside a scoop of vanilla ice cream or a dollop of whipped cream, adding an extra layer of indulgence. If you’re planning a family gathering, consider pairing them with my Classic Homemade Hot Chocolate for a cozy, comforting treat that complements the cookies perfectly.
Storage & Leftover Tips
- Storing: Store cookies in the fridge for up to 10 days or at room temperature for up to 8 days. Use an airtight container to maintain their freshness, ensuring they stay soft and delicious.
- Freezing: To freeze, layer cooled cookies between sheets of parchment paper in a freezer-safe container. They can last up to 3 months. Thaw at room temperature before serving, allowing them to return to their original texture and flavor.
- Reheating: If you prefer warm cookies, gently reheat them in the oven at 300°F for a few minutes, bringing back their freshly baked aroma and softness.
These delightful Heart Shaped Red Velvet Frosted Cookies are more than just a dessert. They’re an experience, a way to gather loved ones and create cherished moments. Whether you’re baking them for a special occasion or just to brighten a regular day, these cookies will surely become a family favorite. So, roll up your sleeves, invite the kids to join, and enjoy the sweet, heartwarming process of baking together. Happy baking, my friends!
For more comforting recipes, you might want to check out my Easy Chocolate Chip Muffins or visit a reputable site like AllRecipes for additional baking inspiration. Baking is a journey, and with each recipe, you create not only a delicious treat but also a story and memory to cherish. Enjoy the process, and let the joy of baking fill your home and heart.
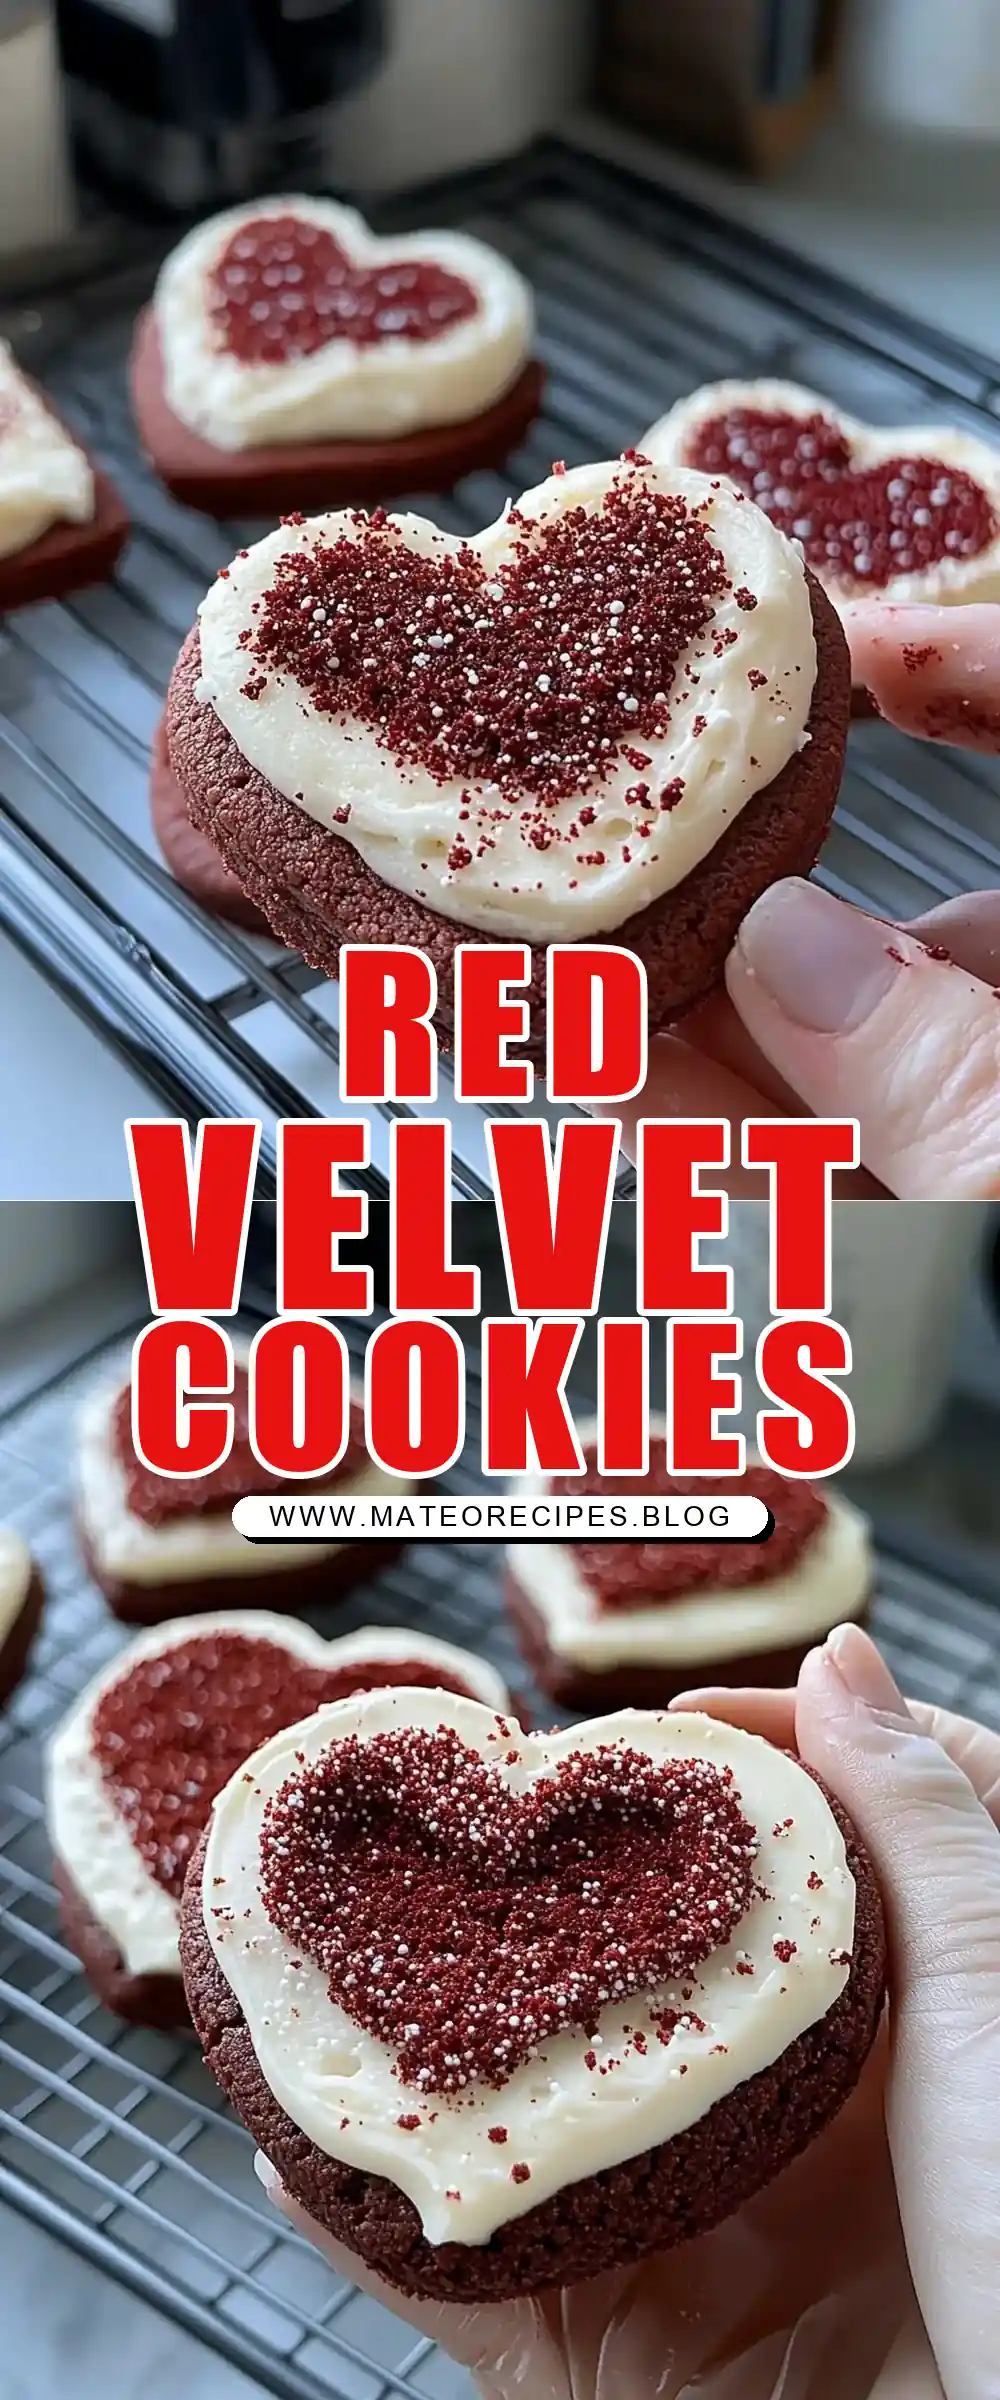
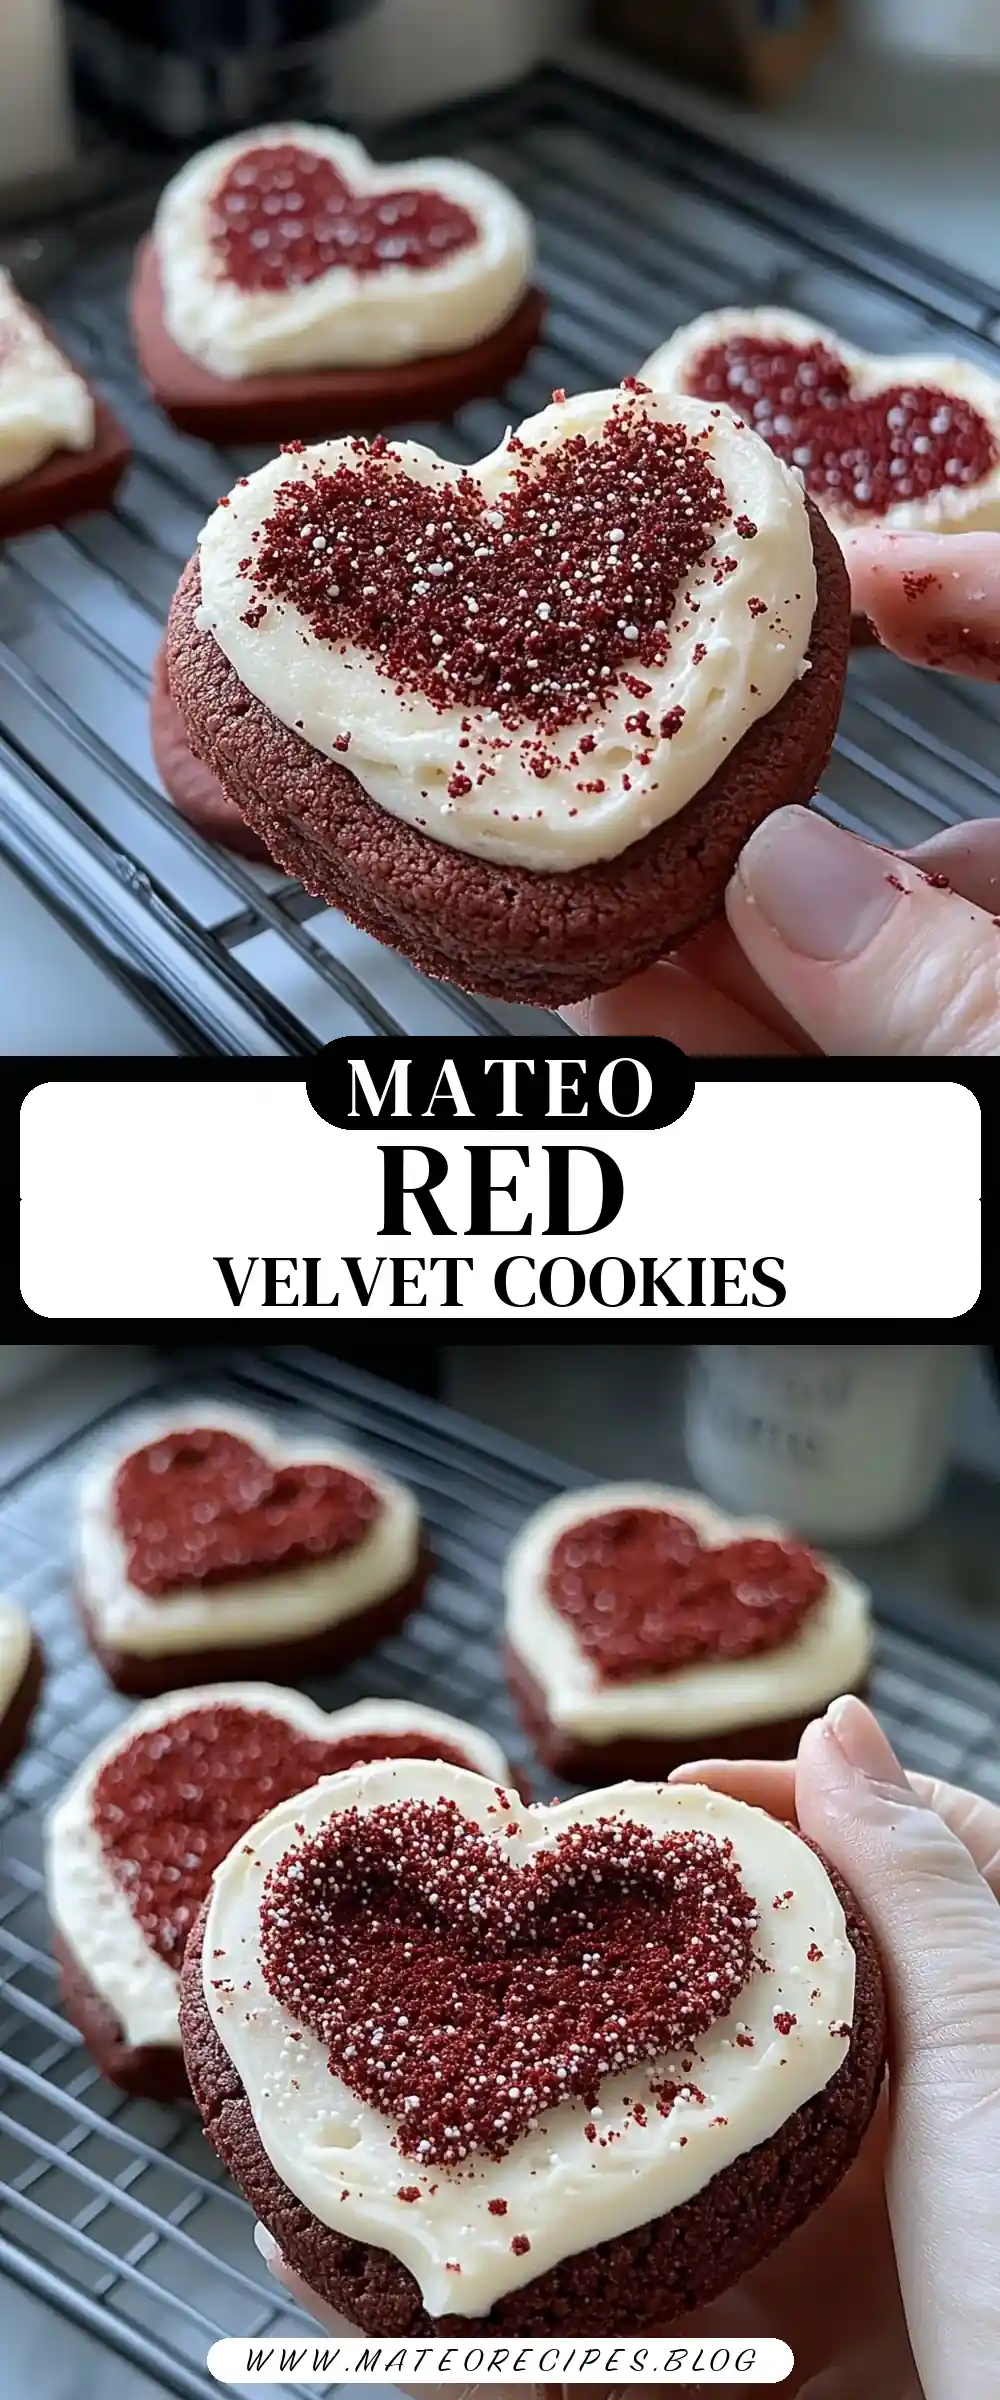
Heart Shaped Red Velvet Frosted Cookies
Ingredients
Equipment
Method
- Preheat oven to 350°F (convection).
- Beat room-temperature butter in a stand mixer or by hand for 3–5 minutes, until pale and off-white.
- Add brown sugar and granulated sugar. Beat until light and fluffy, about 2 minutes.
- Mix in the egg until combined. Add vanilla extract and molasses (optional).
- Add flour, baking soda, baking powder, espresso powder, cocoa powder, and salt. Mix on low speed if using a stand mixer, or gently fold with a spatula until a dough forms.
- Scoop 1/3 cup (56 g) of dough and place one ball on a baking tray. Bake this test cookie first to check oven temperature, spread, and flavor before baking the full batch.
- Once satisfied with the test cookie, scoop remaining dough and place on the tray. Gently mold into heart shapes and roll in granulated sugar if desired. Use the test cookie to determine spacing. Bake for 9–10 minutes.
- Let cookies cool on the tray for 10 minutes, then transfer to cool completely. Chill cookies in the fridge before frosting.
- For the frosting, beat butter and shortening together until pale. Add powdered sugar and mix until smooth. Pour in heavy cream and extracts, then whip until light and fluffy. Optional: fold frosting with a spatula to remove air bubbles before piping.
- Pipe or spread frosting onto chilled cookies. Crumble one cookie and sprinkle on top.