I remember the first time I introduced my family to the Brownie Refrigerator Cake. It was a warm Sunday afternoon, the kind where the sun pours in through the windows, casting cozy shadows across the kitchen floor. My kids were playing in the backyard, their laughter echoing through the house, and the air was filled with the aroma of freshly baked brownies. I wanted to create something special, something that would bring everyone together around the table, savoring each bite and making memories. That’s when the idea struck me—why not turn my beloved brownies into a cool, refreshing dessert? The result was magical, and it quickly became a family favorite. Now, I’m thrilled to share this recipe with you, hoping it brings the same warmth and joy to your home as it has to mine.
Why You’ll Love This Recipe
Ultimate Comfort Food: This dessert combines the rich, fudgy goodness of brownies with the light, fluffy texture of chocolate whipped cream. It’s the ultimate comfort food, perfect for any family gathering or a quiet evening at home.
Easy to Make: With a boxed brownie mix as the base, this recipe is straightforward and doesn’t require a lot of culinary expertise. It’s perfect for busy parents or anyone looking for a quick and delicious dessert option.
Versatile and Customizable: You can easily swap out the toppings or add your family’s favorite ingredients. Whether it’s a sprinkle of nuts or a handful of fresh berries, this cake can be tailored to suit your taste.
Perfect for Any Occasion: This cake is a crowd-pleaser, making it ideal for birthdays, potlucks, or just because. The chilled layers are a refreshing treat, especially in warmer weather.
Family-Friendly: Involve your kids in the preparation! From mixing the whipped cream to adding garnishes, it’s a great way to spend quality time together and teach them the joys of cooking.
The Recipe
Ingredients:
For the Brownie Base: – 1 box brownie mix (plus ingredients listed on the box: eggs, oil, water) – ½ teaspoon espresso powder (optional)
For the Chocolate Whipped Cream Layer: – 2 cups heavy whipping cream, cold – ½ cup powdered sugar – ¼ cup unsweetened cocoa powder – 1 teaspoon vanilla extract
For the Chocolate Ganache Topping: – 1 cup semisweet chocolate chips – ½ cup heavy whipping cream
For Garnish: – Chocolate shavings or cocoa powder (optional) – Whipped cream swirls (optional) – Fresh berries or crushed nuts (optional)
Directions:
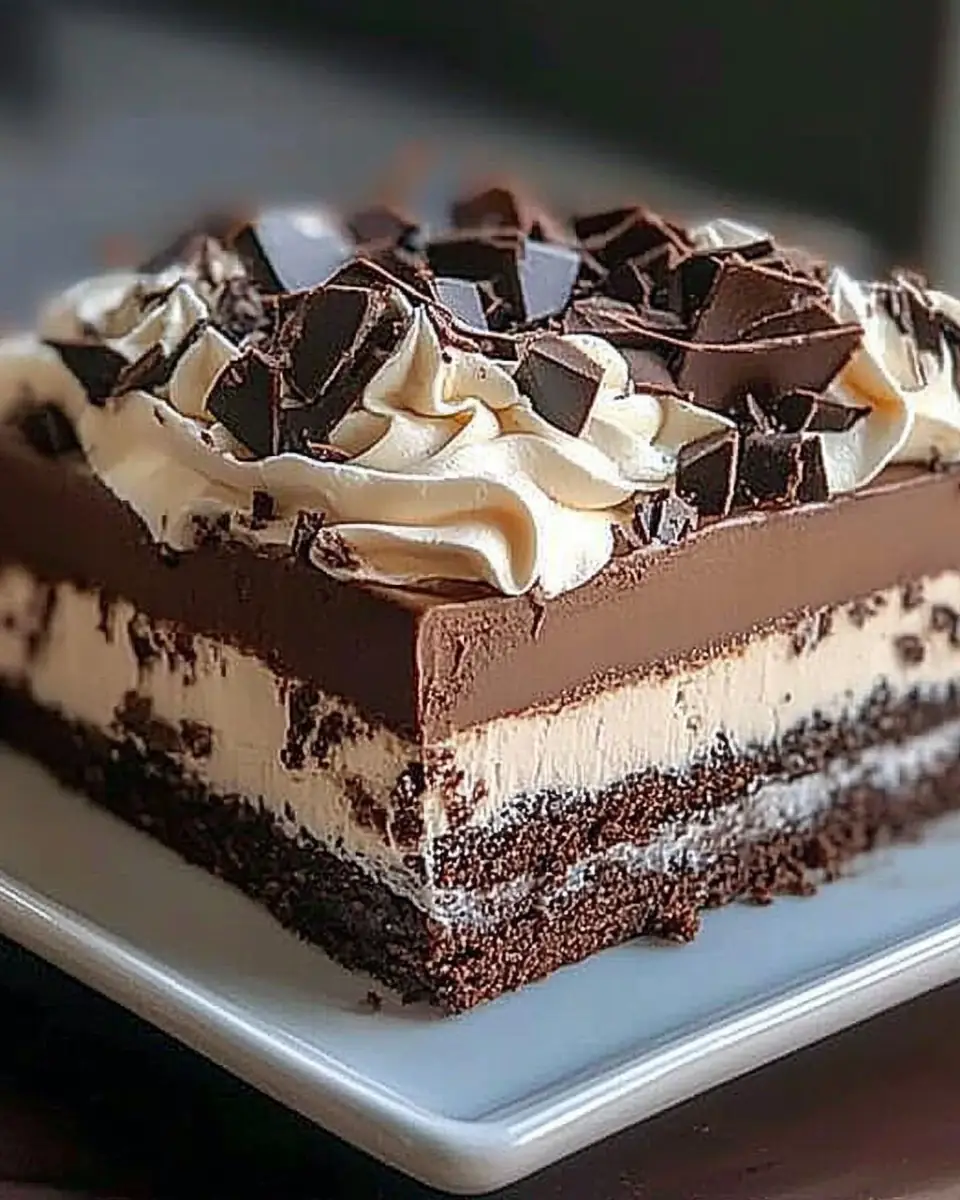
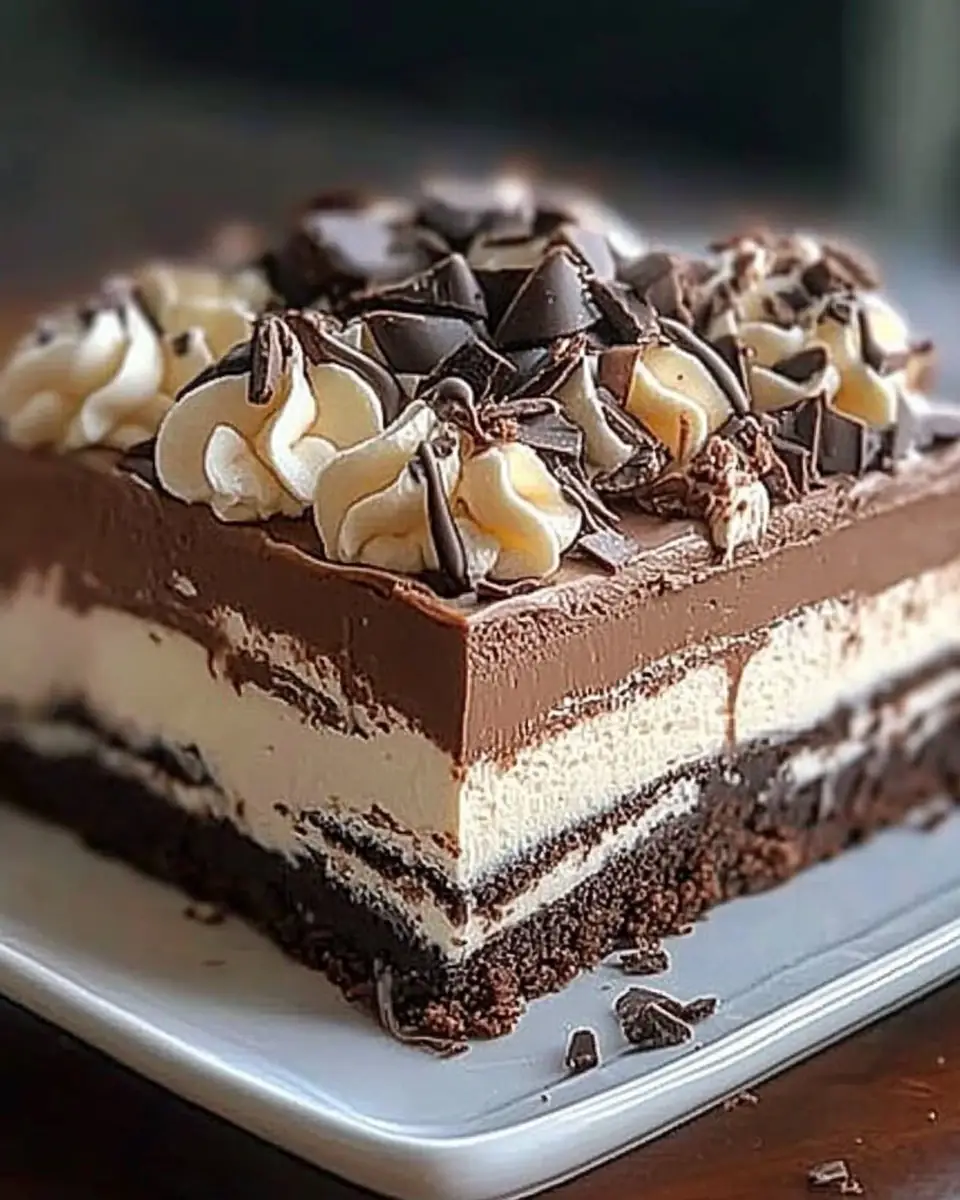
Bake the Brownies: Preheat your oven to 350°F (175°C). Follow the package instructions to prepare the brownie mix, adding the espresso powder for an extra kick of chocolate flavor. Bake in a 9×13-inch pan and allow it to cool completely. Once cooled, carefully slice the brownie into two even layers using a serrated knife.
Prepare the Chocolate Whipped Cream: In a mixing bowl, beat the cold heavy whipping cream, powdered sugar, cocoa powder, and vanilla extract until stiff peaks form. This will take about 3-4 minutes with an electric mixer.
Assemble the Cake:
- Place one brownie layer at the bottom of a parchment-lined 9×13-inch dish.
- Spread half of the chocolate whipped cream over the brownie layer.
- Add the second brownie layer on top and spread the remaining whipped cream evenly over it.
Make the Ganache Topping: In a small saucepan, heat the heavy cream until it’s warm but not boiling. Pour this over the chocolate chips in a separate bowl and let it sit for 2 minutes. Stir until the mixture is smooth and glossy.
Chill & Serve: Pour the ganache over the assembled cake, spreading it evenly. Refrigerate for at least 4 hours or overnight for the best texture. Before serving, garnish with chocolate shavings, whipped cream swirls, or fresh berries.
Prep Time: 15 minutes | Chill Time: 4 hours | Cooking Time: 30 minutes | Total Time: 4 hours 45 minutes
Calories: 450 kcal | Servings: 12 slices
Kitchen Tools You’ll Need
- 9×13-inch baking pan
- Mixing bowls
- Electric mixer
- Serrated knife
- Saucepan
- Spatula
The Benefits of Each Ingredient
Brownie Mix: Provides a quick and easy base for the cake, saving time without compromising on flavor. The addition of espresso powder enhances the chocolate intensity.
Heavy Whipping Cream: Essential for the whipped cream layer and ganache. When cold, it whips up beautifully, adding a luxurious, airy texture to the dessert.
Powdered Sugar & Cocoa Powder: These ingredients are key for sweetening and flavoring the whipped cream, offering a perfect balance of sweetness and chocolate.
Vanilla Extract: Enhances all the other flavors, adding depth and complexity to the whipped cream.
Semisweet Chocolate Chips: Perfect for the ganache, providing a rich, smooth topping that complements the brownie and whipped cream layers.
What to Serve With This Dish
This Brownie Refrigerator Cake pairs wonderfully with a scoop of vanilla ice cream or a dollop of freshly whipped cream. For a refreshing contrast, serve it alongside a fruit salad featuring berries or citrus fruits. A cup of coffee or a glass of cold milk also makes for a delightful accompaniment, enhancing the cake’s rich flavors.
For more dessert ideas, check out my Easy Chocolate Chip Cookies and Classic Vanilla Pudding recipes on Mateo Recipes.
Storage & Leftover Tips
If you have any leftovers (though I doubt you will!), cover the cake tightly with plastic wrap or store it in an airtight container. It will keep well in the refrigerator for up to 3 days. For longer storage, you can freeze individual slices wrapped in plastic wrap and aluminum foil for up to a month. Just remember to thaw them in the fridge overnight before serving.
There you have it, my friends! The Brownie Refrigerator Cake is more than just a dessert—it’s a celebration of family, flavor, and the joy of sharing a meal together. I hope this recipe becomes a staple in your home, just as it has in mine. Whether it’s a special occasion or a spontaneous treat, this cake is sure to bring smiles and create lasting memories. Enjoy every bite, and happy cooking!
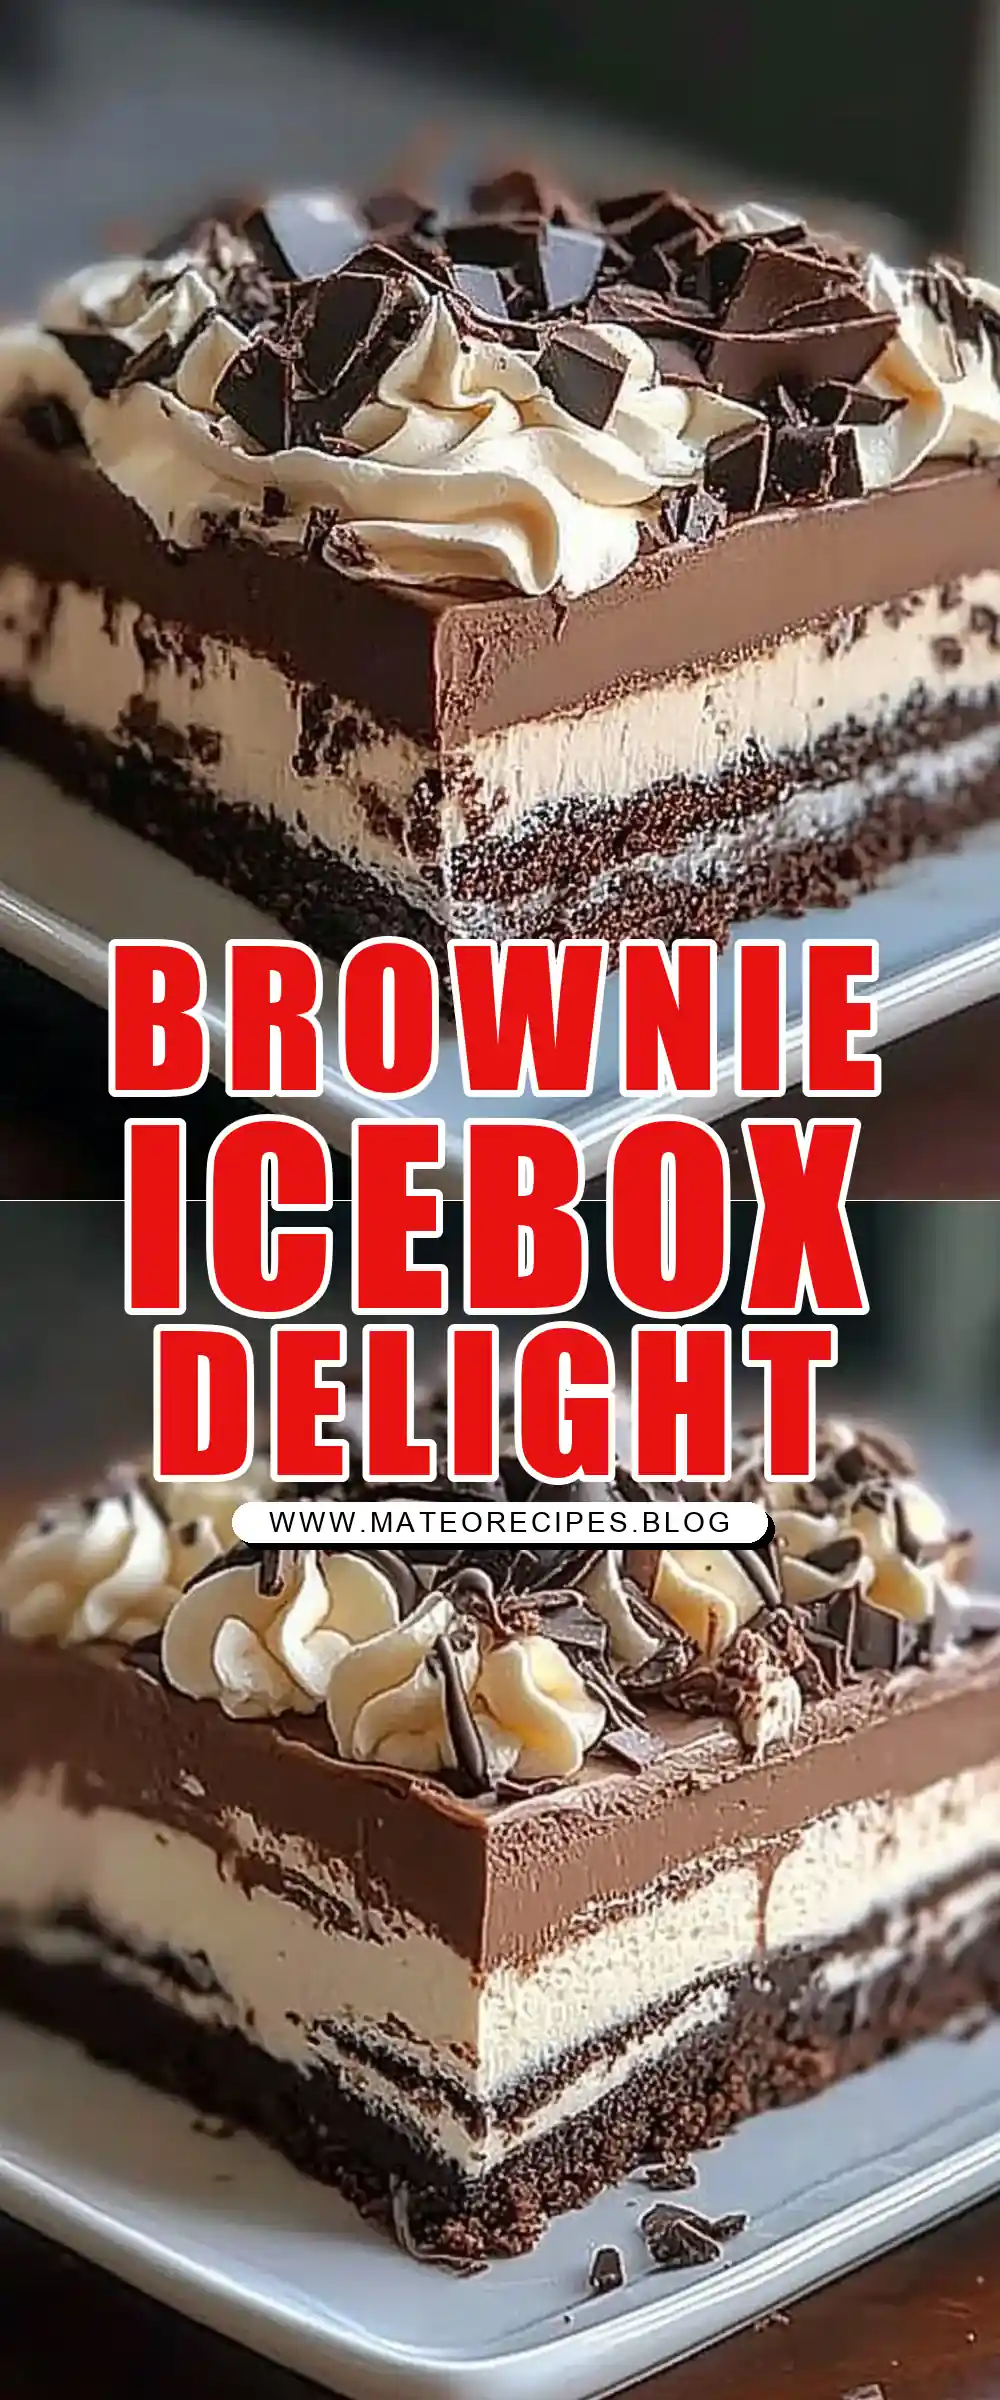
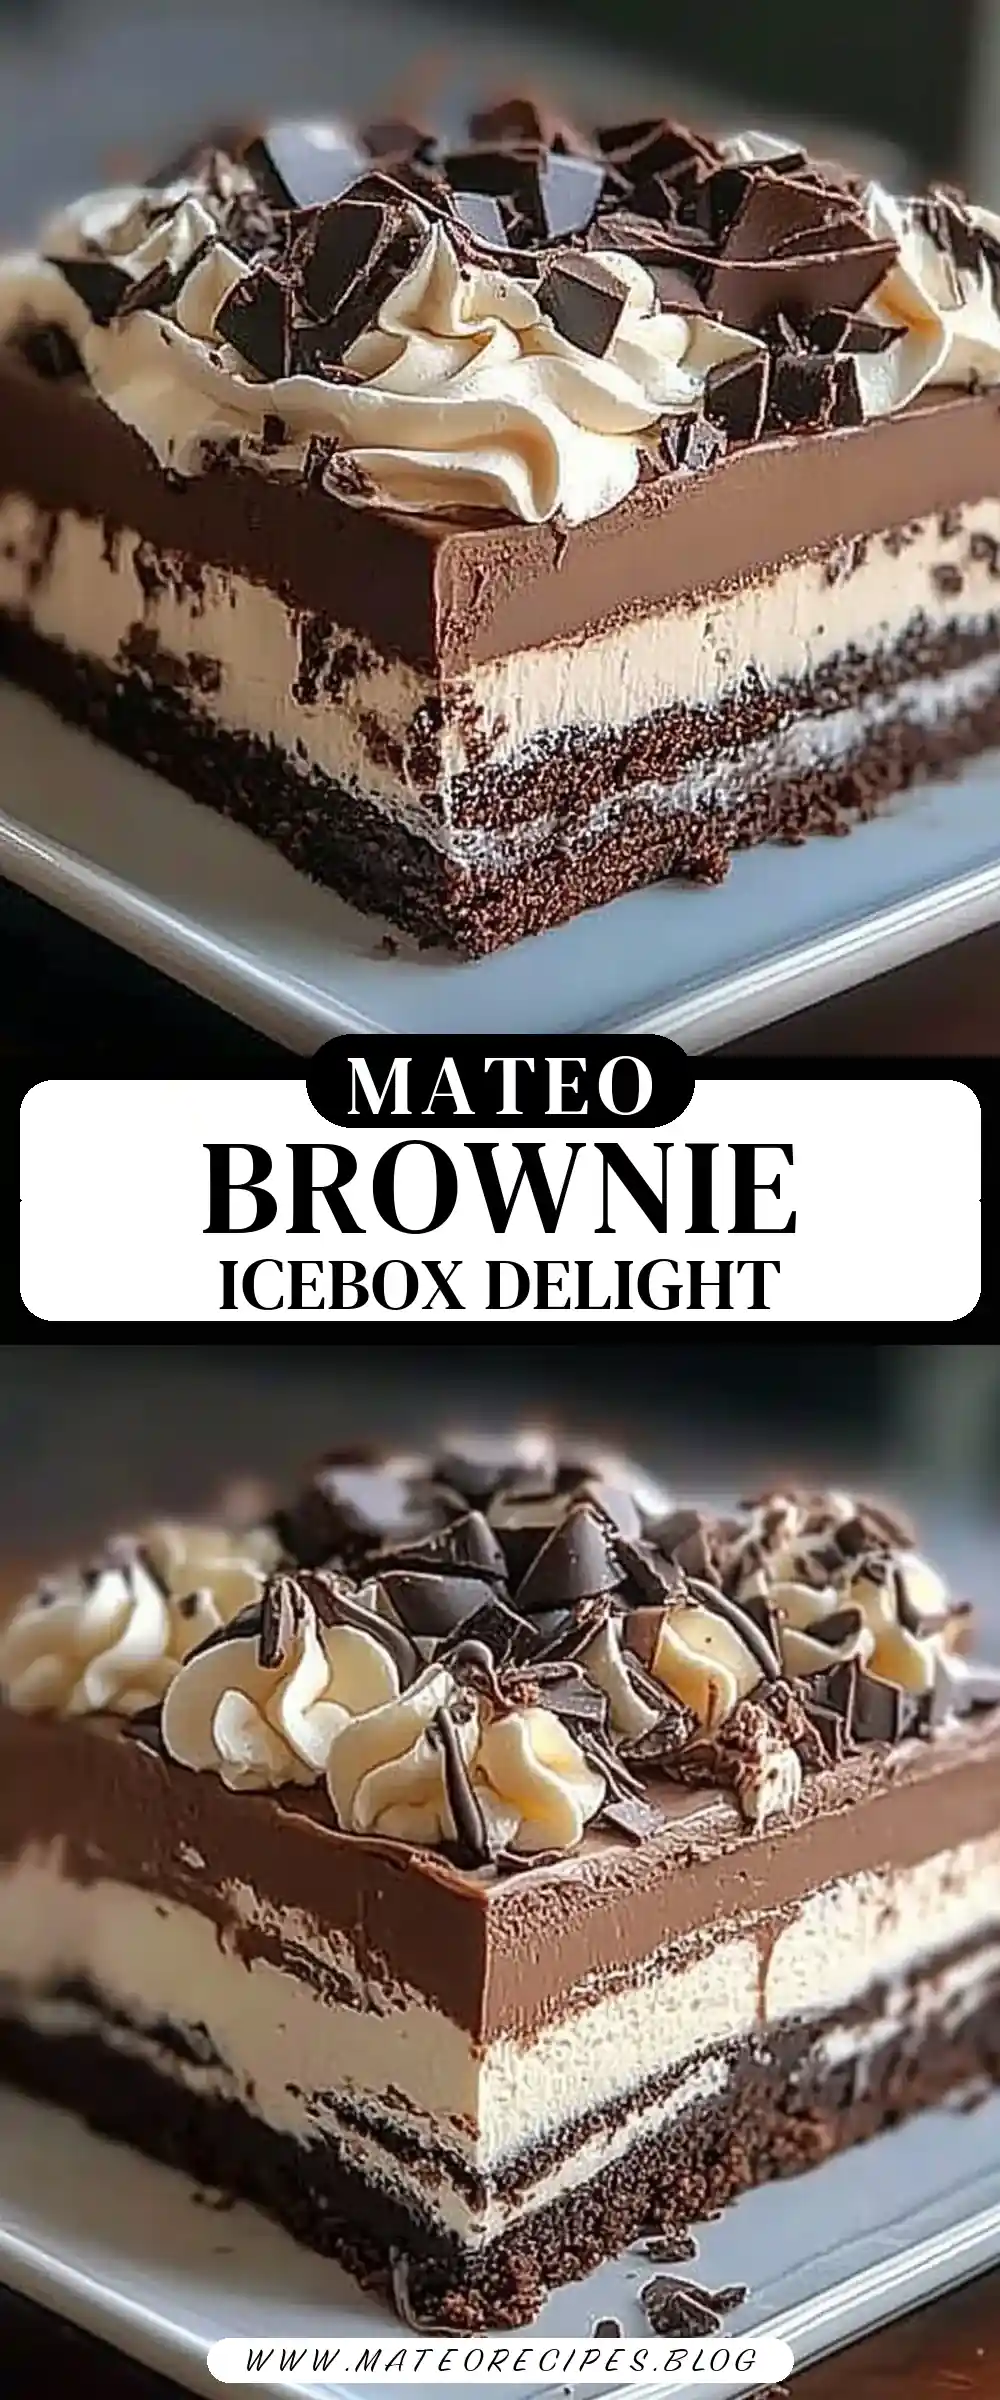
Brownie Refrigerator Cake
Ingredients
Equipment
Method
- Preheat oven to 350°F (175°C). Prepare brownie mix according to package instructions, adding espresso powder for extra richness.
- Bake in a 9×13-inch pan. Let cool completely, then cut into two even layers using a serrated knife.
- In a mixing bowl, beat cold heavy whipping cream, powdered sugar, cocoa powder, and vanilla extract until stiff peaks form.
- Place one brownie layer at the bottom of a parchment-lined 9×13-inch dish. Spread half of the chocolate whipped cream over the brownie layer.
- Add the second brownie layer on top and spread the remaining whipped cream evenly over it.
- Heat heavy cream in a small saucepan until warm (not boiling). Pour over chocolate chips and let sit for 2 minutes. Stir until smooth.
- Pour the ganache over the cake, spreading evenly.
- Refrigerate for at least 4 hours (or overnight) for the best texture.
- Garnish with chocolate shavings, whipped cream, or fresh berries before serving.