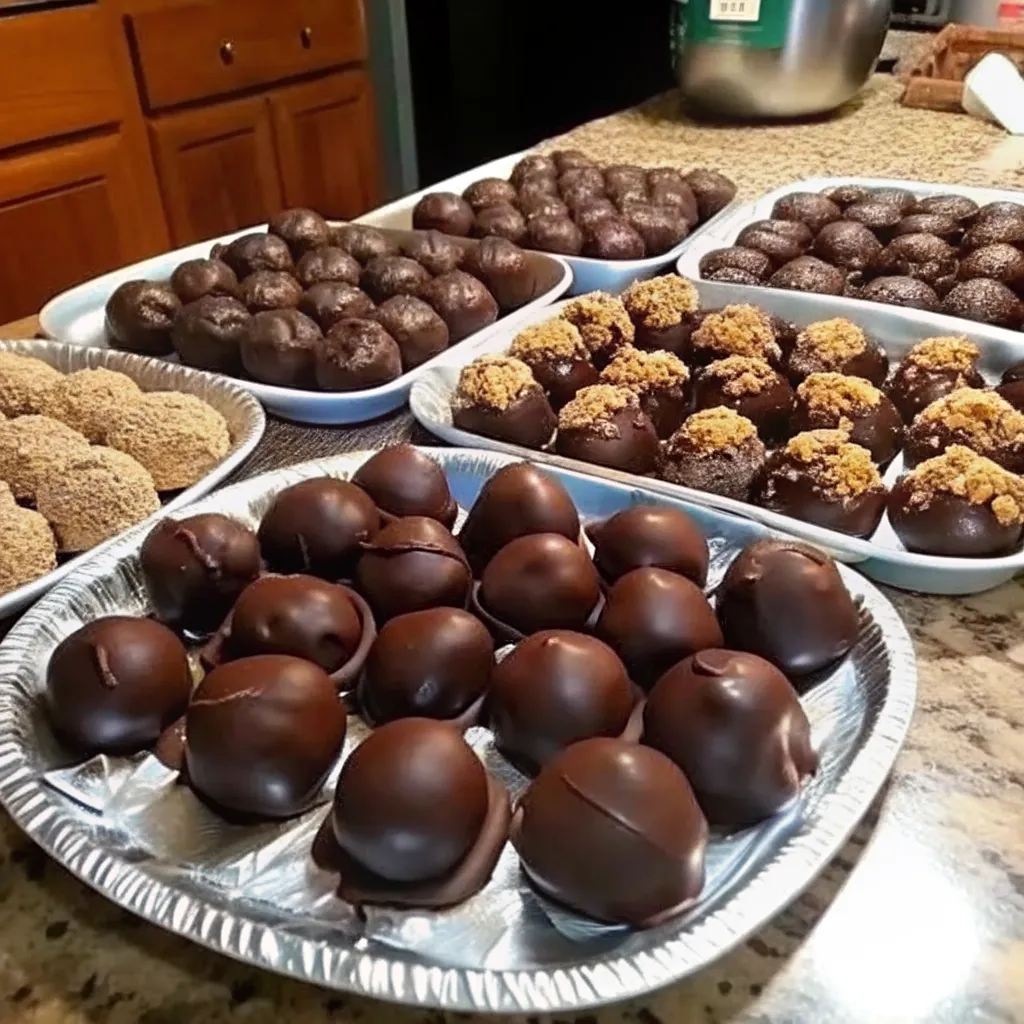
Last week, I found myself staring at my pantry at 3 PM, realizing I had promised to bring dessert to my neighbor’s holiday gathering in just two hours. No time for elaborate baking, no fancy ingredients on hand—just the usual suspects: peanut butter, butter, and powdered sugar. That’s when I remembered my grandmother’s secret weapon for last-minute entertaining: peanut butter balls. These no-bake treats have saved me countless times, whether it’s an unexpected visit from friends, a school bake sale emergency, or simply a craving for something sweet and satisfying. The best part? They require no oven, no complicated techniques, and just five simple ingredients you probably already have. In under 30 minutes of active work, you’ll have a platter of homemade treats that taste remarkably like Reese’s peanut butter cups but with that irreplaceable homemade touch.
Why You’ll Love This Recipe
- No-bake simplicity – No oven required, making these perfect for hot summer days or when your oven is occupied with other dishes
- Only 5 ingredients needed, most of which you likely have in your pantry right now
- Tastes like homemade Reese’s peanut butter cups with a richer, creamier texture
- Freezer-friendly and gift-worthy – they store beautifully for weeks and make thoughtful homemade presents
- Family-friendly activity where kids can help roll the balls and add festive sprinkles
Ingredients You’ll Need
- 1 cup (283g) creamy peanut butter – The star ingredient that creates that signature peanut butter cup flavor
- 6 tablespoons (84g) butter, softened – Adds richness and helps bind the mixture
- 2 ¾ cups (311g) powdered sugar – Provides sweetness and structure
- 1 teaspoon vanilla extract – Enhances the overall flavor
- 10 ounces melting chocolate (Ghirardelli Candy Melts or Candiquik) – Creates the smooth chocolate coating
Step-by-Step Instructions
- Prepare your workspace by lining a large cookie sheet with parchment paper or wax paper and set aside.
- Cream together the peanut butter and softened butter in a mixing bowl using a hand mixer until smooth and well combined. Why this matters: Proper creaming ensures no lumps and a silky texture.
- Gradually add the powdered sugar while mixing on low speed until fully incorporated, then add vanilla and mix again. If the mixture seems too sticky, add another tablespoon or two of powdered sugar.
- Scoop and roll the mixture into 1-inch balls using your palms and place them on the prepared baking sheet. Pro tip: Slightly damp hands prevent sticking.
- Refrigerate for 20 minutes until the balls are firm and hardened. This crucial step prevents them from falling apart during dipping.
- Melt the chocolate in a microwave-safe bowl in 30-second intervals, stirring between each, until completely smooth. If the chocolate seems thick, that’s normal—just keep stirring.
- Dip each ball using a toothpick, coating it completely in chocolate, then let excess drip off before placing back on the sheet.
- Let the chocolate harden completely at room temperature before serving or storing.
Serving Suggestions
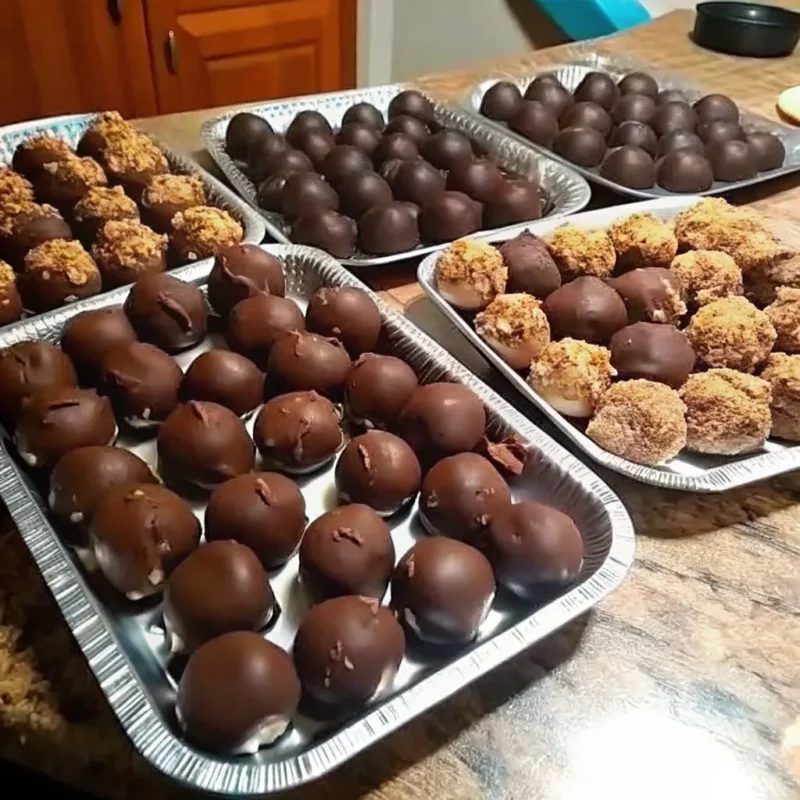
These versatile treats shine at virtually any gathering. Arrange them on a festive platter for holiday parties and Christmas celebrations, where they’re always the first dessert to disappear. Present them in decorative tins or cellophane bags tied with ribbons as thoughtful homemade gifts for teachers, neighbors, or hostess presents.
Serve them as an after-dinner sweet alongside coffee or mint tea during Ramadan gatherings or family celebrations. For children’s birthday parties, let kids customize their own by rolling them in colorful sprinkles before the chocolate sets. They also make perfect afternoon snacks when you need an energy boost without turning on the oven.
Variations and Suggestions (Make it Yours)
- White chocolate coating – Swap milk chocolate for white chocolate and add colorful drizzles for elegant treats
- Crunchy texture – Use crunchy peanut butter instead of creamy for extra peanut pieces in every bite
- Rice Krispies addition – Mix in 1/2 cup crushed Rice Krispies for delightful crunch
- Reduced sugar version – Cut powdered sugar down to 2 1/2 cups for a less sweet, more peanut-forward flavor
- Dark chocolate upgrade – Use dark chocolate for a more sophisticated, less sweet coating
- Holiday festive – Add seasonal sprinkles: red and green for Christmas, pastels for Easter, red and white for Valentine’s Day
Selena Trump’s Tips for Recipe Success
- Measure powdered sugar correctly by spooning it into your measuring cup rather than packing it down—too much makes the mixture dry and crumbly.
- Ensure butter is truly softened to room temperature before mixing; cold butter creates lumps that won’t blend smoothly into the peanut butter.
- Don’t skip the chilling step—I learned this the hard way when my first batch fell apart in the chocolate because I was impatient.
- Avoid chocolate chips for dipping as they’re too thick when melted; candy melts or Candiquik create that smooth, professional coating you’re after.
- Common mistake: Adding all the powdered sugar at once overwhelms your mixer and creates clouds of sugar dust. Add it gradually while mixing on low speed for the best results.
Storage and Make-Ahead
Store your peanut butter balls in an airtight container in the refrigerator for up to 5 days. For longer storage, these freeze beautifully for up to 3 months—layer them between sheets of wax paper in a freezer-safe container to prevent sticking.
To serve frozen peanut butter balls, thaw them in the refrigerator overnight or let them sit at room temperature for 15-20 minutes. They actually taste wonderful straight from the freezer for a firmer, truffle-like texture. The chocolate coating stays glossy and beautiful even after freezing, making these perfect for make-ahead holiday prep.
Frequently Asked Questions
Can I use natural peanut butter for this recipe?
No, natural peanut butter doesn’t work well because the oils separate and create a greasy, unstable mixture. Stick with regular creamy peanut butter like Jif or Skippy for the best texture and results.
Why are my peanut butter balls falling apart when I dip them?
This usually happens when they haven’t been chilled long enough or your chocolate is too hot. Make sure the balls are firm after refrigerating for at least 20 minutes, and let your melted chocolate cool slightly before dipping.
Can I make peanut butter cups instead of balls?
Absolutely! Line mini muffin tins with paper liners, add a layer of chocolate, flatten a peanut butter ball on top, then cover with more chocolate. Let them set at room temperature until firm.
How far in advance can I make these?
You can make peanut butter balls up to 5 days ahead if refrigerated, or up to 3 months if frozen. They’re perfect for holiday prep and actually taste even better after the flavors meld for a day or two.
Can I use chocolate chips instead of candy melts?
While possible, it’s not recommended because chocolate chips don’t melt as smoothly and create a thicker coating that’s harder to work with. Candy melts or Candiquik give you that professional, glossy finish.
What if my mixture is too dry and crumbly?
Add an extra tablespoon of softened butter or peanut butter and mix thoroughly. If it’s too wet and sticky, add more powdered sugar one tablespoon at a time until you reach the right consistency for rolling.
Final Thoughts
These peanut butter balls have become more than just a recipe in my kitchen—they’re a tradition, a solution, and a gift all rolled into one delicious bite. Whether you’re making them for a holiday cookie tray, gifting them to someone special, or simply satisfying your own sweet tooth, they deliver every single time.
I’d love to hear how yours turn out! Did you try a fun variation with white chocolate or add some festive sprinkles? Share your experience and any creative twists you discovered—your ideas might inspire another home cook facing their own 3 PM dessert emergency.
Happy baking (or should I say, happy no-baking!),